Just in time for Thanksgiving, here is an even faster way to make my original crusty rolls. And you can make them ahead and freeze. They freeze beautifully and you can re-crisp, directly from freezer to oven, in minutes. They are even more crusty when you freeze and reheat!
The original version takes 4 hours but this one is ready in half the time – TWO hours! Using more yeast and hot water, it’s the fastest way I know to make these fabulous dinner rolls. It’s important that your oven be preheated to 450° F and my oven takes 35 minutes to reach 450. It’s really best to use an oven thermometer to make sure your oven it hot enough as these rolls depend on the first blast of high heat to puff up and rise.
This dough is sticky so it may help to see how to shape the rolls by watching the video attached to my original version of No Knead Crusty Rolls.
These fabulous artisan rolls can be made ahead and nicely re-crisped the next day or better still, make, cool, and freeze and just reheat by placing them directly on the oven rack, preheated to 325 °F, for 10-12 minutes. I’m always excited when I can find a way to make something easier and faster, especially when it’s homemade bread. They’re not just dinner rolls – I had them for breakfast today.
So there are three ways to make these crusty rolls. One is my original 4-hour recipe. Two is the overnight version where you use cold water and let the dough sit out overnight. And third, this new, fastest way ever to make no knead crusty rolls – in two hours! Click herefor the recipe. – Jenny Jones
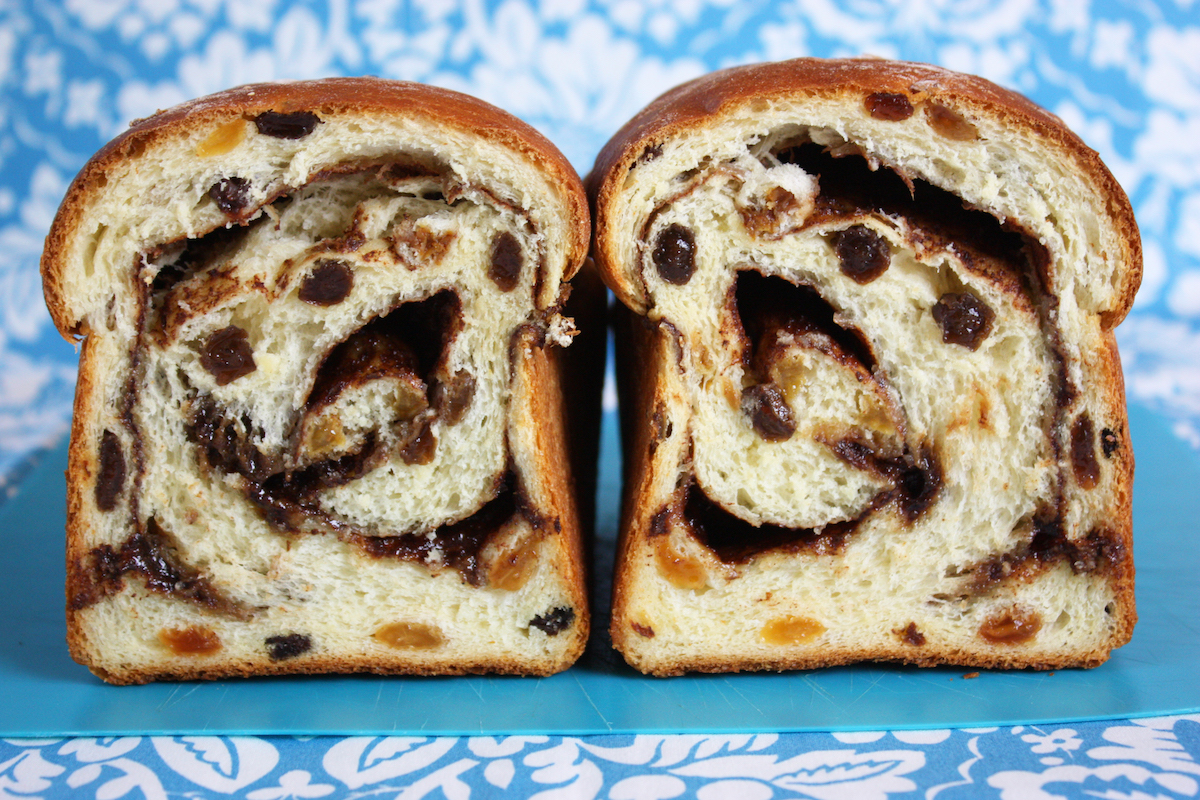
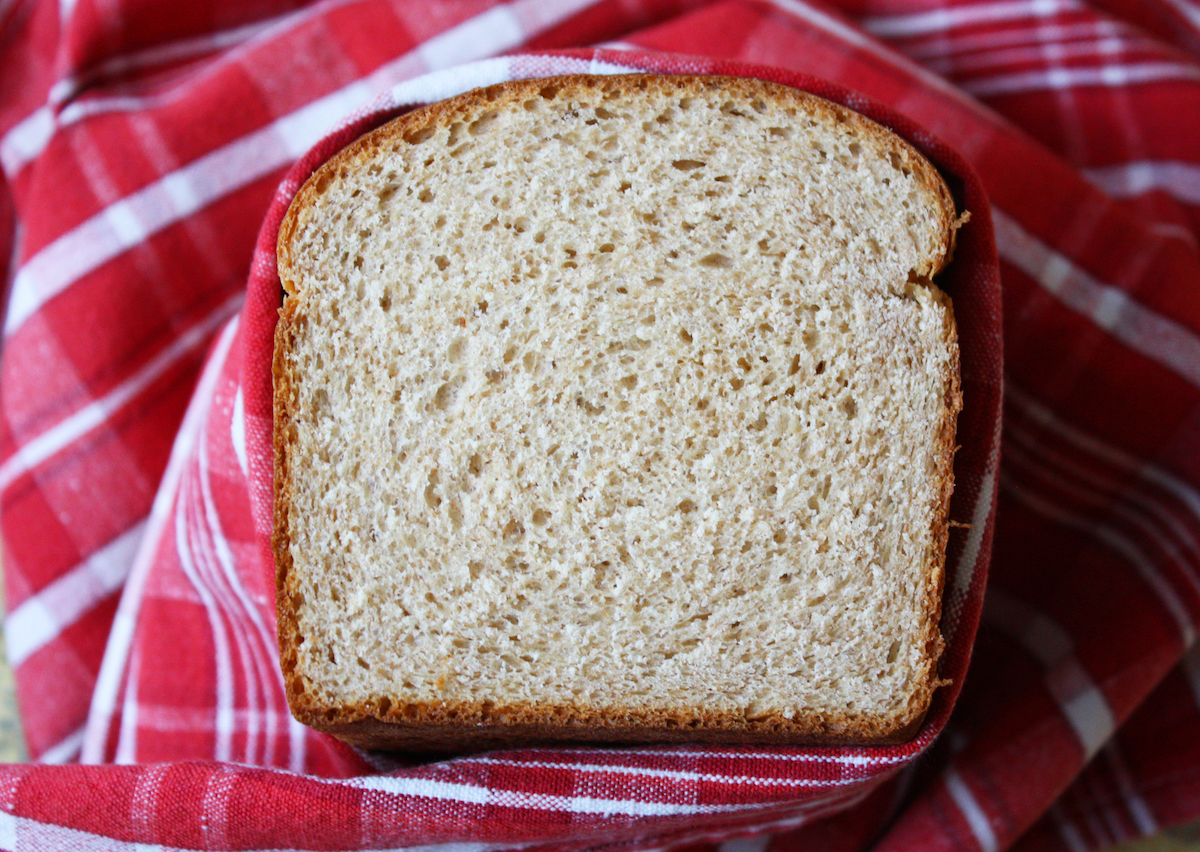
Somebody needs to stop me from eating my third slice of this delicious sweet bread! I’m happy to share my easy recipe for cinnamon swirl raisin bread and there are a few reasons why I think you’ll like it. First, it’s good! Second, it’s easy to make compared to most other recipes. Third, it’s a faster, one-rise recipe so the bread is ready to eat in 90 minutes. I use a mix of yellow and red raisins because I like the two different colors and textures.
Swirled loaves often wind up with gaps inside the loaf and it happens to me too. One day it’s perfectly tight and the next time I make it I get gaps but even with a gap, this cinnamon bread is still fantastic. I made the one below the exact same way as the one above, and it developed some small gaps but that didn’t stop me from enjoying it. With or without gaps, it’s the best cinnamon raisin bread I’ve ever had.
If you’re tempted to spread butter on it before adding the brown sugar/cinnamon mixture, I do not recommend it because when I tried it, the loaf did not hold together as well. In fact, this bread has no butter at all – I make it with extra light olive oil and it’s delicious! I hope you’ll try this recipe, follow it exactly, and let me know how yours turned out. Click here for the recipe. – Jenny Jones
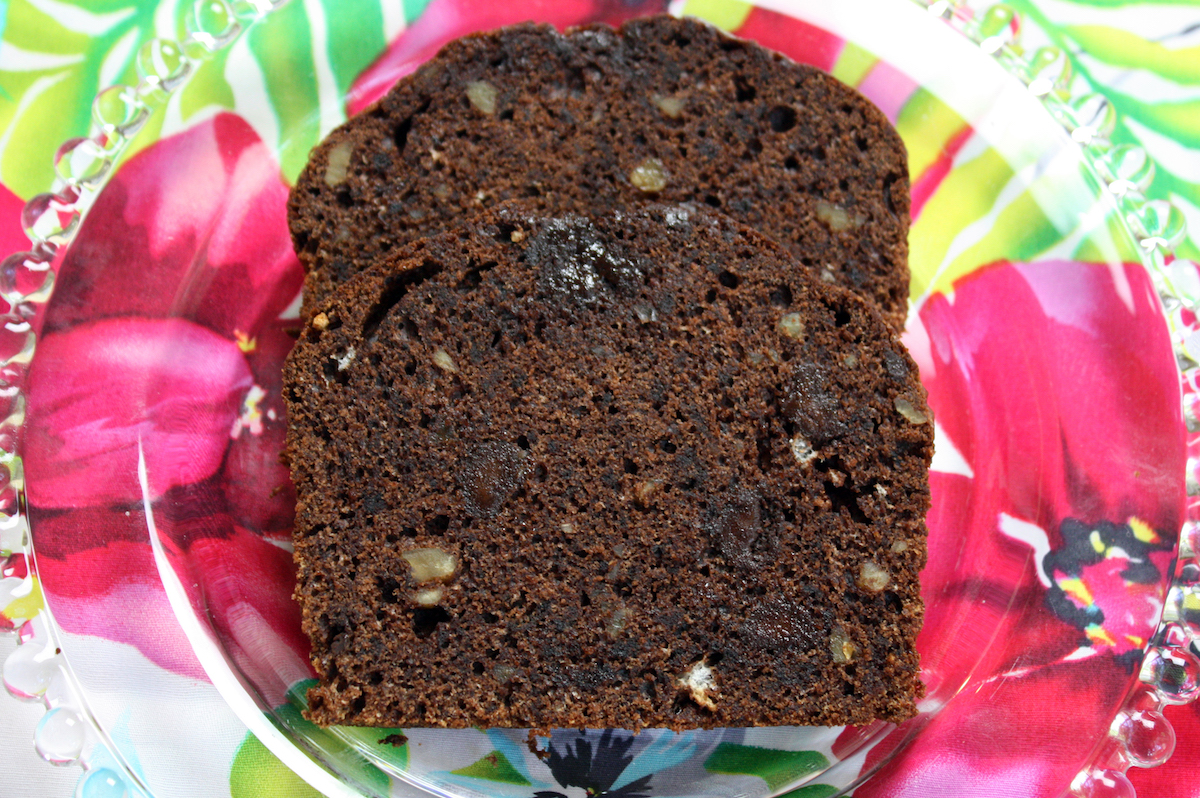
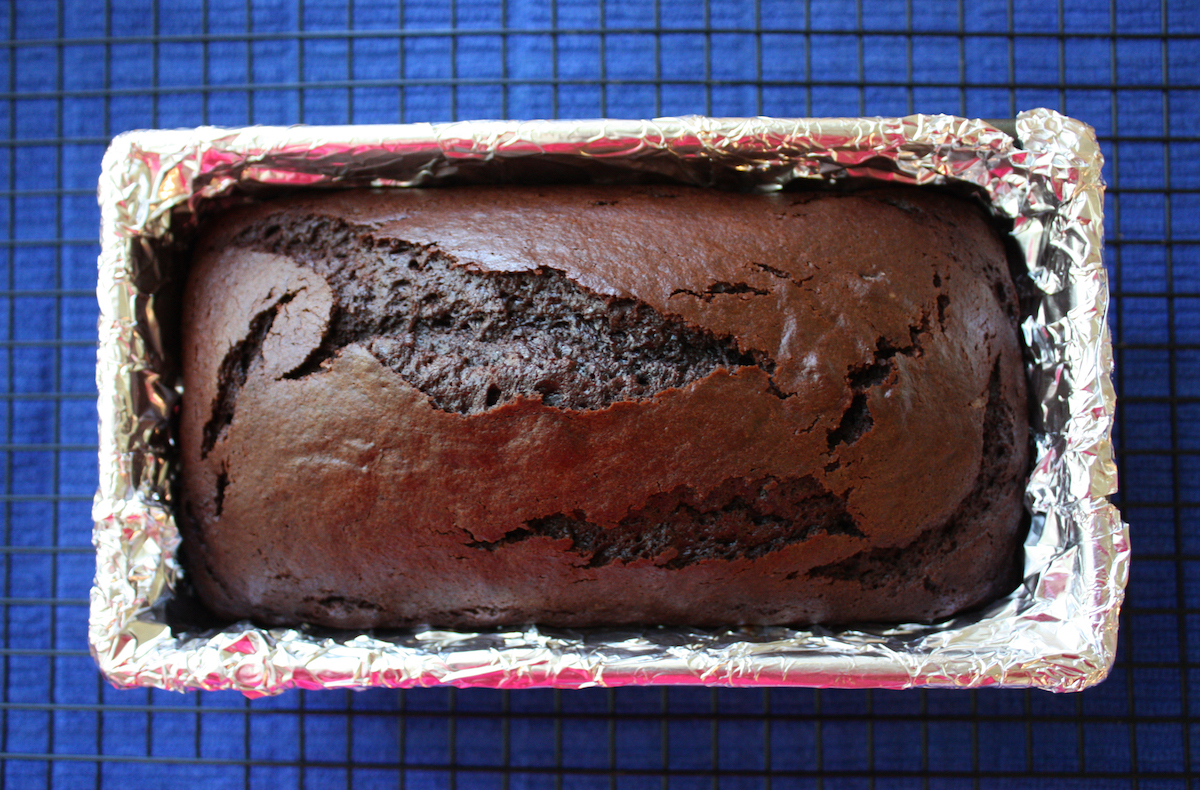
Here’s a simple chocolate cake recipe that works equally well using whole wheat pastry flour or all purpose flour. In fact, it’s hard to tell the difference so I prefer making it whole wheat. It’s like a chocolate pound cake but healthier because it’s 100% whole grain but you can make it with all purpose flour if you like. And instead of butter I use extra light olive oil. What sends it over the moon is adding dark chocolate chips and toasted nuts.
The only cocoa I use for my baking is Dutch process because it’s never bitter and the result is a beautiful, dark chocolate cake. I can always find it (Droste brand) at World Market. Pound cakes tend to be heavy and dense but by beating the egg whites separately, it makes the cake lighter and taller. My loaf pan measures 8 1/2 x 4 1/2 inches.
If you’re a chocolate lover like I am, I hope you like this moist and delicious, easy chocolate loaf cake. Click here for the recipe. – Jenny Jones
Most people know that my favorite place to be is in the kitchen and to show you how much I enjoy “playing” there, I thought I would share what I cooked all this month. On the days I didn’t cook, we usually had leftovers as I prefer to eat at home than go to a restaurant. I hope my joy of cooking and baking will spark a similar passion in others to cook more at home. And now, here’s what I cooked this month…
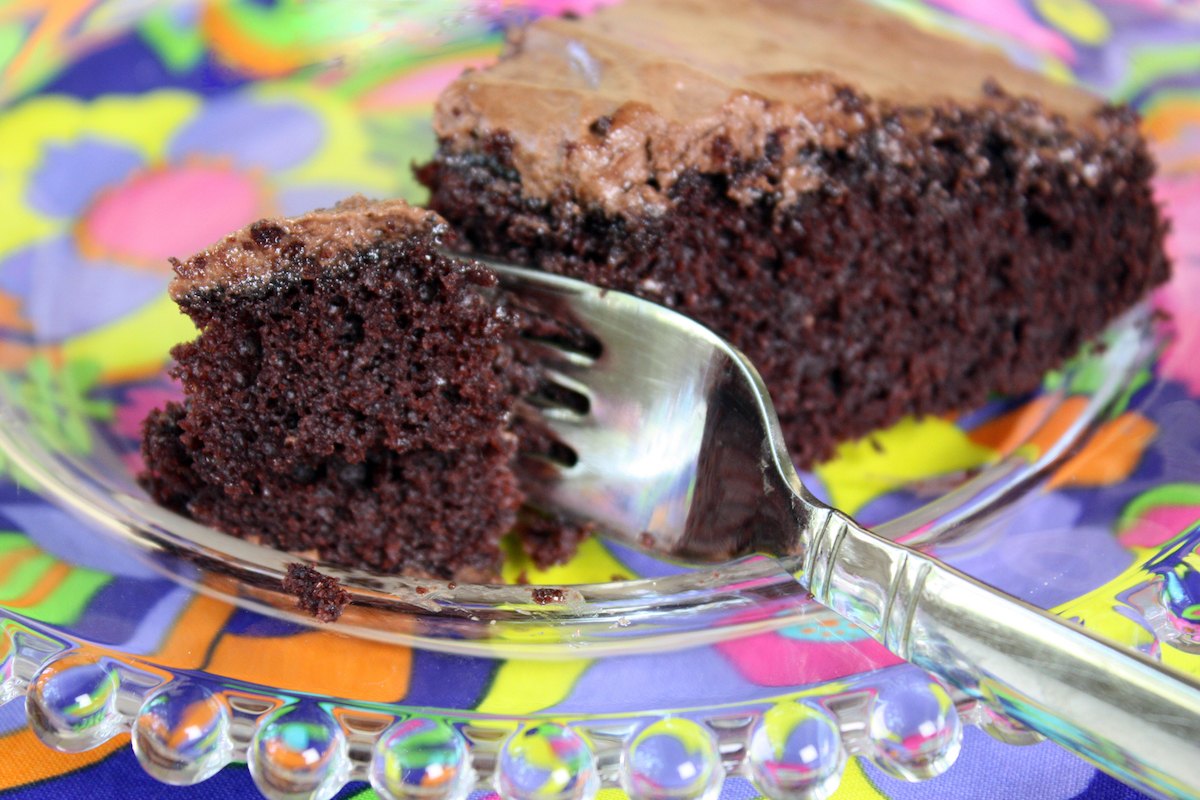
I love this chocolate cake! Today I made baked ziti for dinner, along with a beautiful salad with two kinds of lettuce, orange pepper, cucumber, garbanzo beans, fresh peas, and red endive tossed with my Greek Salad Dressing. Before starting dinner, I had such a craving for chocolate cake and needed one I could make quickly because it was dessert for today’s dinner so I made my Easy One Bowl Chocolate Cake.
If you haven’t tried it yet, it is really fast and easy to make, uses no eggs, no mixer, and it’s super moist and delicious. You only need one bowl and it’s probably less work than using a mix. I promise you if you try this cake, you will never buy a mix again. I made it and it cooled down just in time to frost after dinner. Whenever I have a piece of this cake I never feel weighed down and always feel like I could have seconds but I don’t. It keeps really well so we will have dessert for days. At the end if there’s only one slice left, I always suggest that we arm wrestle for it!
If you want to make the best and easiest one bowl chocolate cake click here for the recipe. – Jenny Jones
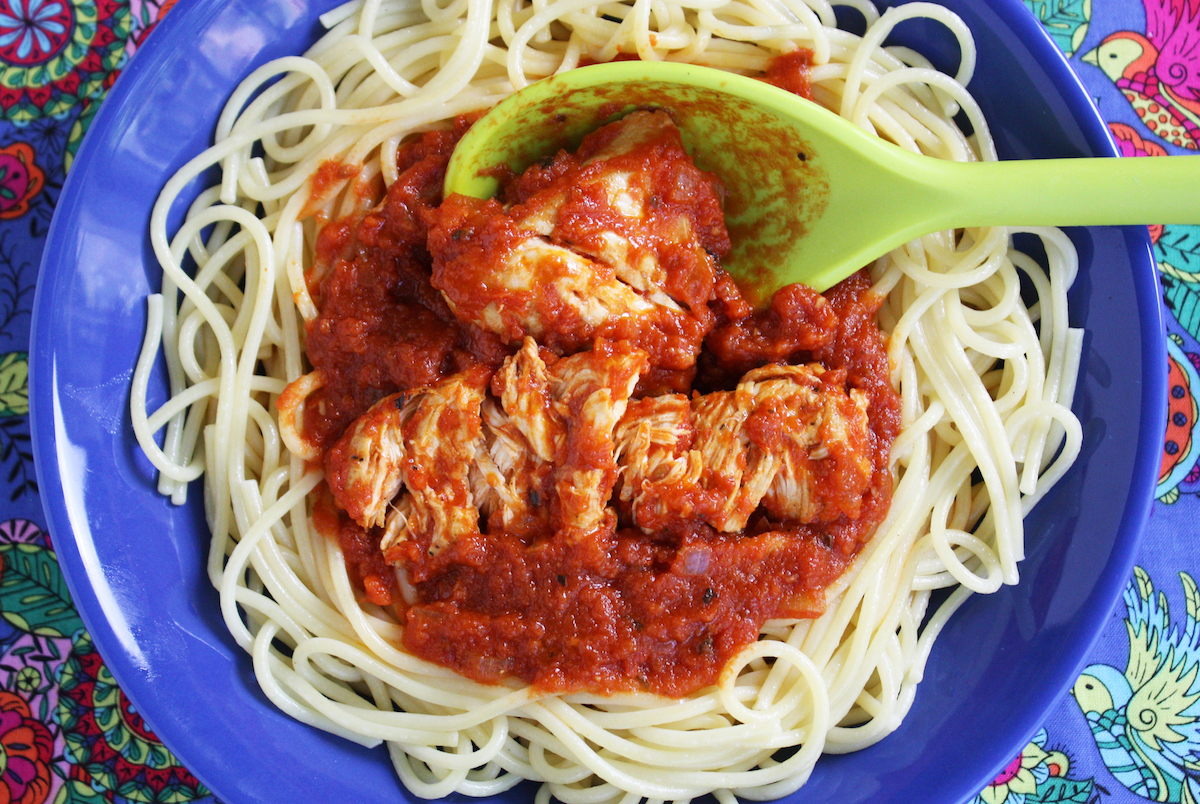
Chicken breast simmered in marinara sauce turns out so tender you can cut it with a fork. This easy recipe takes less than 10 minutes of prep and the chicken cooks in the sauce unattended while you cook the pasta and make a salad. You do have a salad every day, right?
This recipe started because I wanted to try making chicken cacciatore but after chopping peppers and mushrooms and using chicken thighs, I found there was too much fat and not a lot of big flavor. So I tried simplifying it and came up with a lean and low fat version and now it’s just chicken with spaghetti, but with a lot of flavor but not a lot of work. It’s the simple, easy recipes that I always wind up making again.
Canned plum tomatoes are my go-to for pasta sauce and it’s so easy to make them into a smooth puree with a food processor. If you can find San Marzano tomaotes, that’s even better. You can always add more spices or a bay leaf or some crushed red pepper if you like but this is perfect for me just the way it is. Click here for the recipe. – Jenny Jones
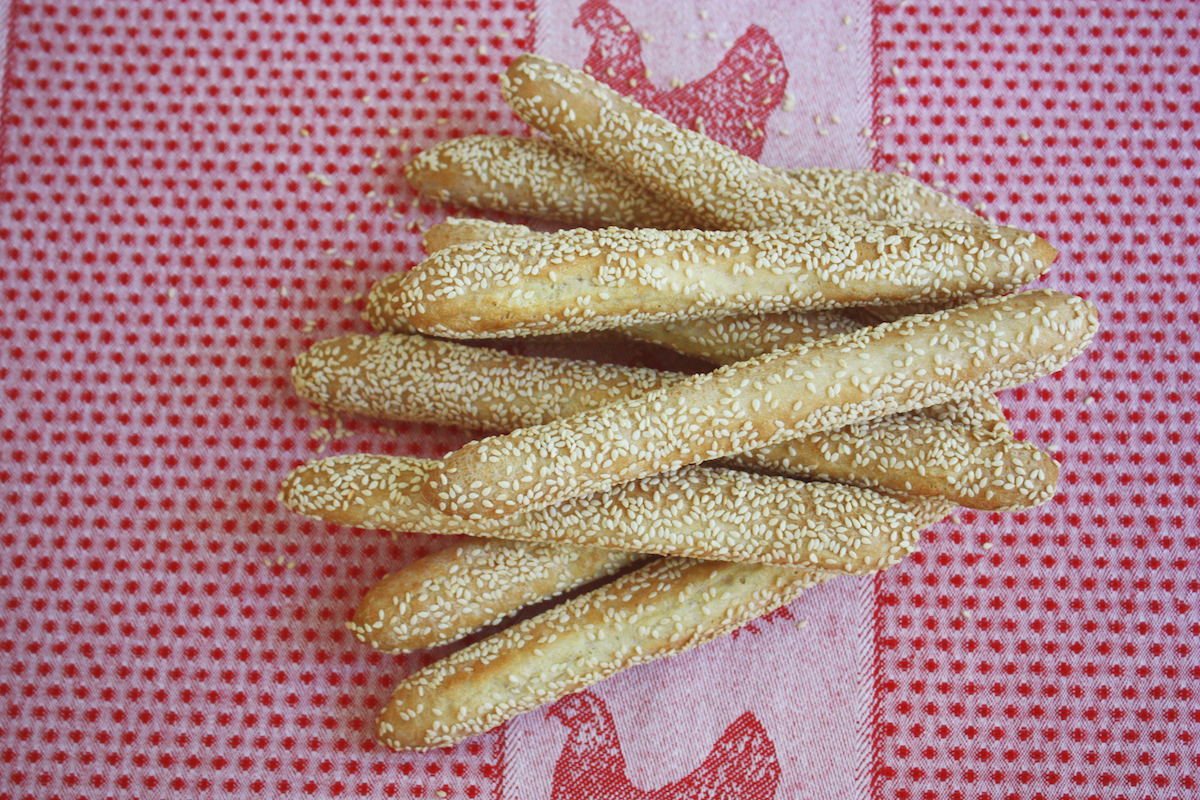
I ran out of breadsticks again so it was time to make more. They keep disappearing because I have a breadstick with every salad and I have a salad every day. This time I made them using 100% all purpose flour and they are super crunchy. I make them so often I even bought a breadstick pan that’s perforated to help them bake up crispy with grooves so the sticks stay round.
This is one of the recipes I make the most because no one sells breadsticks that even come close to this good. The ones that come in a package are a waste of time and the occasional bakery that sells them – well they just don’t measure up. Click here for the recipe. – Jenny Jones
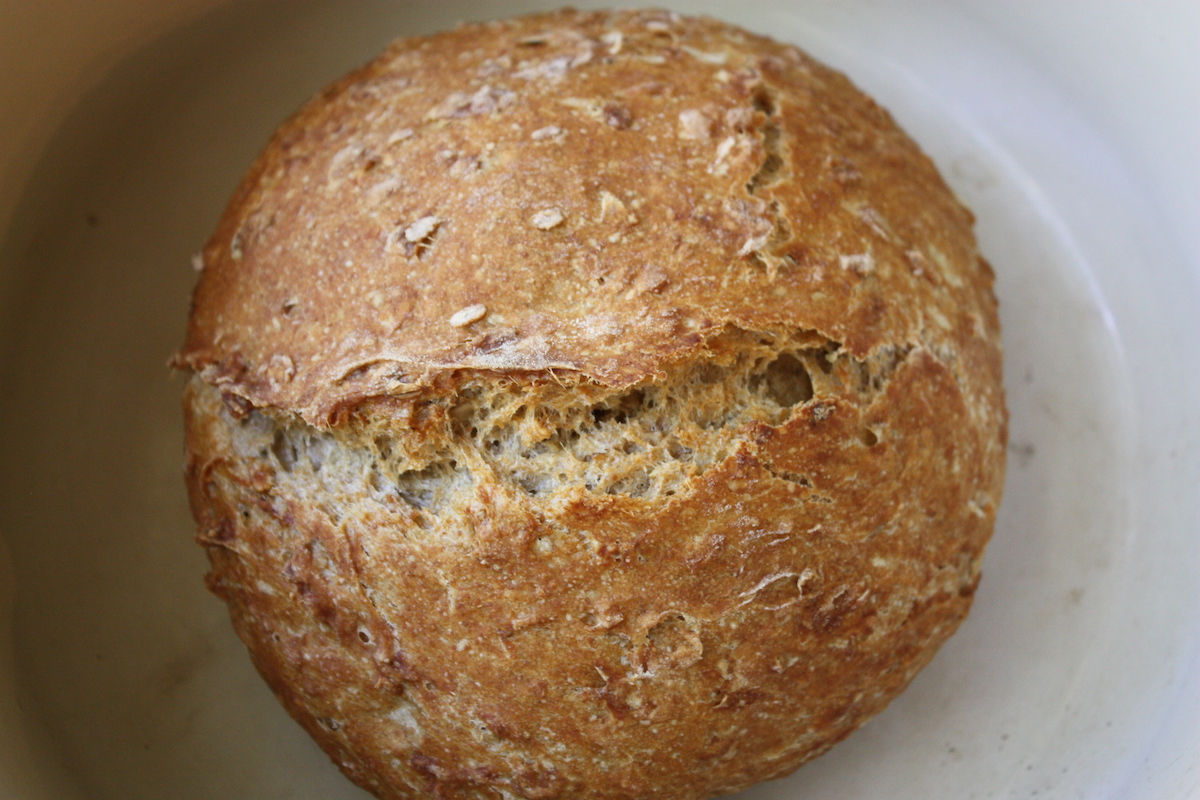
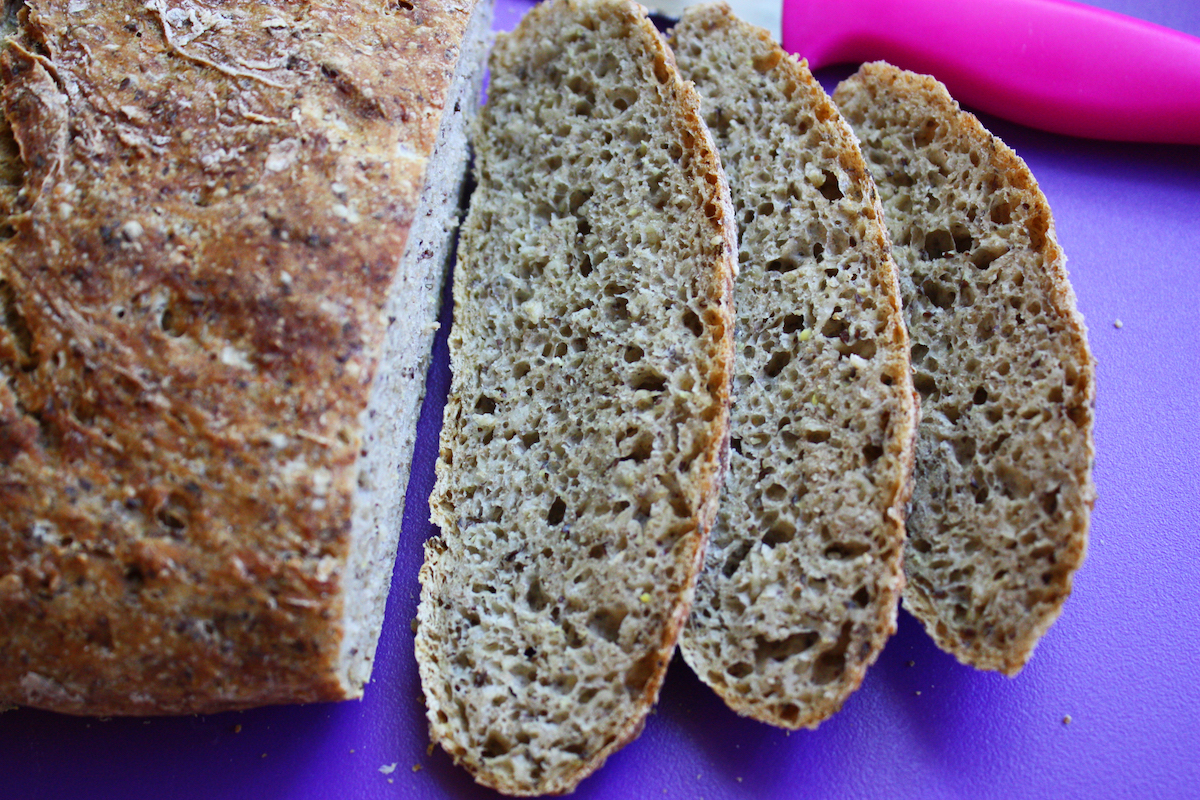
It’s been a long time since I bought bread. My favorite no knead bread is multi-grain and I decided to try it with some added ground flaxseed meal to see if it turned out. I love it! This was a high fiber bread to begin with and now, with added flaxseed, it has heart-healthy benefits because flax is a good source of omega-3 fatty acids.
I used my original recipe and simply added 1/4 cup of ground flaxseed meal and increased the water to 1 1/2 cups. Everyone is making no knead breads because they are so easy and the variations you can make are endless. If you want to try it, just make the two changes above and follow this original recipe. – Jenny Jones
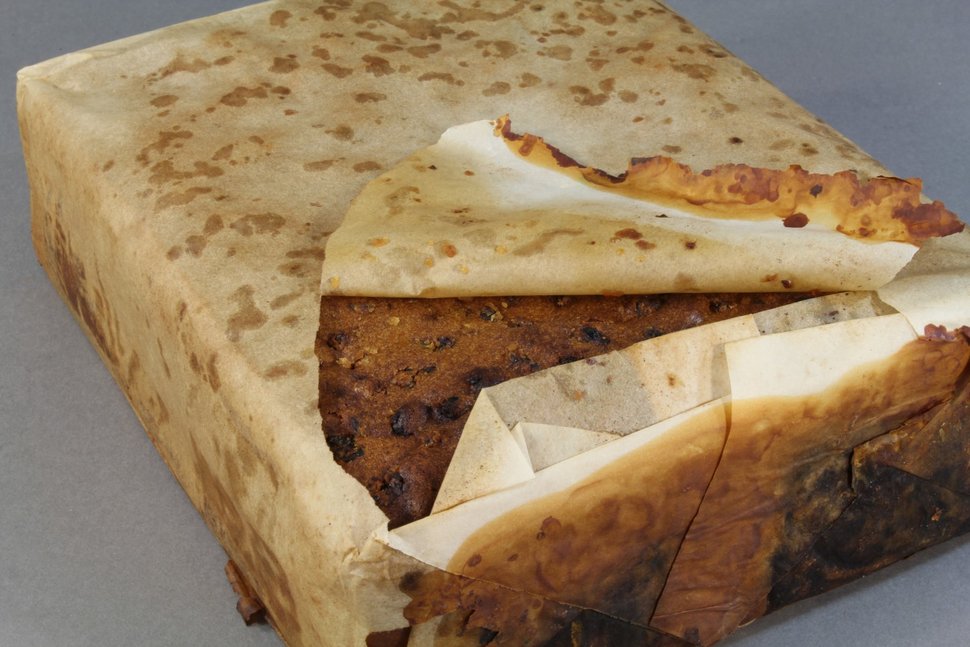
A 106-year-old fruitcake has been discovered in an old explorer’s hut in Antarctica and it looked and smelled edible! I’ve always heard that properly stored fruitcakes can last for years but whoa! This fruitcake was wrapped in waxed paper and tucked into a tin box and most likely came to Antarctica with an English expedition in 1910. The cake survived much better than the tin box, which was badly corroded. It had a very slight rancid butter smell but other than that, they say the cake looked and smelled edible! The freezing cold in Antarctica had a lot to do with the cake’s survival.
A century old cake notwithstanding, any fruitcake needs time to “age” and should be started early. The aging period can be from 2 to 4 months. Sugar acts as a preservative and alcohol kills bacteria and prevents mold. Many fruitcakes are soaked in alcohol and those can actually last for years if you periodically add more alcohol. You do this by wrapping the cake in a towel soaked in brandy or wine and then covering tightly and keep it refrigerated. It’s generally recommended that soaked fruitcake should be consumed within two years.
I don’t have a recipe for fruitcake but there are lots of good ones to be found and it is a long standing tradition to give fruitcake as a Christmas gift. Not everyone likes this very dense and rich cake so if you make one, don’t be surprised if it gets re-gifted to you five years later! 🙂 – Jenny Jones
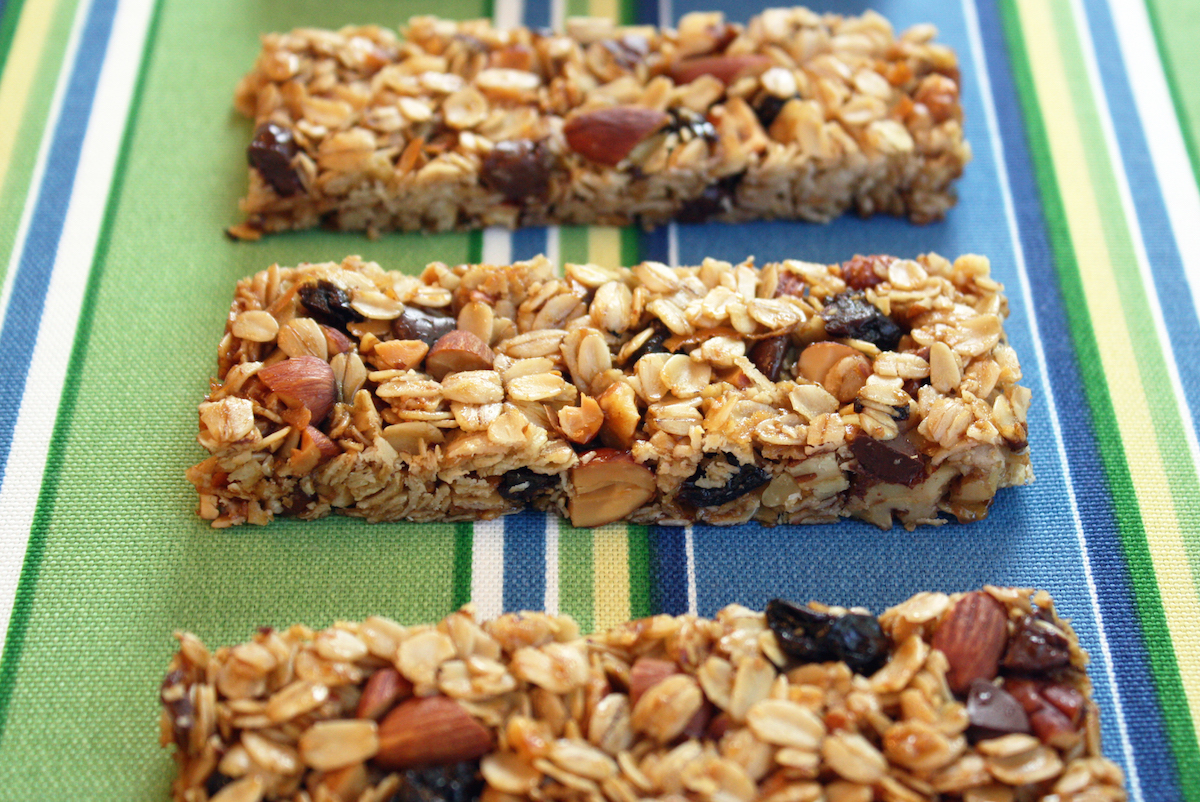
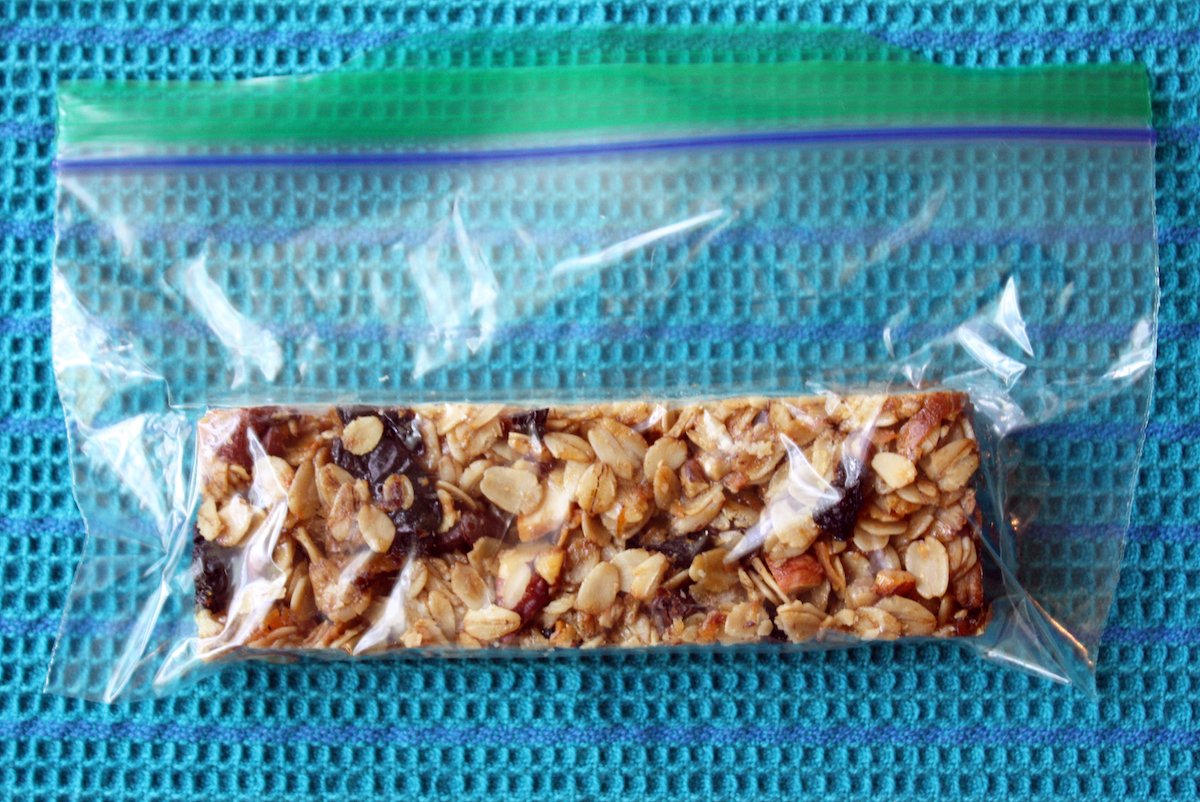
I make more granola bars than almost any other recipe and I always have them available to take along as a snack in my purse or in the car. The best way to store granola bars is to wrap each one in a separate snack size plastic bag with all the air removed. Then keep them refrigerated and they last for weeks. Whenever I leave the house, I put one in my purse, or I put a few in my purse to give as gifts. Everyone loves a homemade granola bar so if you make them, consider giving them as gifts. By the way, these little plastic bags can be re-used. If you want to make these delicious and easy homemade granola bars, click here for the recipe. – Jenny Jones
FOR A COMPLETE LIST OF ALL MY HOW-TO TIPS, Click here.

 Just in time for Thanksgiving, here is an even faster way to make my original crusty rolls. And you can make them ahead and freeze. They freeze beautifully and you can re-crisp, directly from freezer to oven, in minutes. They are even more crusty when you freeze and reheat!