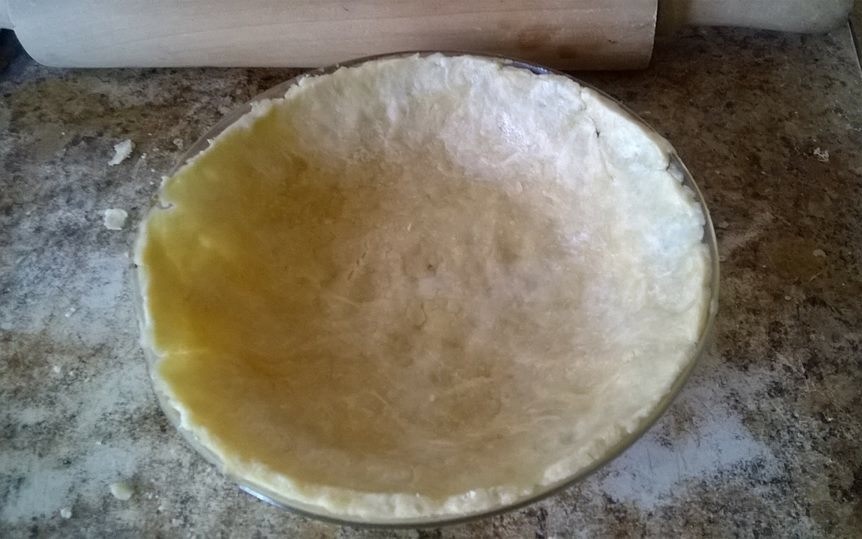
Pecan pie doesn’t have to be complicated. Mine is simple and you don’t need any fancy ingredients. And it’s healthier too, with an olive oil crust. I used to make pie crusts the old way with either shortening or butter and ice water but an oil crust is so much easier. It’s quick and you can just pat it into the pan or I roll it between wax paper and then transfer it into the pan. By the way, the pan is never greased when you’re baking pie.
In this case I use a standard 9-inch pyrex glass pie pan and not a deep dish pan. My pecan pie filling is super simple. Everything goes into one bowl, stir for one minute and boom. Done. It uses less butter than most along with brown sugar, white sugar, and corn syrup but keep in mind that corn syrup IS NOT high fructose corn syrup. They don’t even sell HFCS to the public.
If you’re trying to bake without butter, I also have a completely butter-free pecan pie in my Baking Without Butter category. My two pies are exactly the same recipe except one uses butter in the filling and one uses a trans fat-free spread. For my butter-free filling I used Benecol. I baked both pies today for a blind taste test and I served a small slice of each one on the same plate. Guess what? Nobody could tell the difference! They are both so delicious, filled with lots of toasted pecans and a sweet, gooey filling. I’m definitely making my pecan pie for Thanksgiving this year, and probably Christmas too, and maybe my birthday… then there’s tax day… and well, you get the picture. Enjoy! Click here for the recipe. – Jenny Jones
Click the “Your Photos” link at the top and use the link provided or just click on this link: YourPhotos@JennyCanCook.com An email window will open and you can attach or drag your photo into the email and send it.
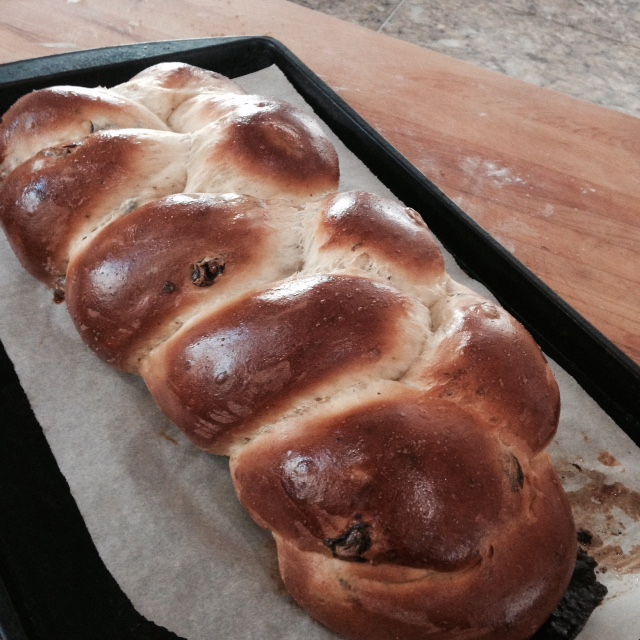
Is it too soon to start some Christmas baking? Not at my house. I just made my Christmas wreath bread because it’s never too soon to start testing all my holiday recipes. This slightly sweet egg bread is filled with golden raisins and topped with a light glaze and sprinkles. I love sweet breads and I thought about adding some nuts but I prefer it with only raisins.
It’s very similar to my original holiday bread, which was a braided loaf, but this one is shaped into a circle to make a wreath. Use as much or as little glaze as you like but the sprinkles are what makes it a Christmas bread. If you use pastel sprinkles, it becomes an Easter bread, or make it with no sprinkles or glaze and it becomes a fabulous toasting bread. I know it’s early but I’ve been waiting all year to start my Christmas baking.
UPDATE:Please note the correct baking temperature is 350and not 375 as initially posted.
Thank you for sharing your creations. I’m thrilled every time I see that someone made one of my recipes. Please send your pictures to: Your Photos@jennycancook.com …or share it on INSTAGRAM or TWITTER and hashtag it #JennyCanCook
KEITH MADE MY GRANOLA “I made your Granola and loved every bite. A thousand times better then anything I’ve bought in the shops. Thank you and love from Ireland xxxxx”
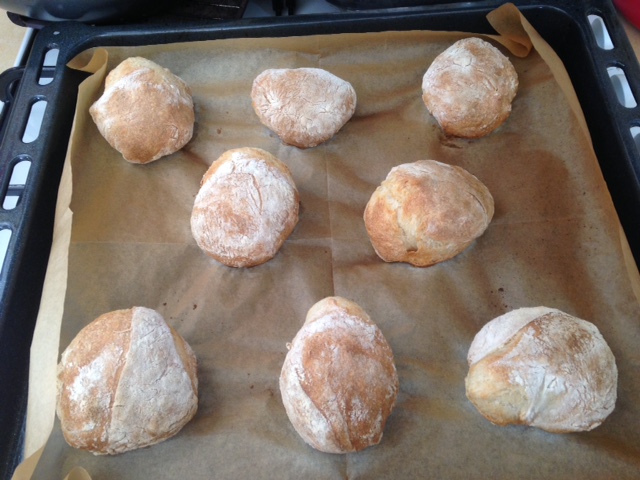
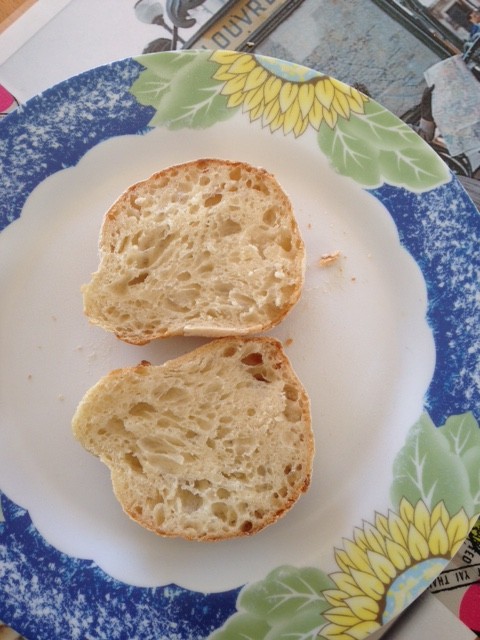
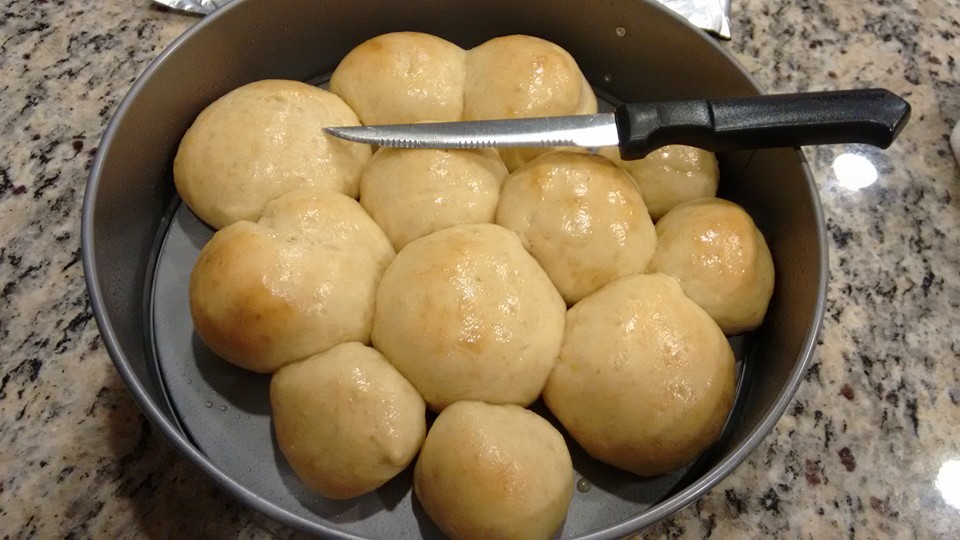
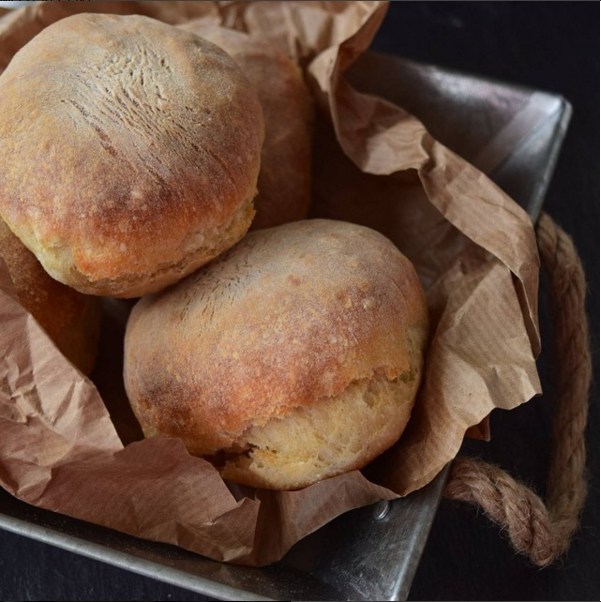
מאורה MADE MY NO KNEAD CRUSTY ROLLS “Dear Jenny, I could not believe that just 1/4 tsp of yeast would be enough, but decided to stick with your recipe. The result was just awesome. The first picture is after 35 min. And the others are selfexplanatory… Thank you so much!”
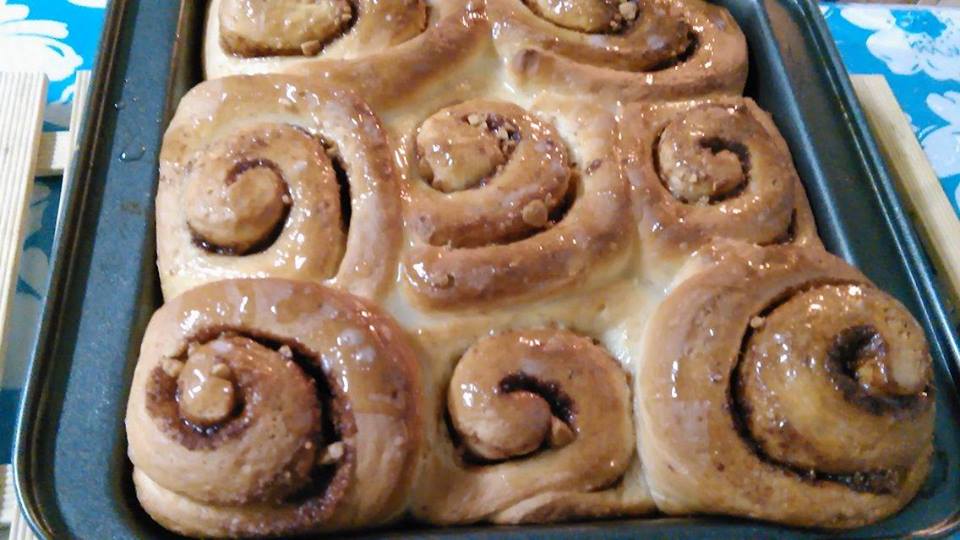
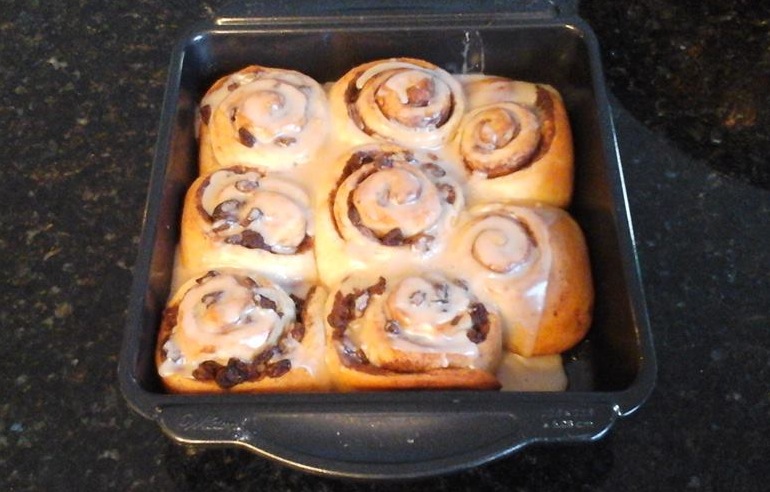
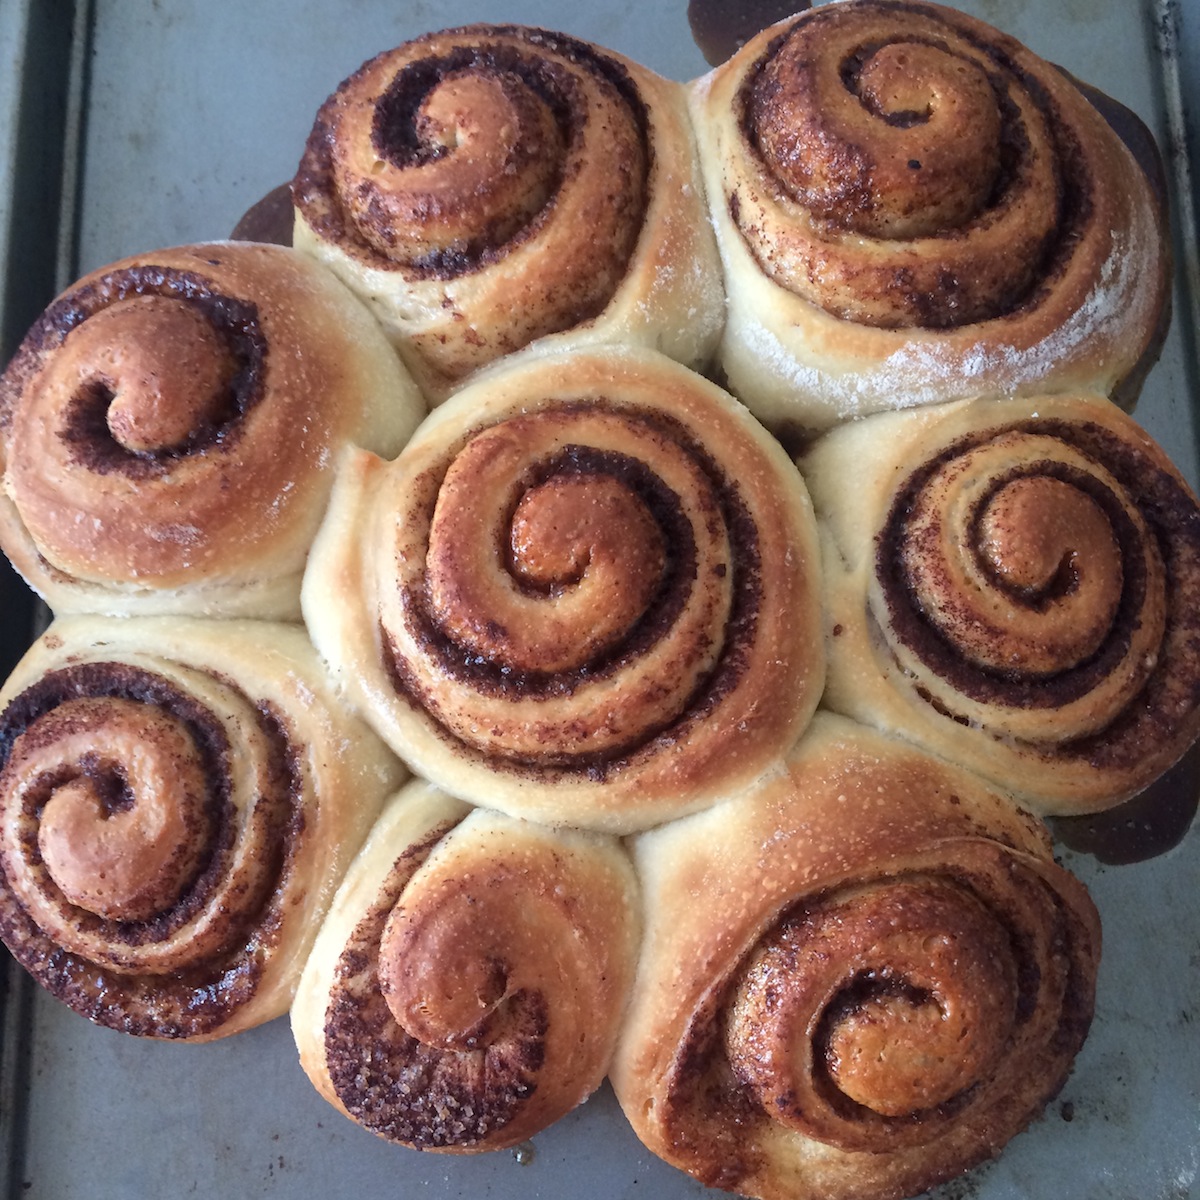
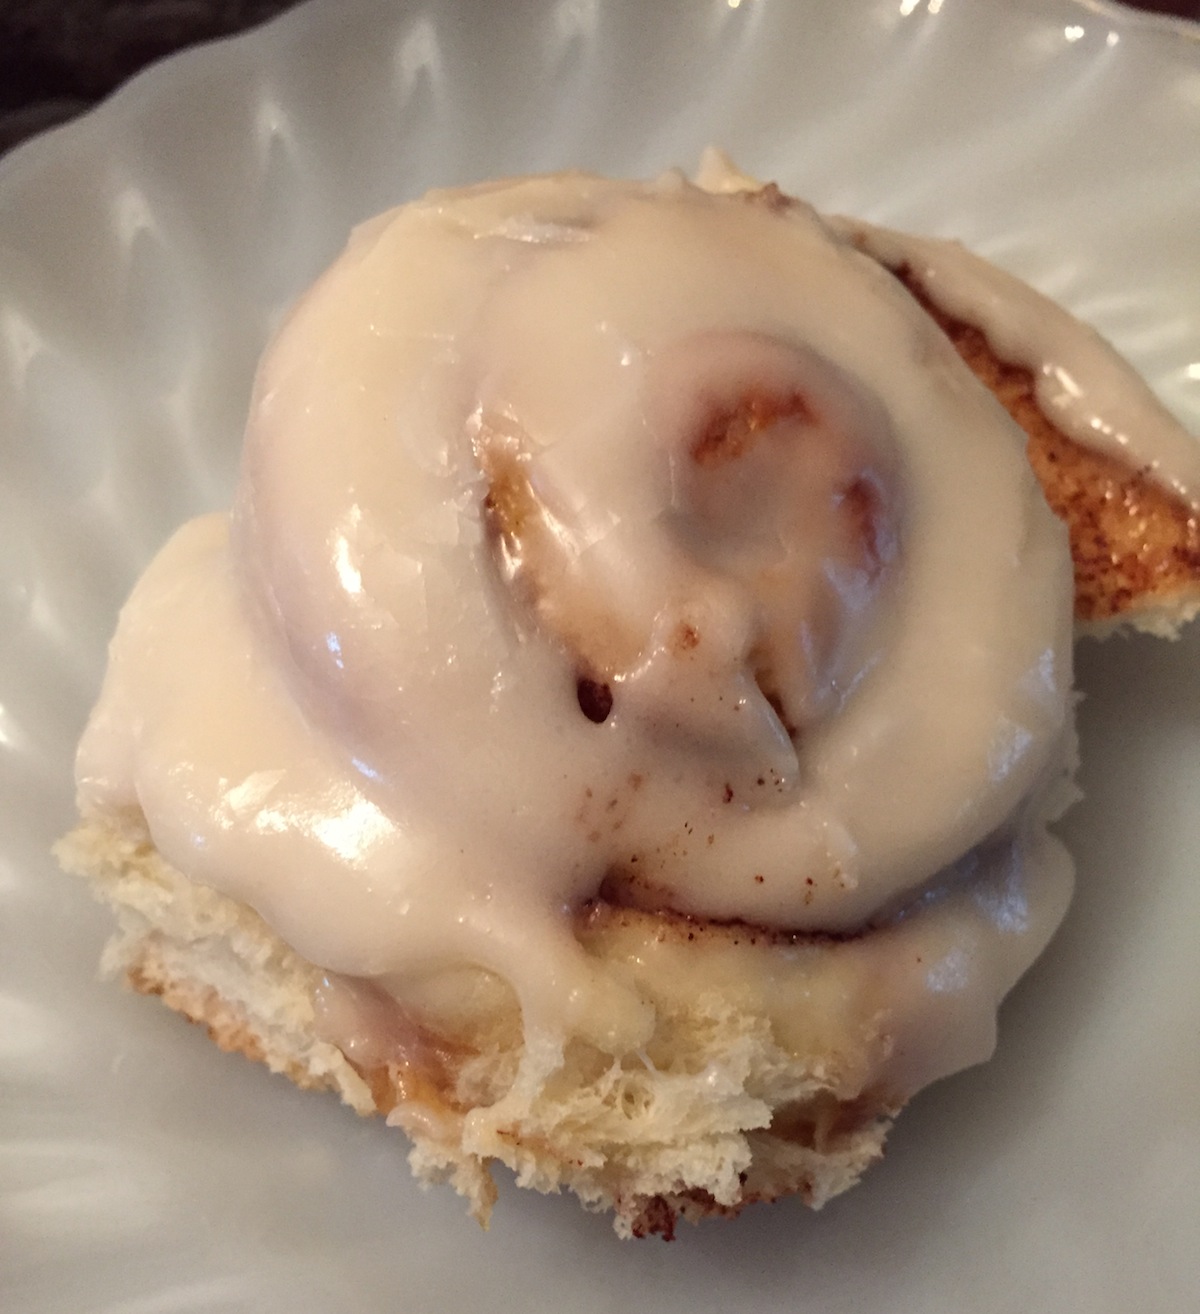
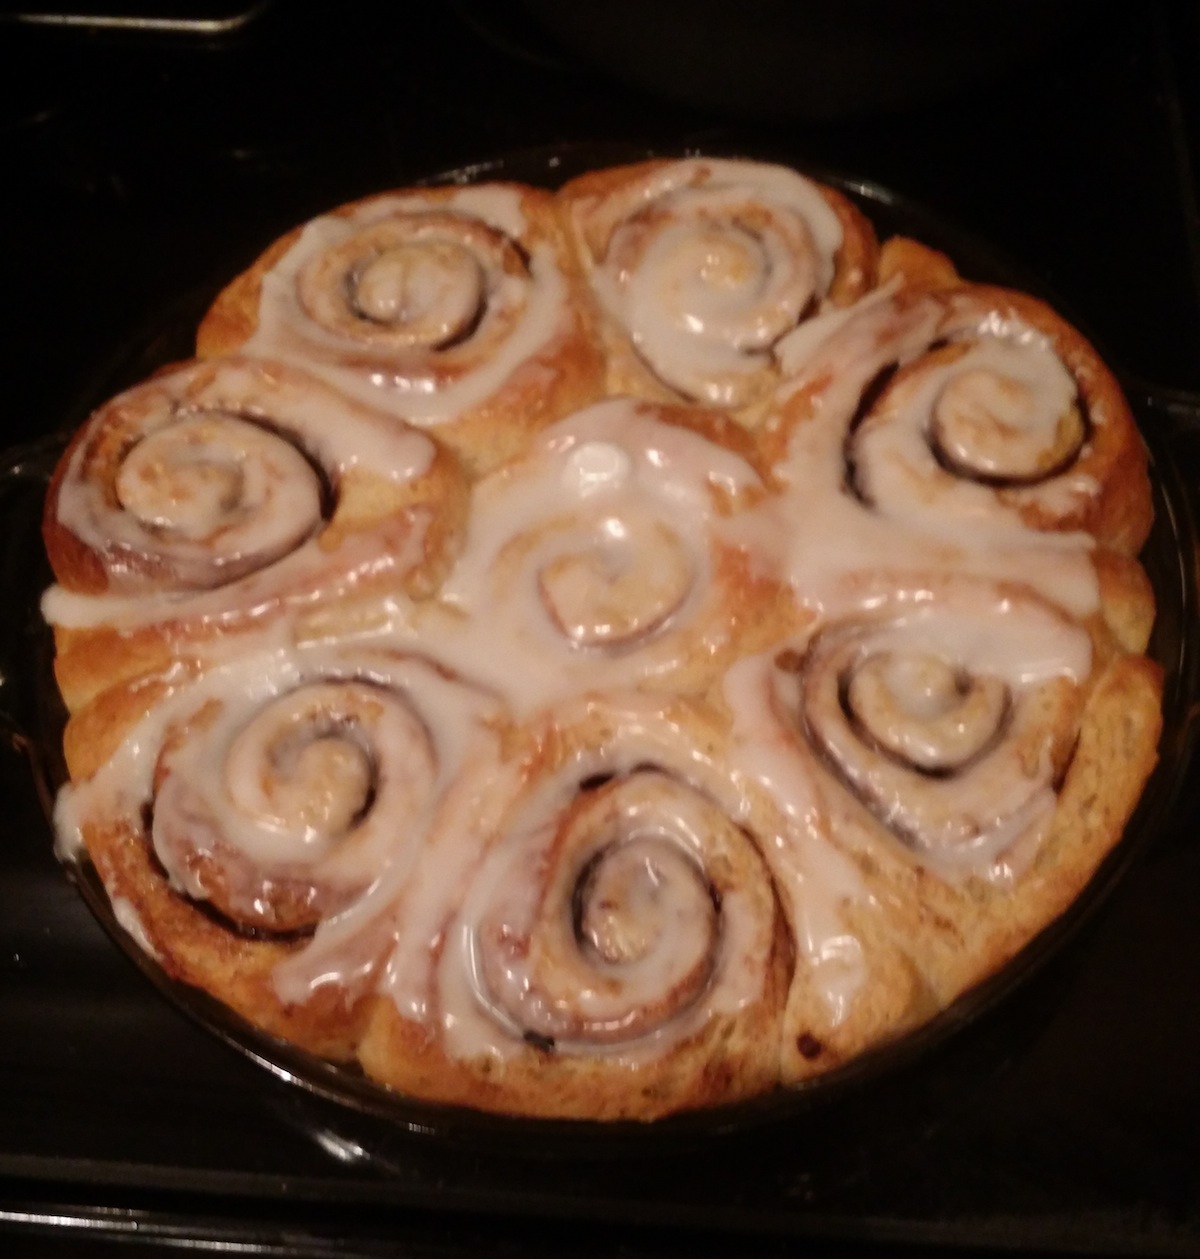
CHIN CHIN MADE MY CINNAMON ROLLS “Hi Ms. Jenny. I made a “cinnamon rolls” for the first time and I followed your recipe. Thank you.. More LOVE from The Philippines…You Rock.”
TOMMY MADE MY POTATO PANCAKES “Thanks Jenny some potato pancakes. Polish placki kartoflane. My polish grandma born in Poland taught me many things about cooking, she was a senior cook for Fanny Farmer Candies. Wrote cook books for them and retired before the company was sold. I joined the US Marine corps and lost any recipes being in the service. You have brought back so many things from my youth. Thank you.”
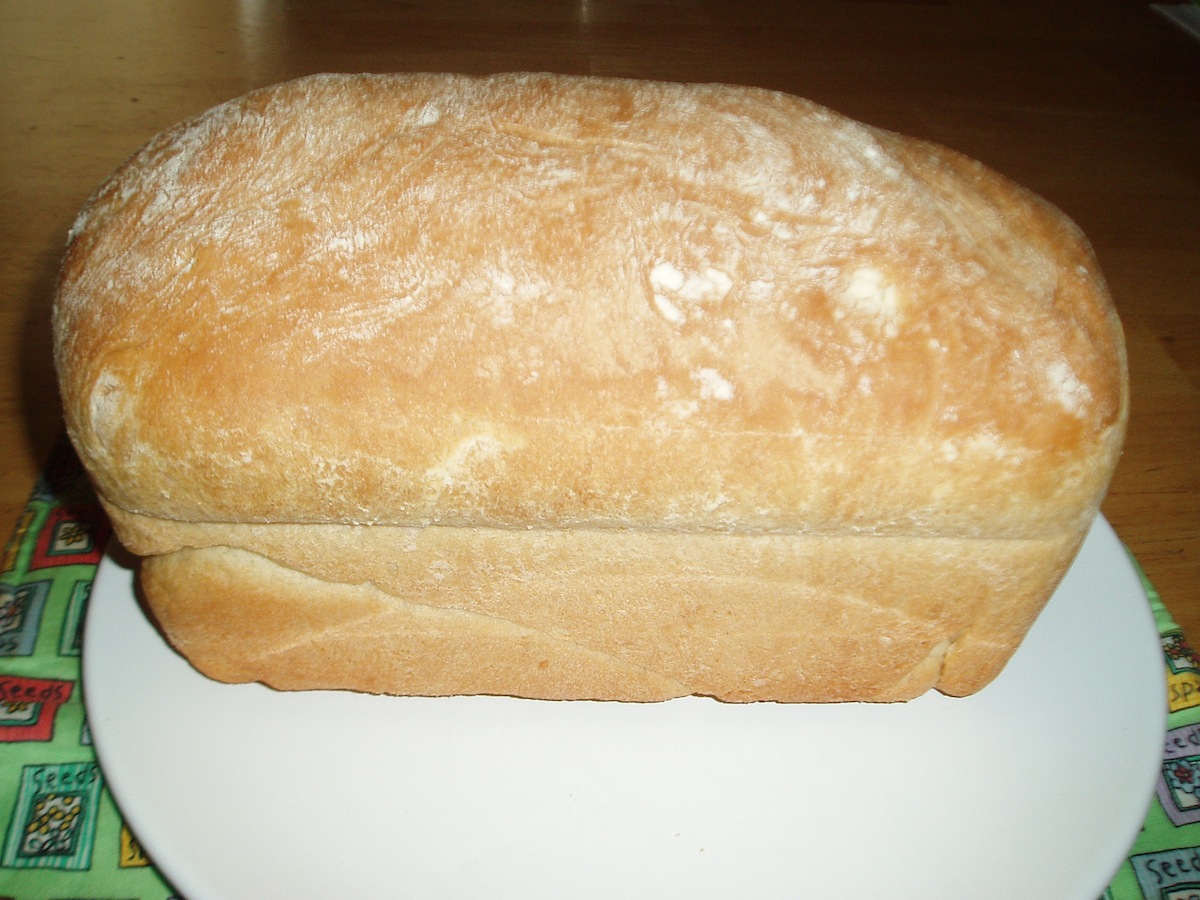
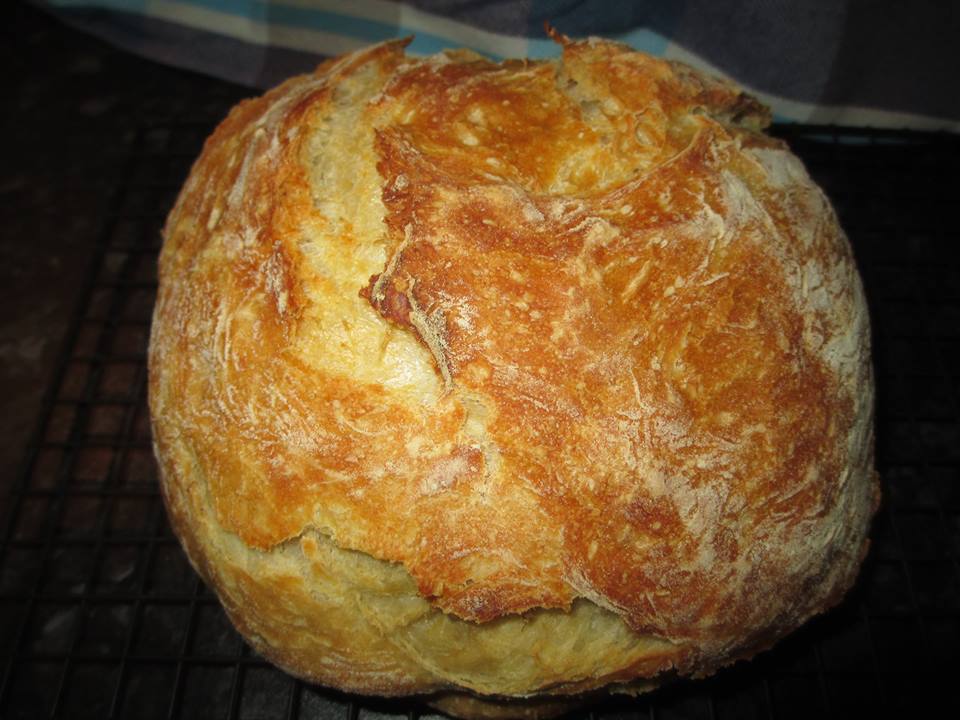
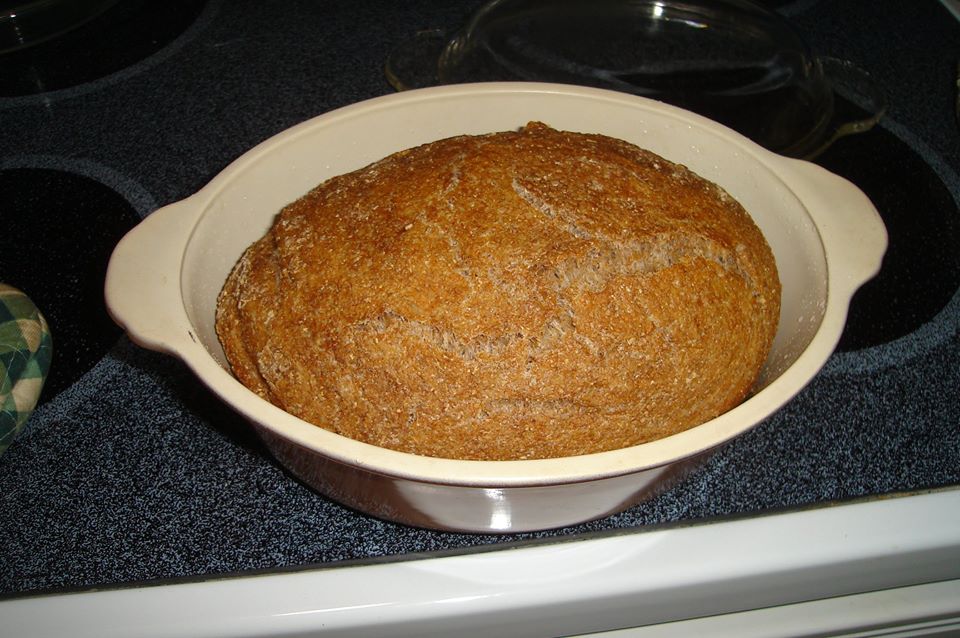
…and MY BREAD “Home made bread your recipes thank you. “
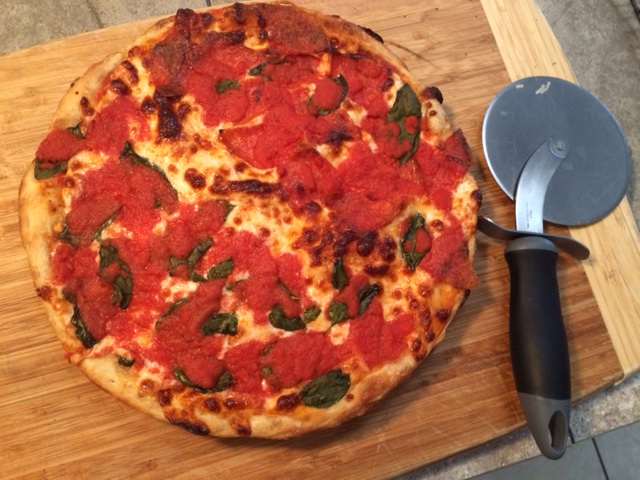
…and MY PAN PIZZA “Your Pizza recipe in a lodge skillet several times, perfect every time. I can not tell you how many times I have shared your recipe. Thank you from one Pollock to another. “
SHAKIBA MADE MY CINNAMON ROLLS “Hi Jenny. I made your cinnamon rolles recipe and it turned out awesome!! I’m 17 and It was the first time that I was baking cinnamon roles but following your directions from your youtube video wasn’t hard at all; and actually I had alot of fun! Thank you for your awesome funny videos and healthy recipes! P.s. I made the doughe only by hand and while kneeding it, I had to add an extra cup of flour in order to reach the right texture! 🙂
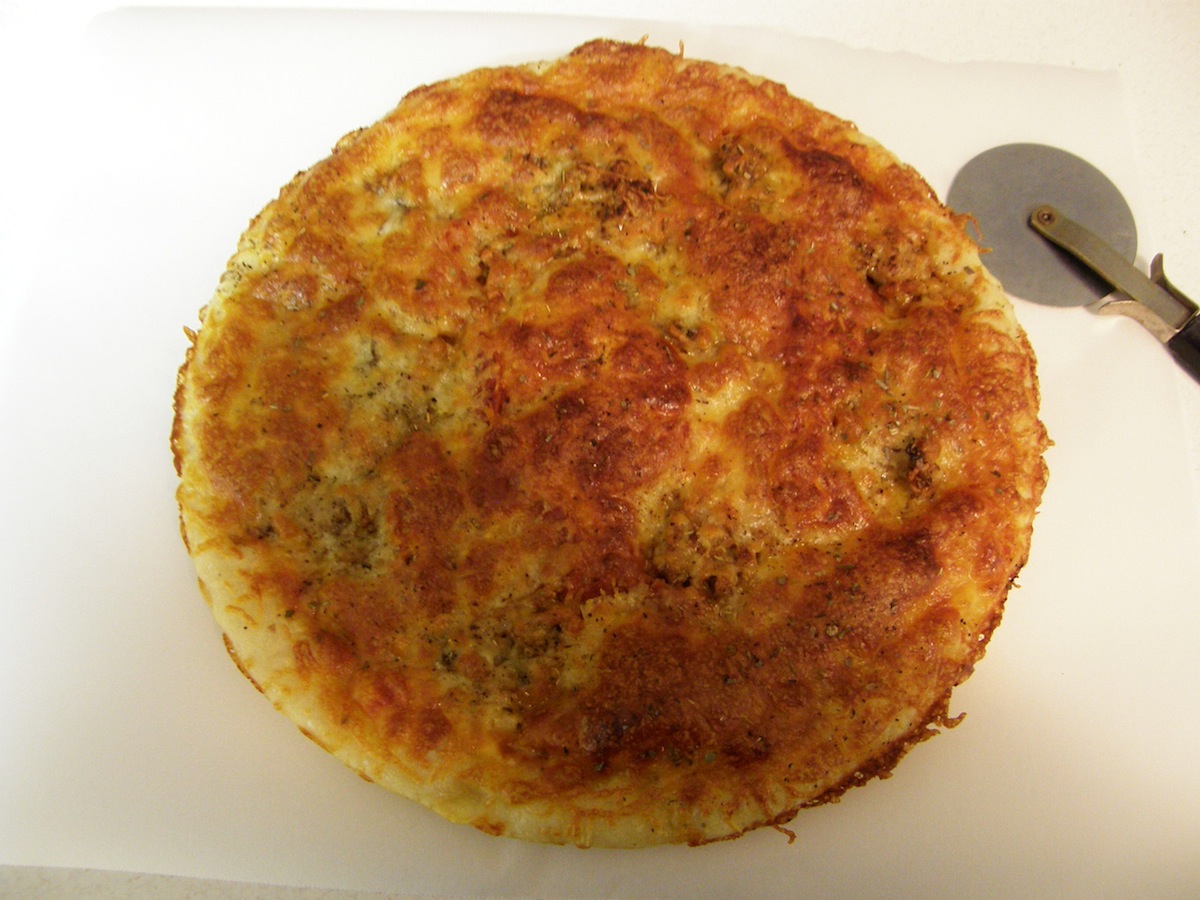
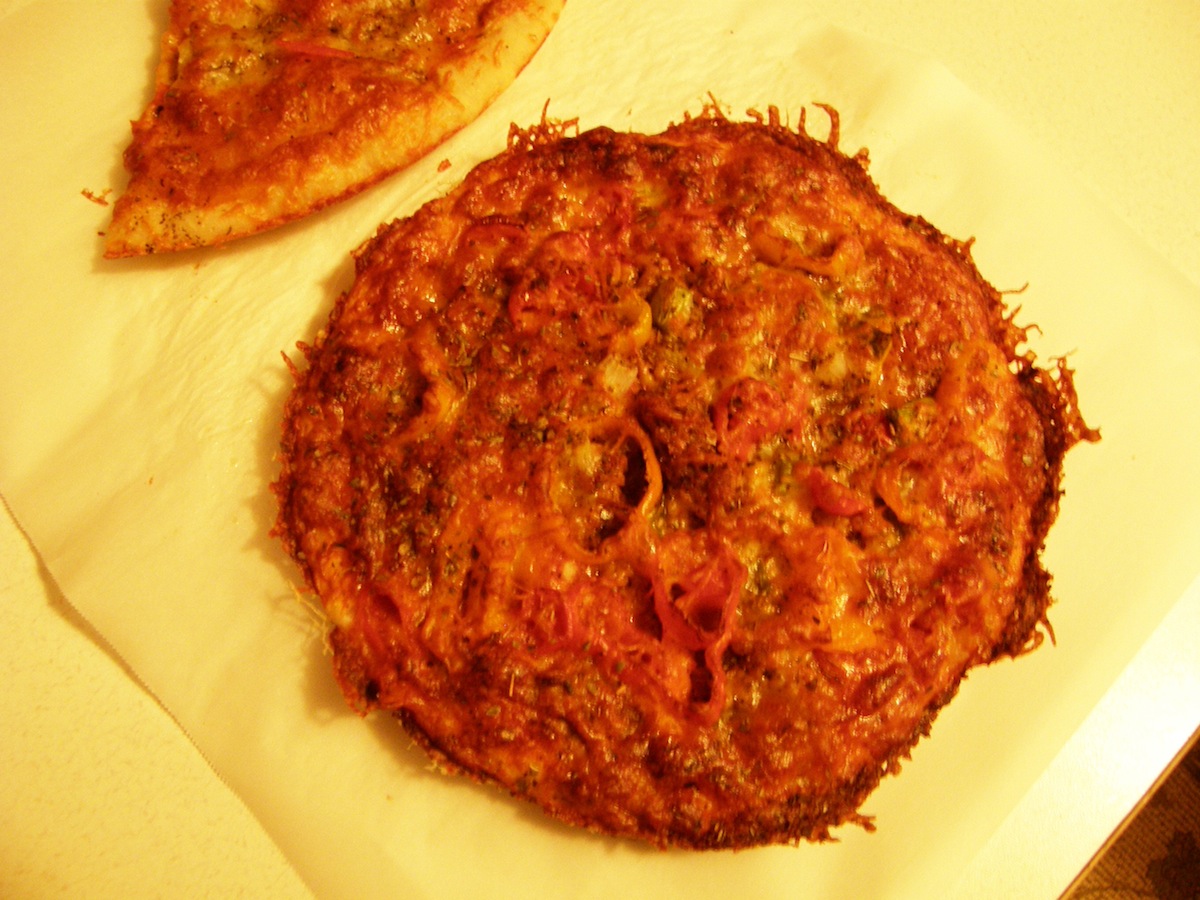
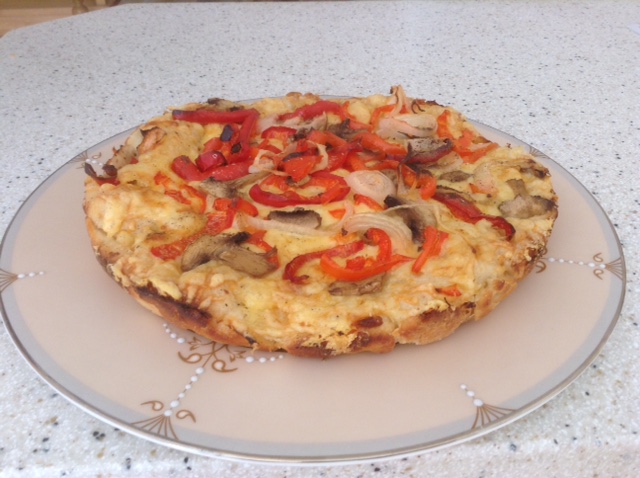
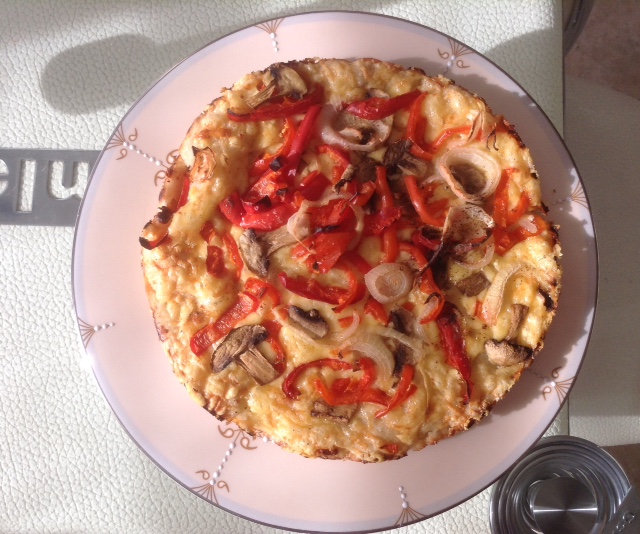
CHRISTINE MADE MY PAN PIZZA “Jenny, I love your YouTube videos and your web site. The recipes are all so good and you are so fun to watch. I love your galley kitchen. If I could have a house built, it would have your kitchen. Unfortunately, I’m 71 so that ain’t gonna happen. I made the pan pizza tonight. The crust was crisp but tender. My husband loved it. He has trouble eating crispy food but this was easy to eat. It was fantastic. I also made a small one gluten free, following your recipe, but using gluten free flour mix instead of regular flour. It turned out so much better than I hoped for, not like cardboard like most gluten free. As soon as I watched the video of how you made the crust I knew I could make it gluten free because the secret to good gluten free is a loose dough. The attached pictures are of the big one made exactly to your recipe and the small one is gluten free with a piece of left over from the big one to the side in the picture. Can hardly wait to make that pecan pie that came in the mail today. “
SHARON MADE MY FASTER NO KNEAD BREAD “This is not only the fastest artisan bread to make, but also the best! This is my second loaf in three days time, this was so delicious. …I didn’t get a chance to take a photo of the first one, and almost didn’t get a picture of this loaf. My dutch oven handle was only for temps up to 400º, so I removed the handle, and rolled up a piece of aluminum foil to stick in the hole 🙂 This recipe, thanks to you Jenny, is one I’ll make often!”
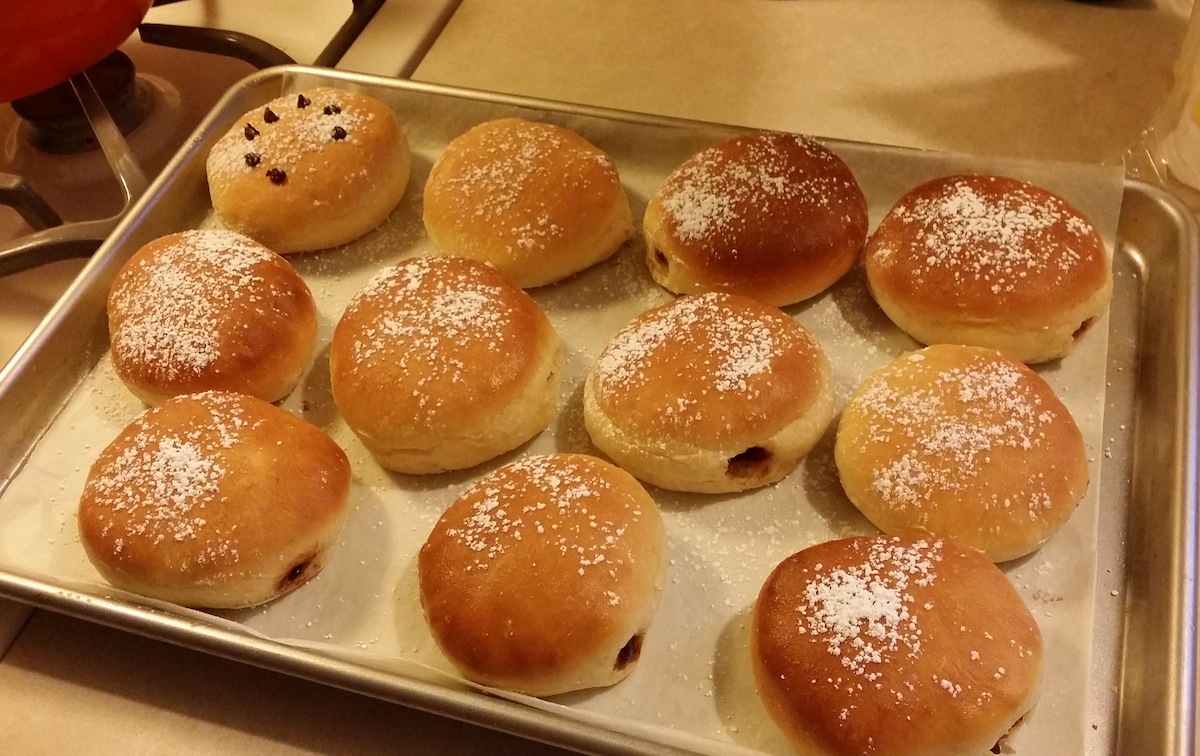
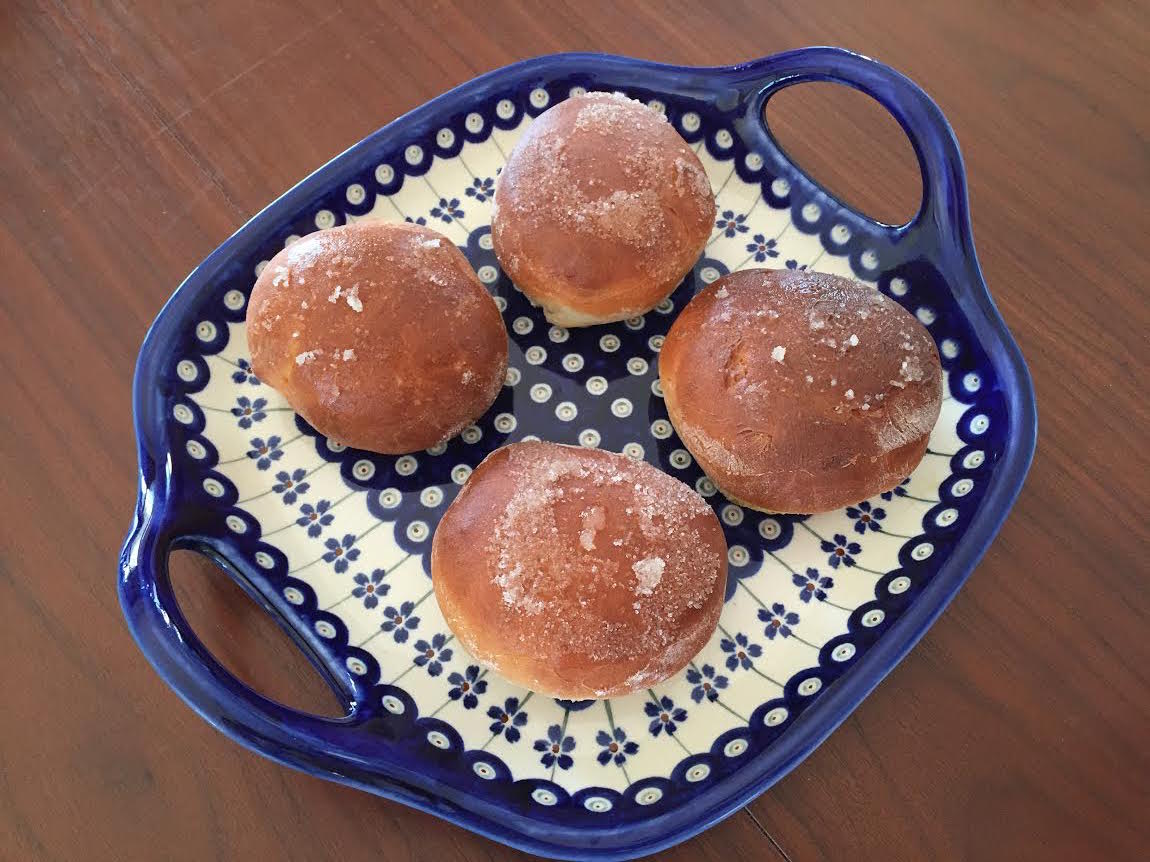
ADELE MADE MY PACZKI “Hi Jenny, I have made your polish donuts twice and they came out awesome. My polish husband was skeptical at first because the original donuts are fried. After I baked it, he was stunned. It was healthier and tasty. Most of all, I get to use his favourite jam from the Polish store – Fruta Plum Butter, Stovit. He reckons that only Polish jams are real jams with real fruits. I plan to make this for the upcoming festivals to share with friends and family. You are awesome, making cooking and baking so simple.”
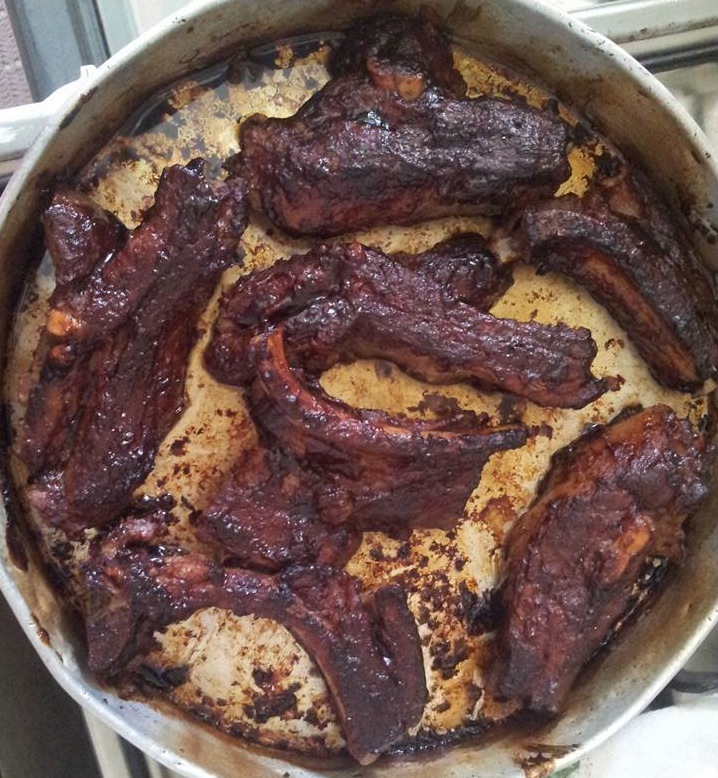
MARILYN MADE MY NO KNEAD BREAD, CINNAMON ROLLS & LEMON BROWNIES “I make your no-knead bread almost every day and I have made your cinnamon buns a few times along with the lemon cake. Just finished making the rib dish and, sure enough, the meat is so tender it falls right off the bone. I will be making your stew recipe next. I did add a few raisins at the end to my cinnamon rolls, just poked them into the openings. Thanks again for the wonderful recipes. I have quite a few family and friends now cooking your recipes out here in Campbell River, British Columbia, Canada. Take care.”
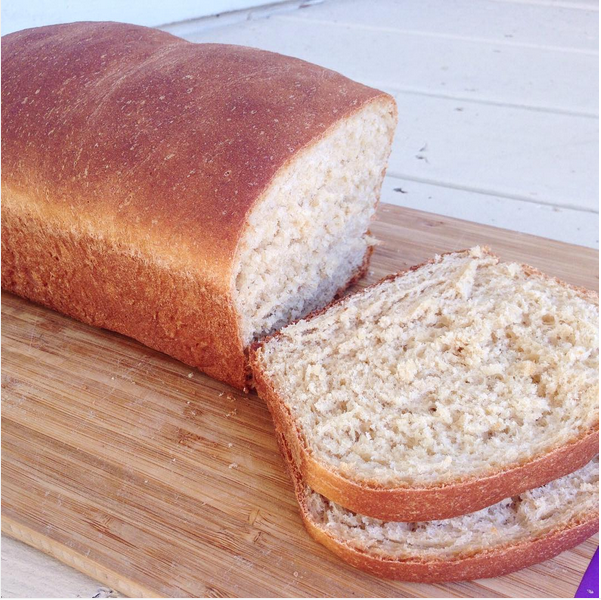
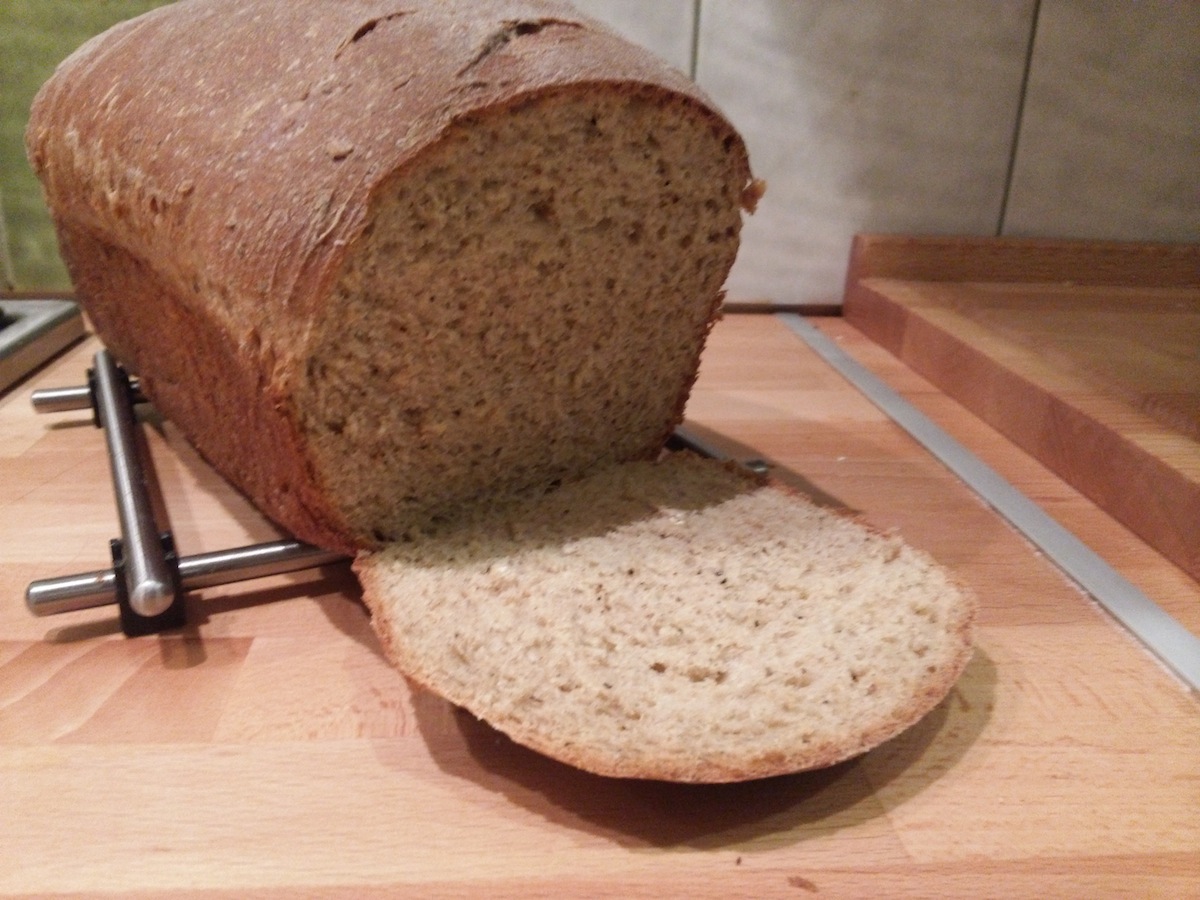
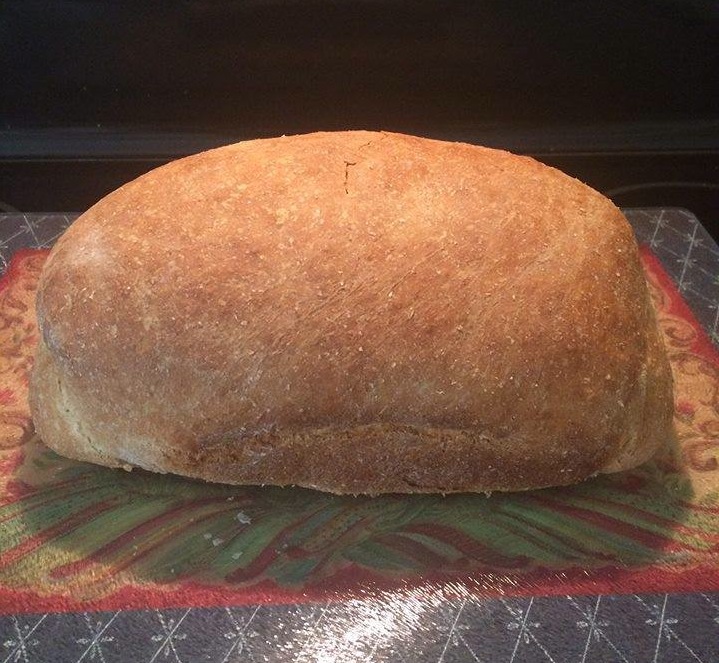
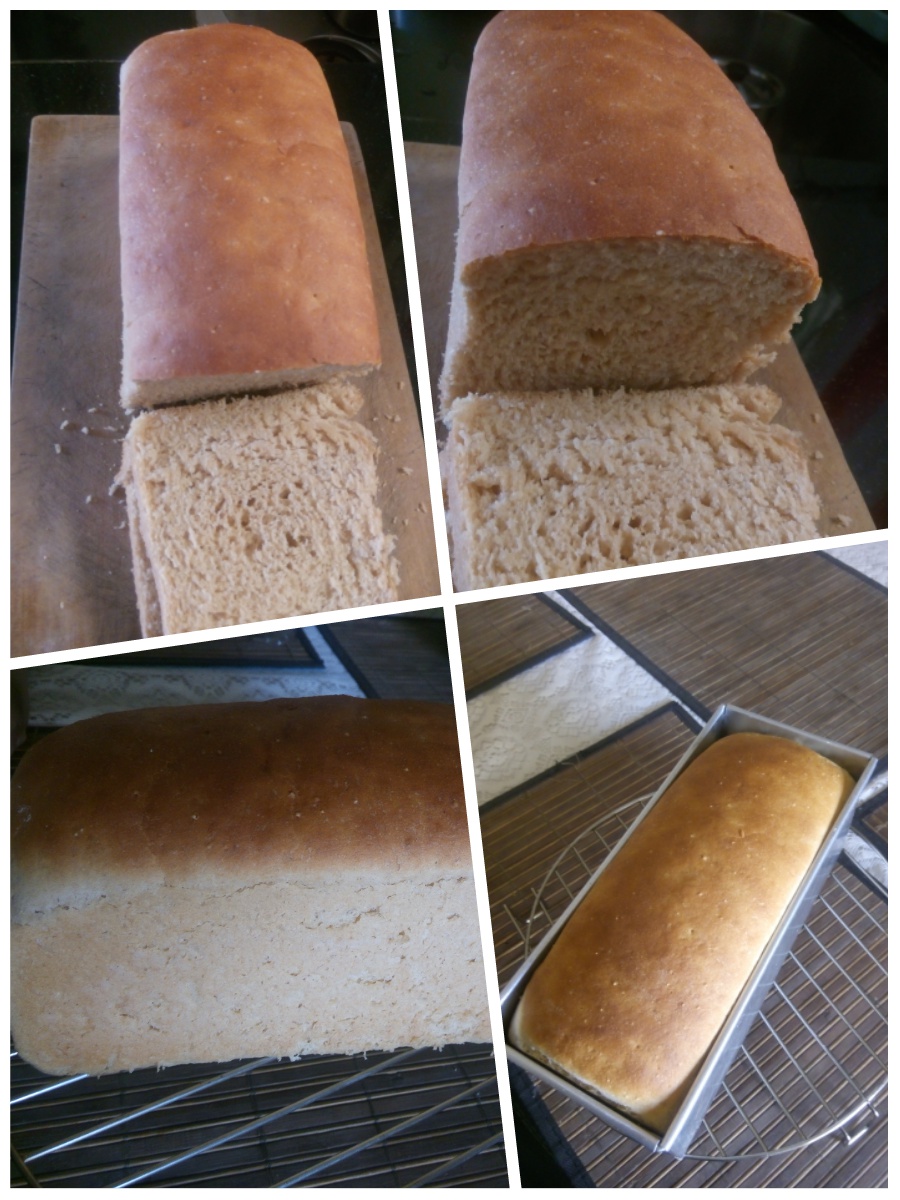
HEALTHIFYMYKITCHEN MADE MY SIMPLE WHOLE WHEAT BREAD “You knead to make this! Whole wheat sandwich bread – Easy to make and so much better than store bought! Thanks for the recipe.”
ANNA MADE MY SIMPLE WHITE BREAD INTO ROLLS “Hi Jenny! I made your Simple White Bread recipe today but shaped them into dinner rolls because I was running out of time (for the baking part)… I also put a bit of melted butter on top after taking it out of the oven… my daughters loved it! Thanks so much again! 🙂 “
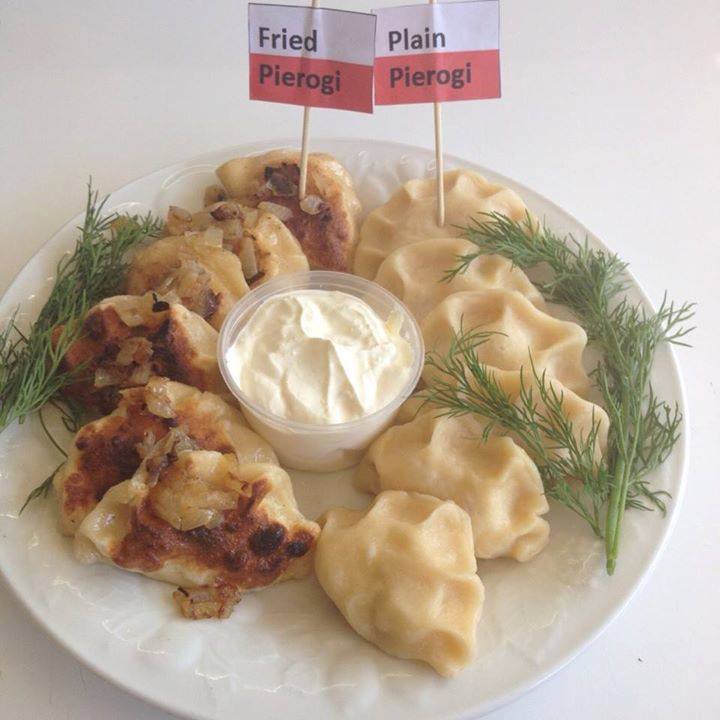
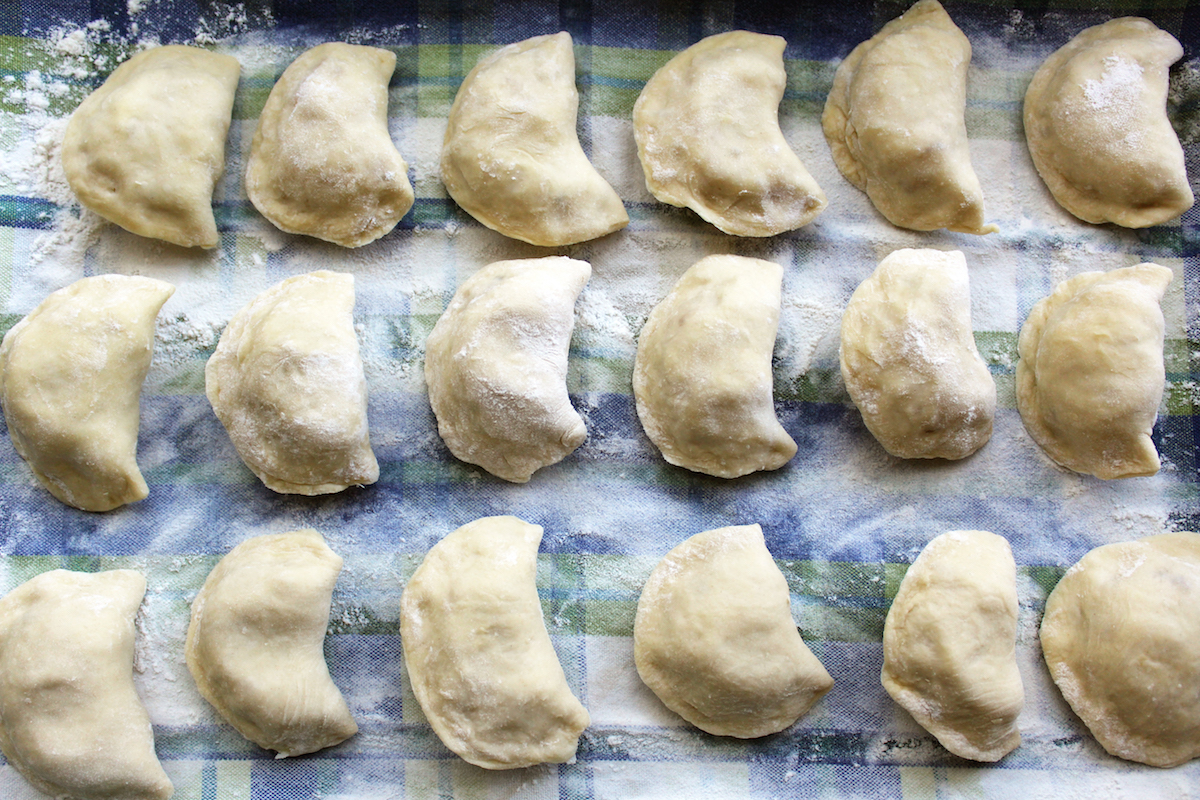
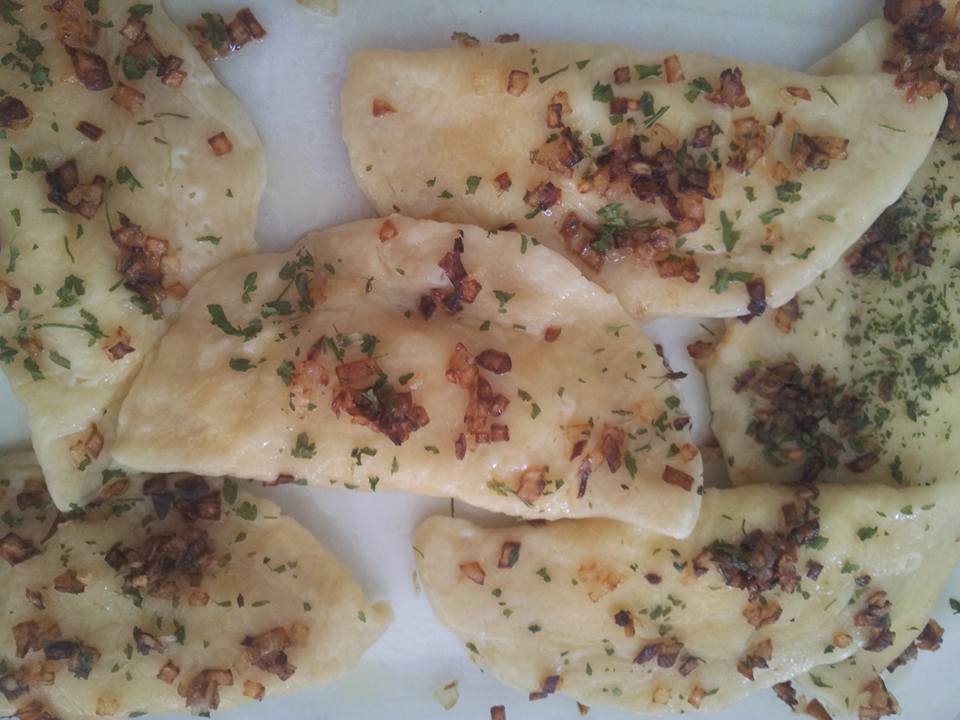
TANIA’S DAUGHTER MADE MY PIEROGI “My 14 year old daughter had to cook at school, an international dish for her food tech assessment this year, she followed your recipe and came away with an A grade…thank you!!”
Almost every time I make Polish pierogi, one or two don’t make it. They come apart when I boil them because I unknowingly left an opening or a little hole when I sealed them up. But not today. Every single one was perfect! I made 27 piroshki and they all survived.
We had them as a side dish for dinner with chicken and some brocolini although when I was growing up, pierogi was the entire meal… along with fried onions, bacon bits, and lots of sour cream. So I had a little sour cream and onions but I skipped the bacon bits.
Whoever invented the concept of mashed potatoes wrapped in dough, I thank you. Next I’ll be working on a sauerkraut-mushroom filling. Yummm! But potato & cheese pierogi will always be my favorite. Click here for the recipe. – Jenny Jones
Or… Share it on INSTAGRAM or TWITTER and hashtag it #JennyCanCook
VERENA MADE MY FASTER NO KNEAD BREAD “Made your No Knead bread I loved how it came out I did this before but I let it rise for like 20 hours I like this a lot better. Thank you Miss Jenny 😉 Happy Halloween.”
CATHY MADE MY SIMPLE WHOLE WHEAT BREAD “Made your simple whole wheat bread and it’s so tasty and soft and delicious.”
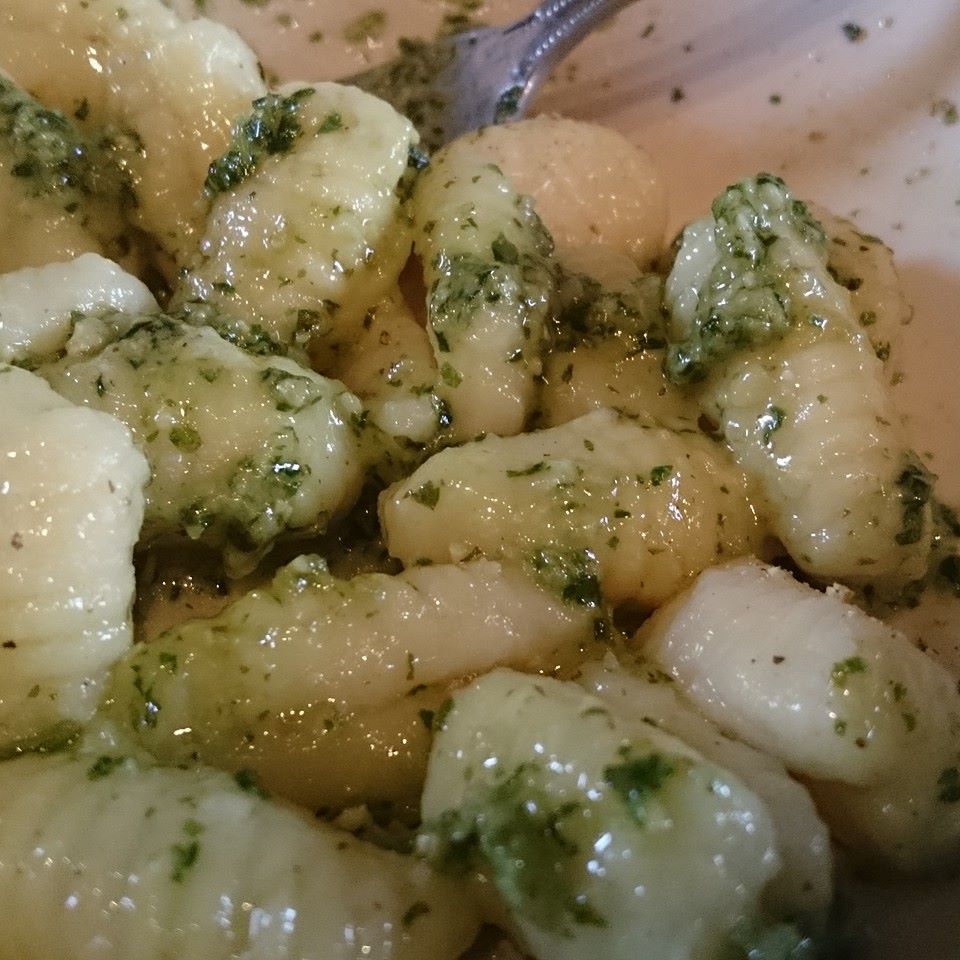
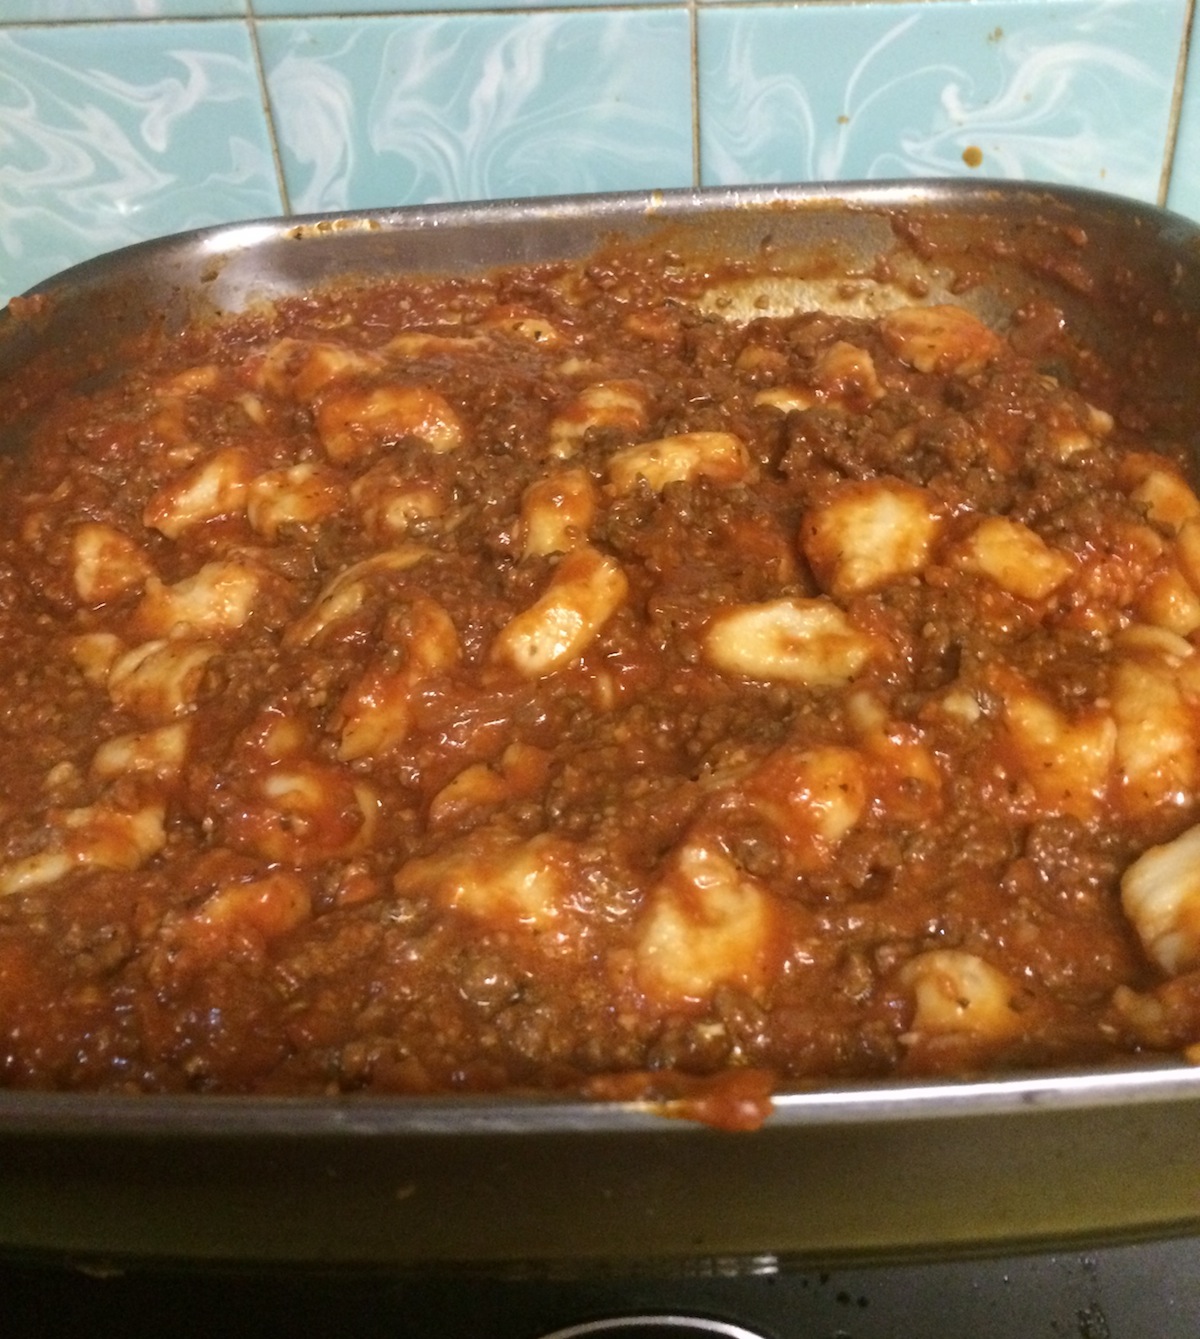
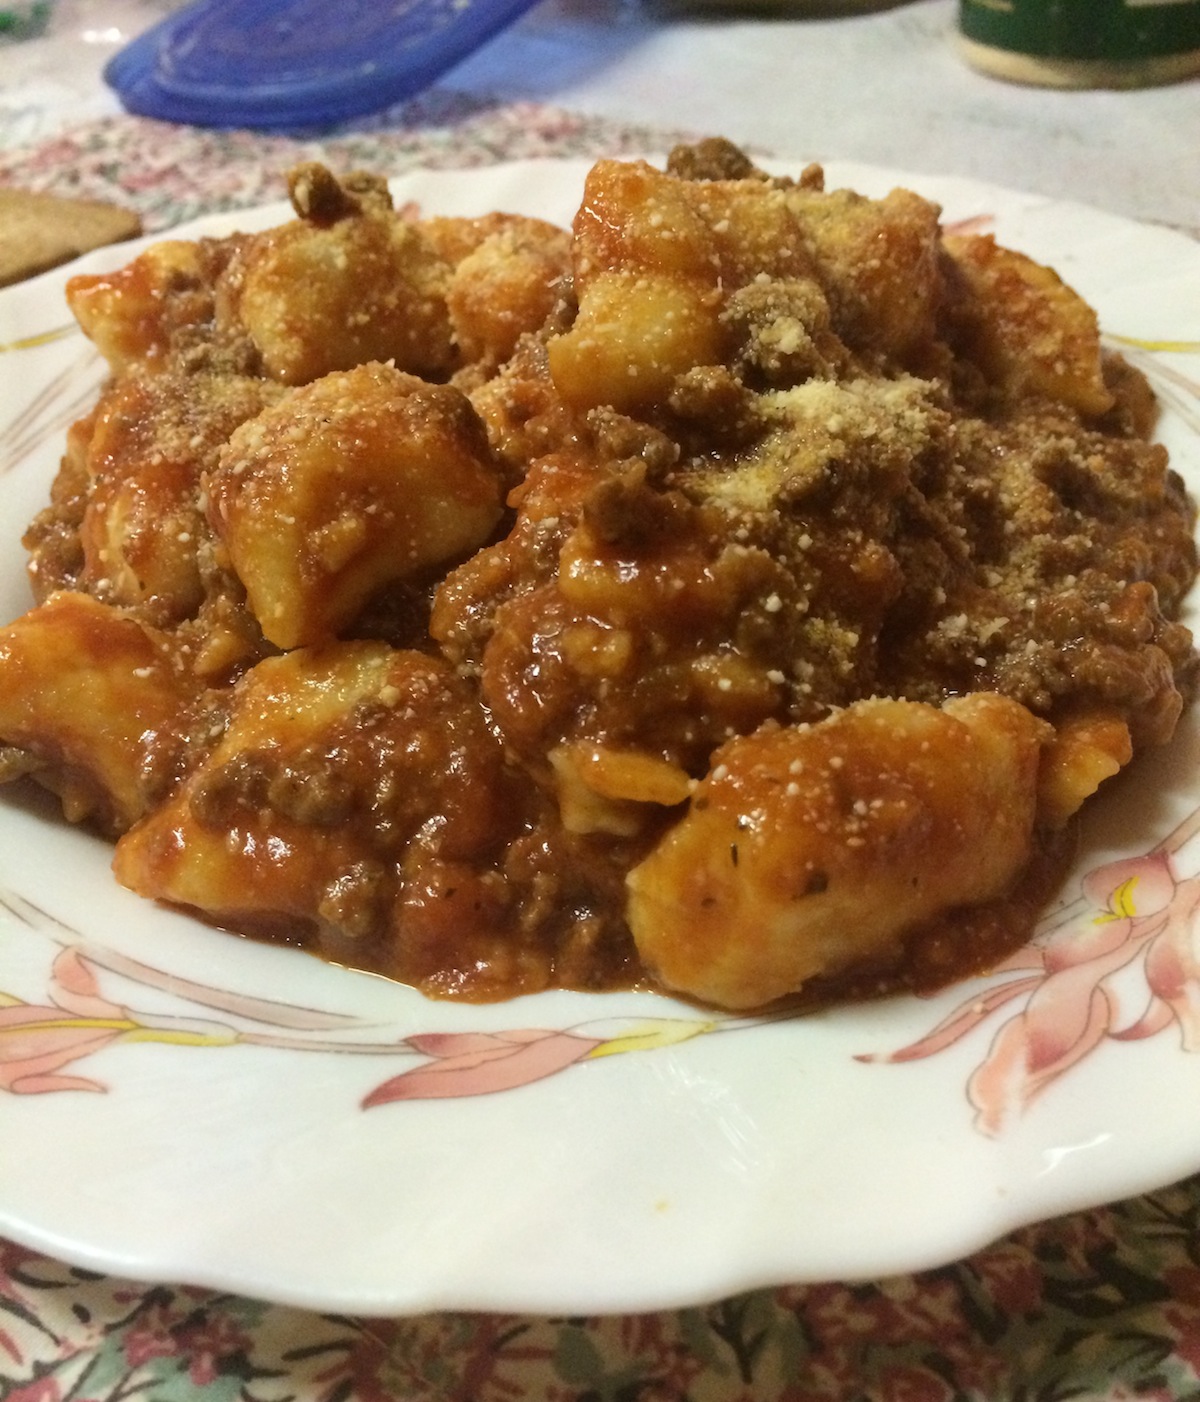
CATHY MADE MY POTATO GNOCCHI “Hi Jenny. Thank you for your wonderful recipes. I recently discovered your website and I have planned on making quite some recipes of yours. Your simple whole wheat bread was the best ever. No holes in the crumb and very soft and light. The gnocchi… I couldn’t believe the amount of flour in the recipe. I thought they were going to come out chewy and tough, but not at all. They were delicious! I made two different meals out of them: browned in algae butter and fresh parsley and the others were simply boiled and then covered in home made basil pesto. Thank you for sharing your recipes! Love from this home cook from Belgium.”
VIOLETTA MADE MY SIMPLE WHOLE WHEAT BREAD “Hi Jenny. Thank you very much for this recipe. It was very easy and very tasty.”
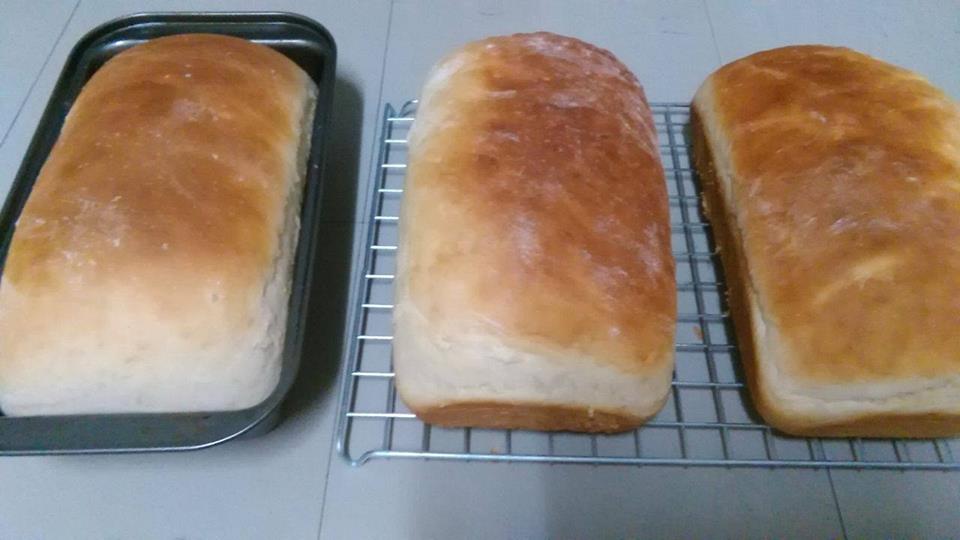
CHIN CHIN MADE MY SIMPLE WHOLE WHEAT BREAD “Hi Jenny, Here are 3 Whole wheat breads I made tonight. I follow your recipe and I have a lot of orders and it add income…thank you from Thailand but I’m a Filipino.”
ANGELA MADE MY SIMPLE WHOLE WHEAT BREAD “Added 2 TBSP of honey…honey wheat bread everyone loves it. Ty.”
ELAINE MADE MY CINNAMON ROLLS “I made the cinnamon buns you showed step buy step with you stoping often Repeating section , but they turned out .for the first time in my life. Thank you and there good.”
MARIA MADE MY NO KNEAD WHOLE WHEAT BREAD “Thank you, this is my first attempt at any bread.”
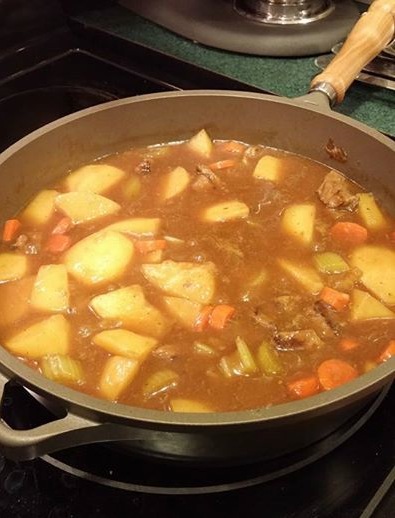
DEBRA MADE MY BEEF STEW & NO KNEAD CRUSTY ROLLS “Your beef stew on a cold and rainy day.”
ANNA MADE MY SIMPLE WHOLE WHEAT BREAD “I just made your Simple Whole Wheat Bread! I used Sprouted Whole Wheat flour! It looks DELICIOUS! I’ll eat eat soon at dinner time! Thanks SO MUCH!”
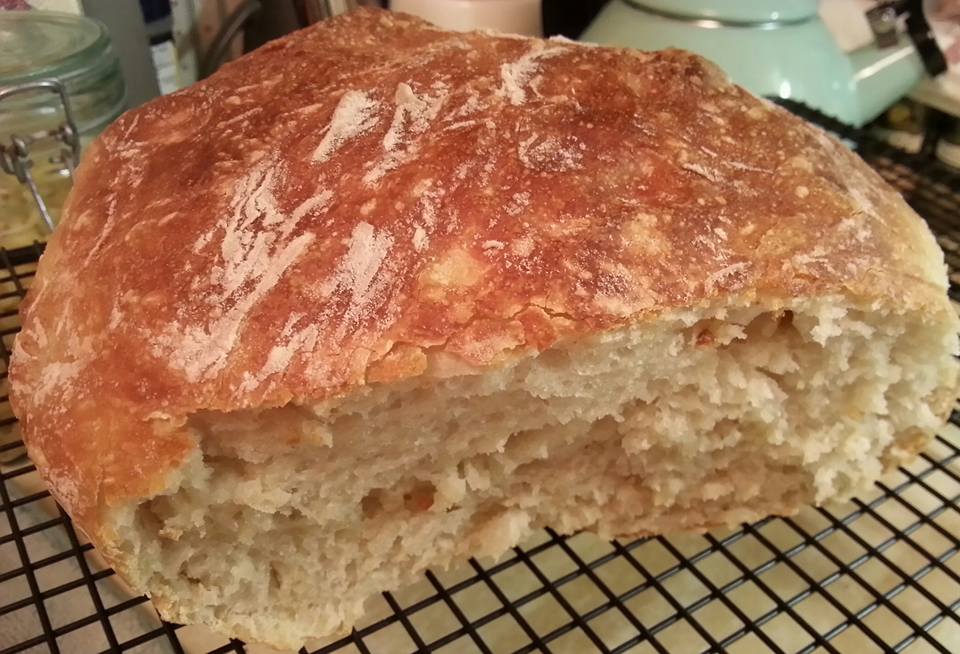
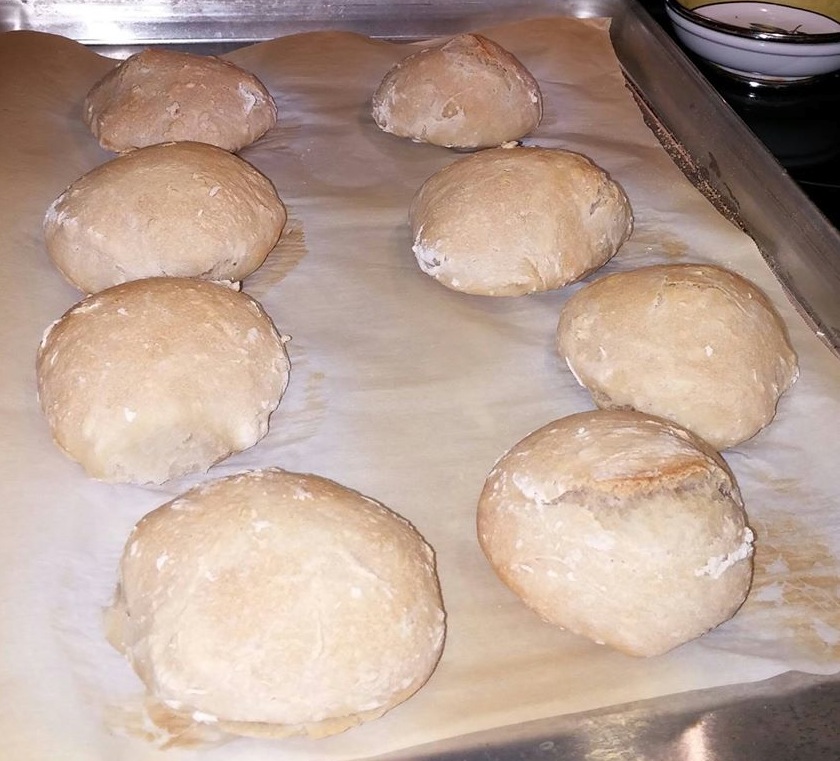
FANCYFREED MADE MY NO KNEAD CRUSTY ROLLS “Simple and good!”
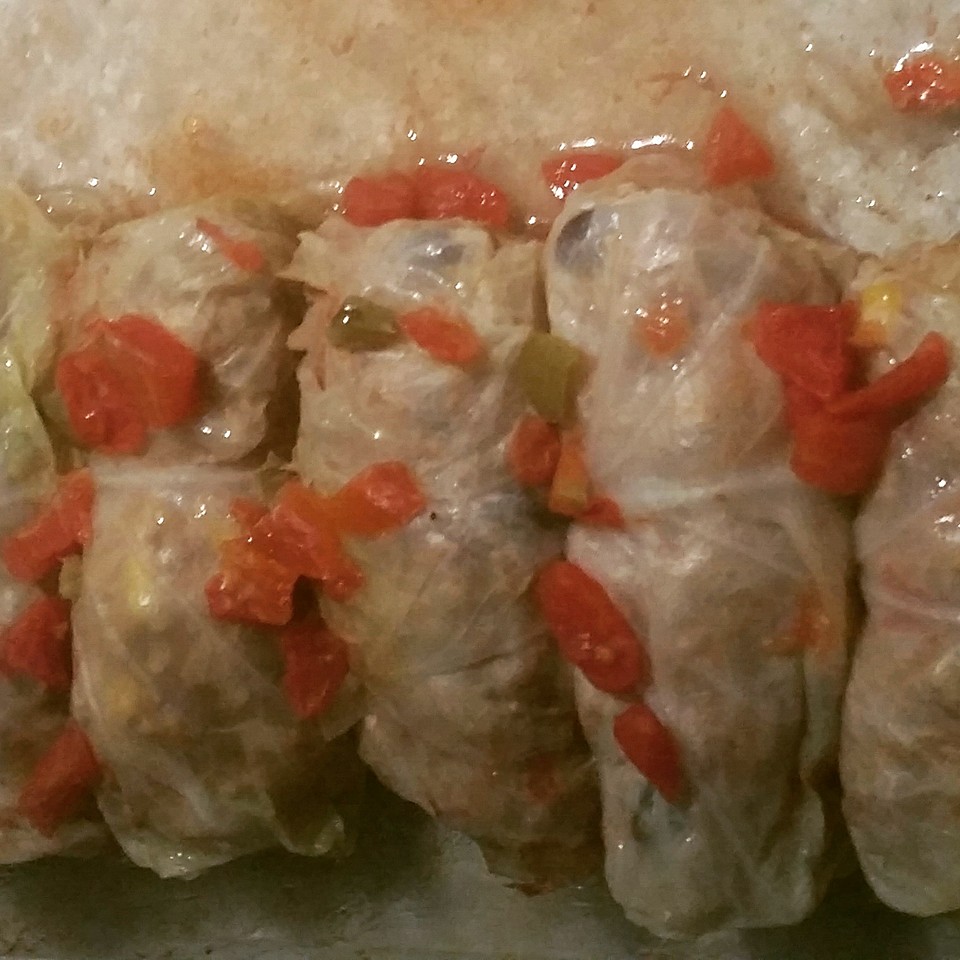
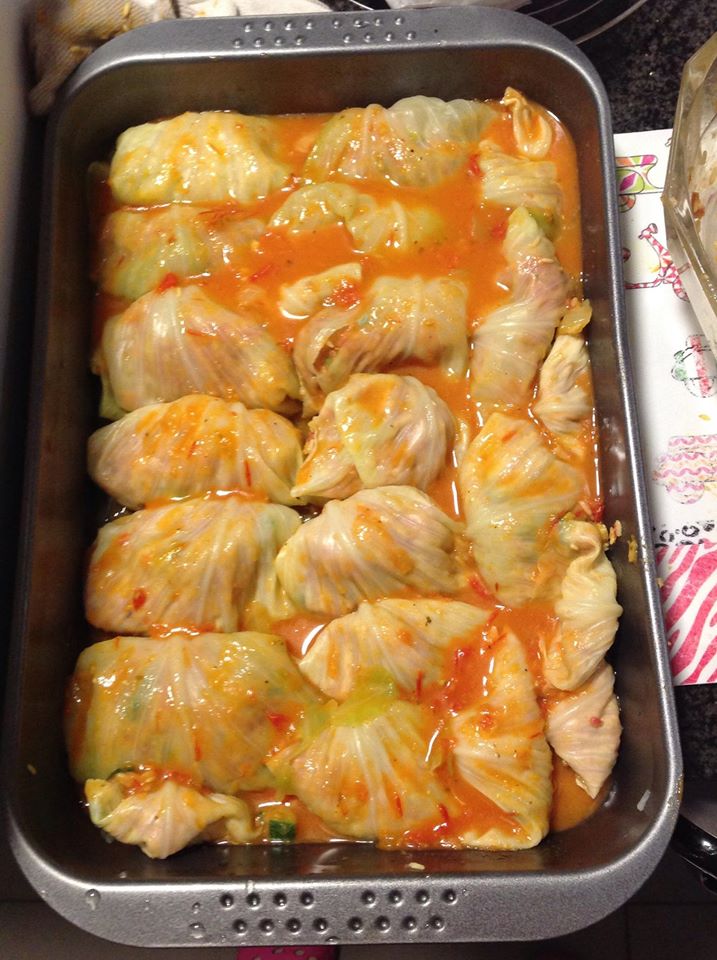
KAREN MADE MY CABBAGE ROLLS
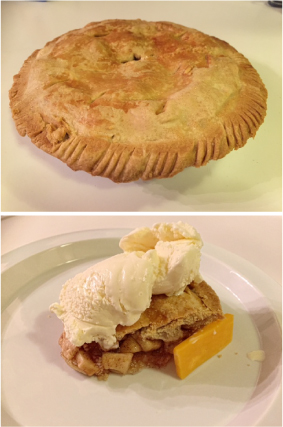
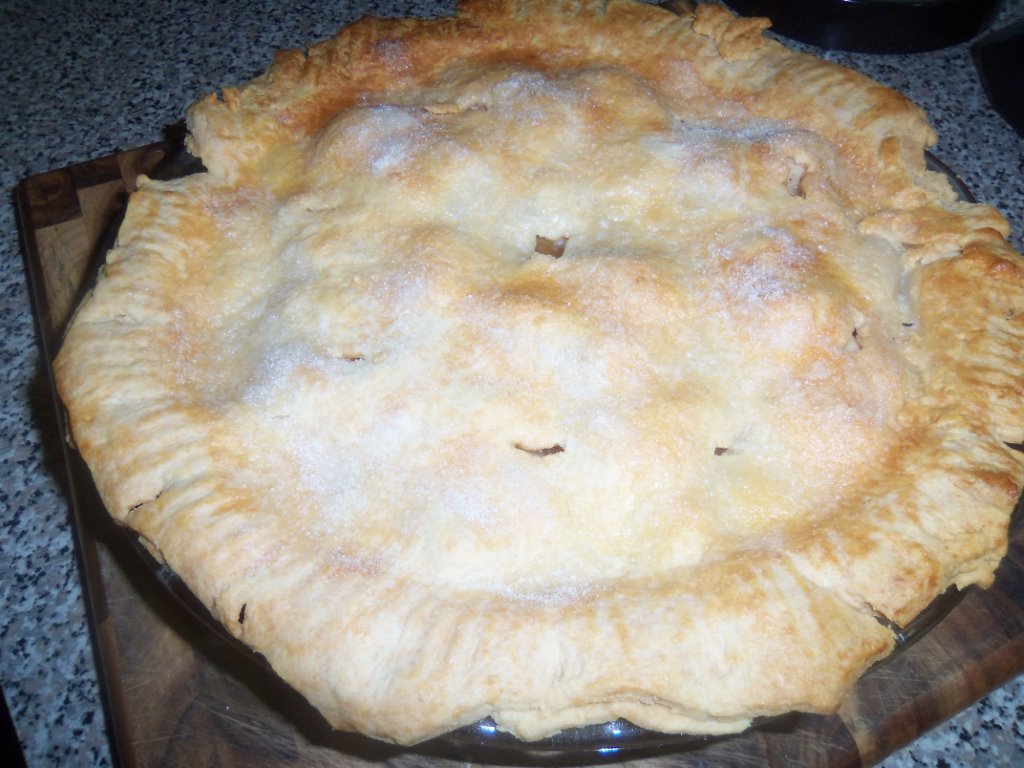
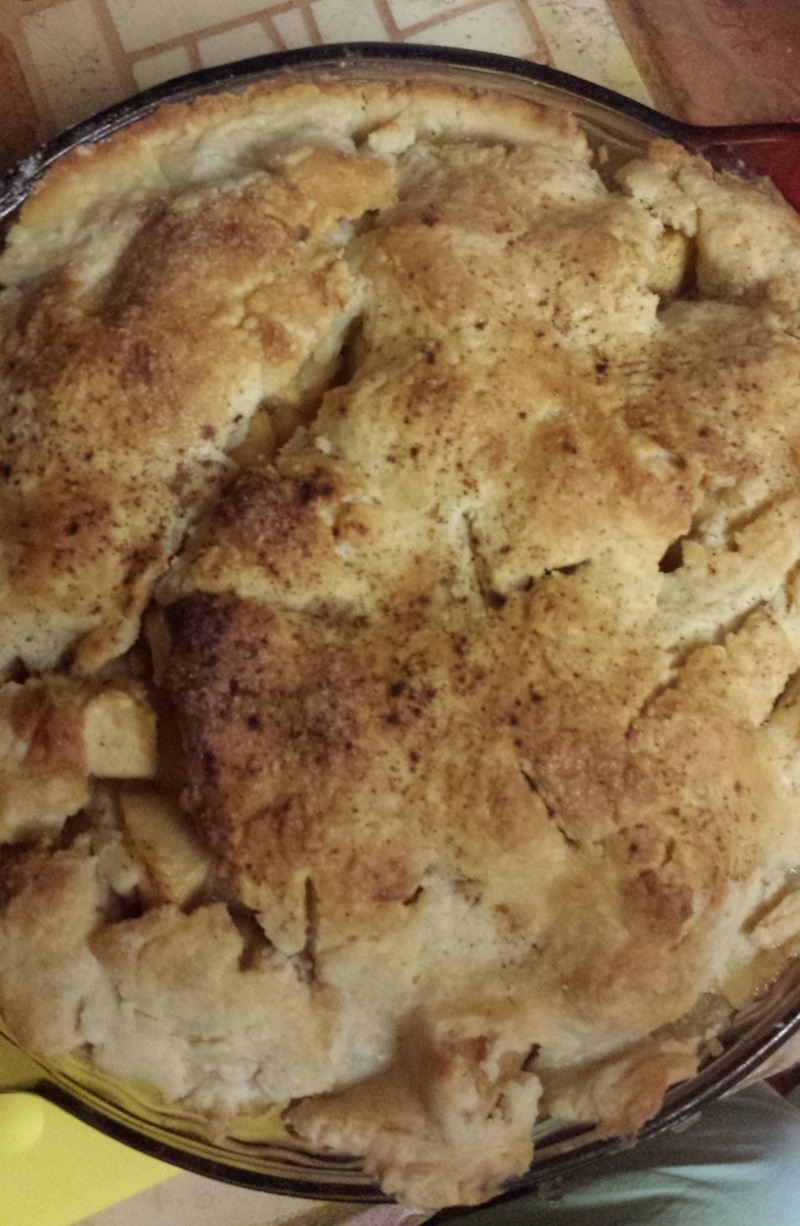
DAVE MADE MY APPLE PIE “I am living proof that anyone can do it. Thanks Jenny!”
LAURA MADE MY FASTER NO KNEAD BREAD “Thank you for this recipe. At the moment my husband is eating slices with butter but I was hoping to use it for bruschetta. LOL!”
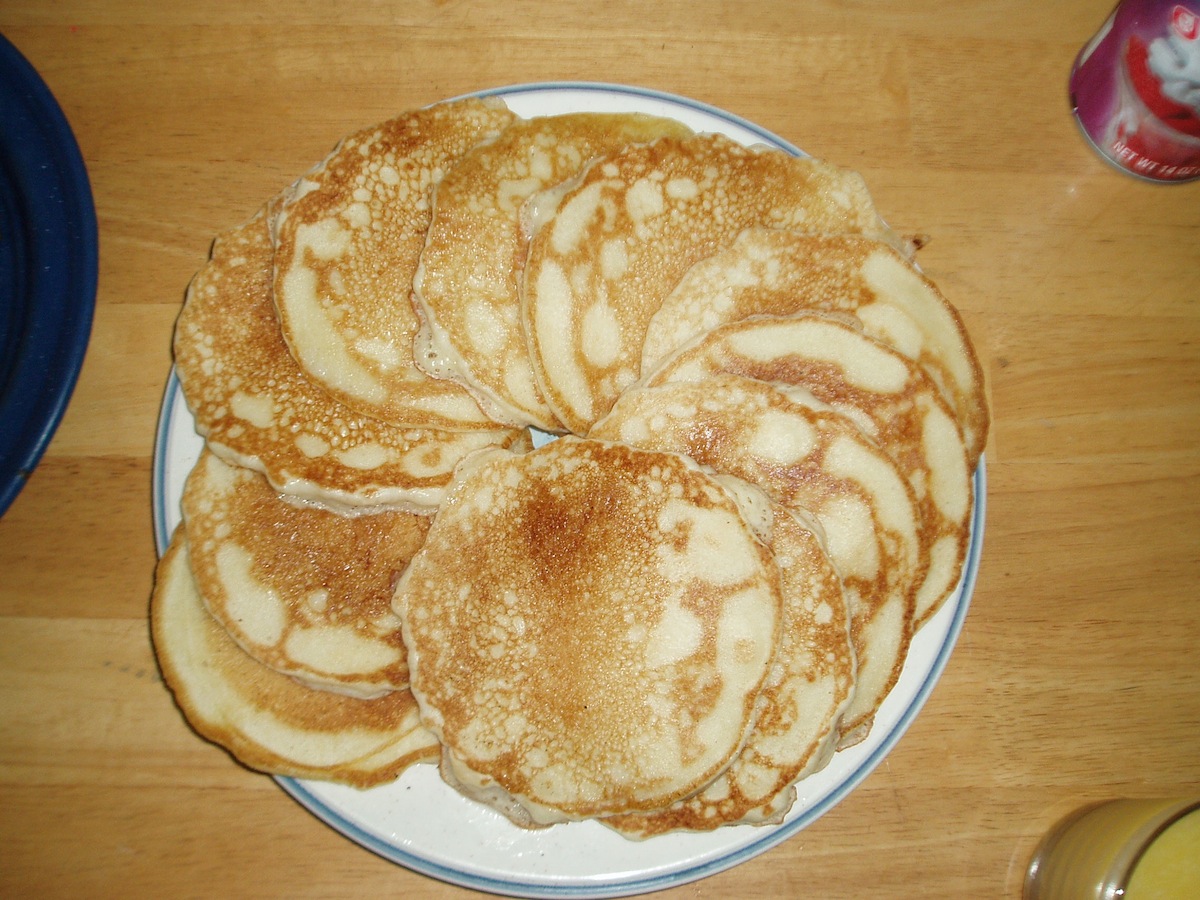
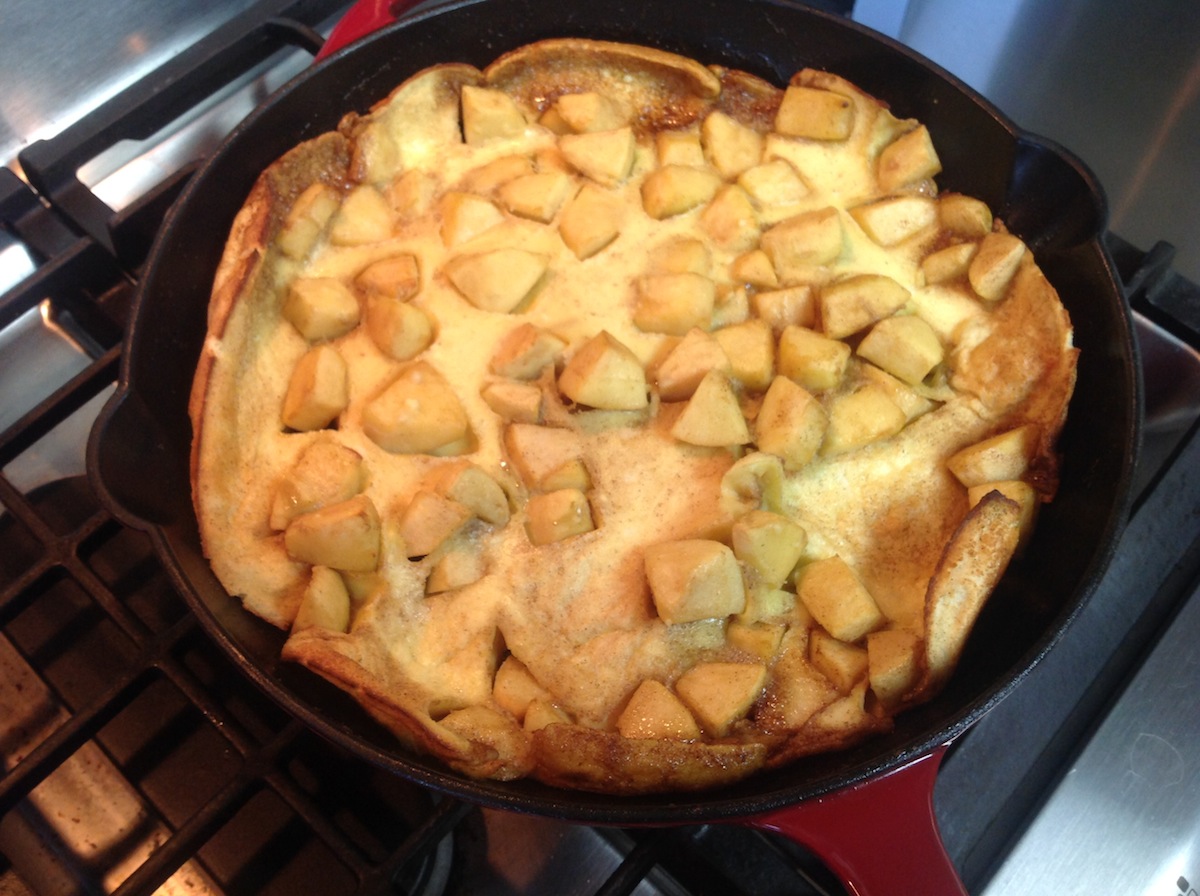
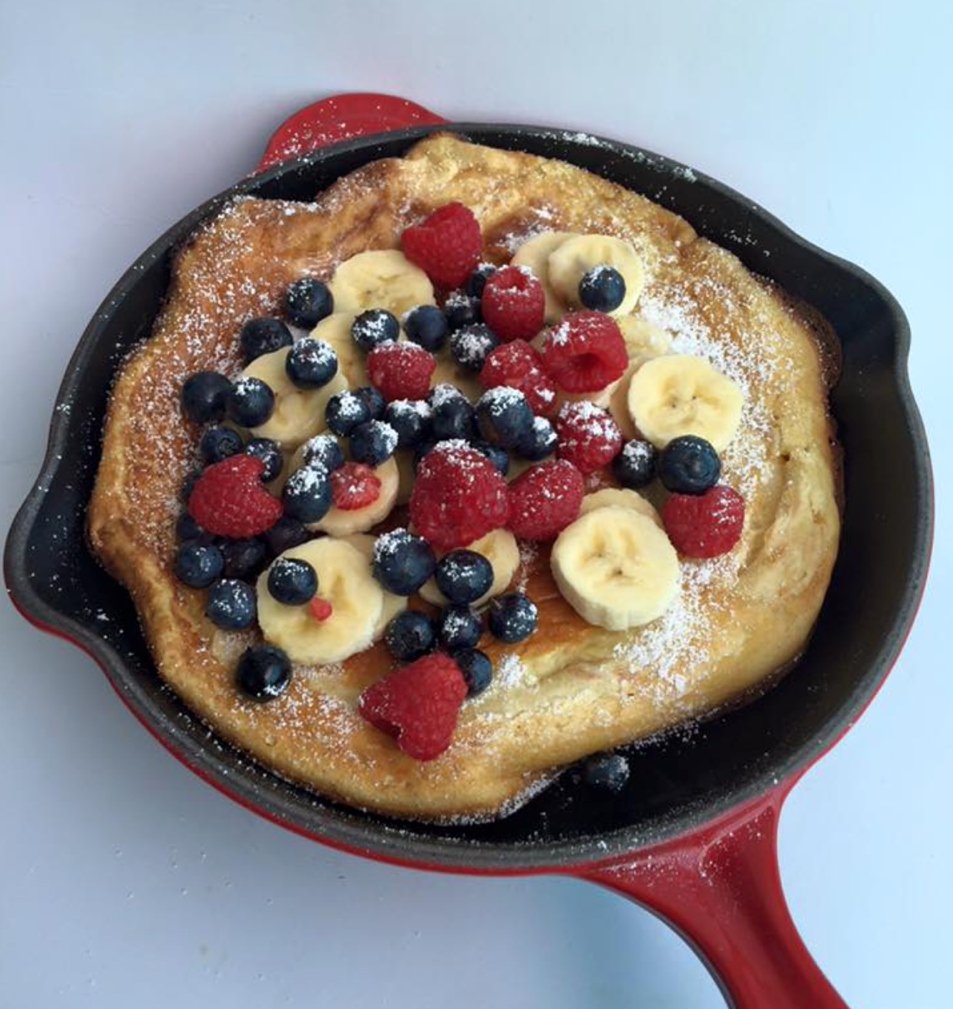
DENNIS MADE MY CARAMELIZED APPLE PANCAKE
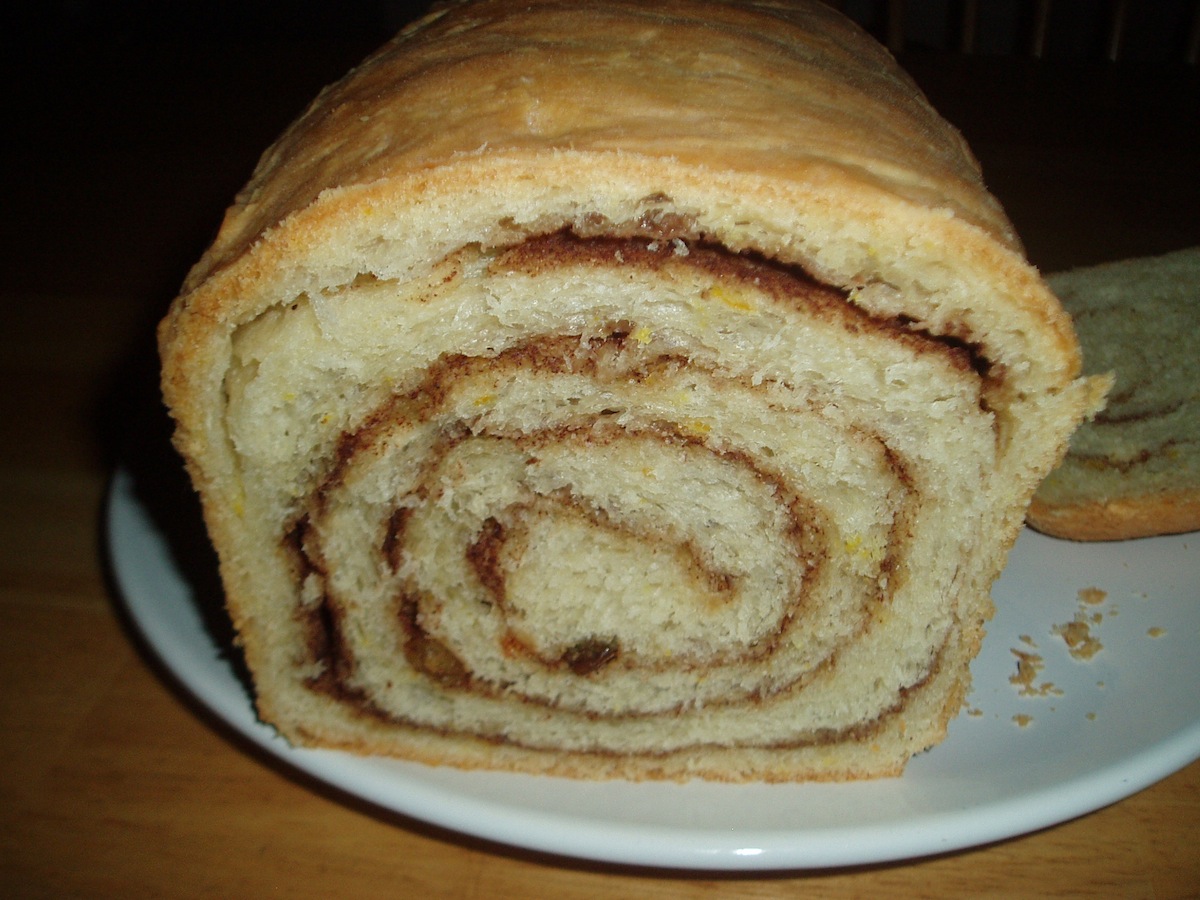
THOEBE MADE MY CINNAMON RAISIN BREAD “Jenny, I made your Cinnamon Raisin Bread and it is delicious and fun to make. I didn’t glaze because my husband loves cinnamon raisin toast with lots of butter. Thank you for the great recipe and video.”
CATHY MADE MY FASTER NO KNEAD BREAD “Hi Jenny, I just made your Faster No Knead Bread. It taste so good and my son liked it a lot too. He used olive oil to dip the bread in. Thank you so much for sharing all your wonderful recipes. I can’t wait to see more videos.”
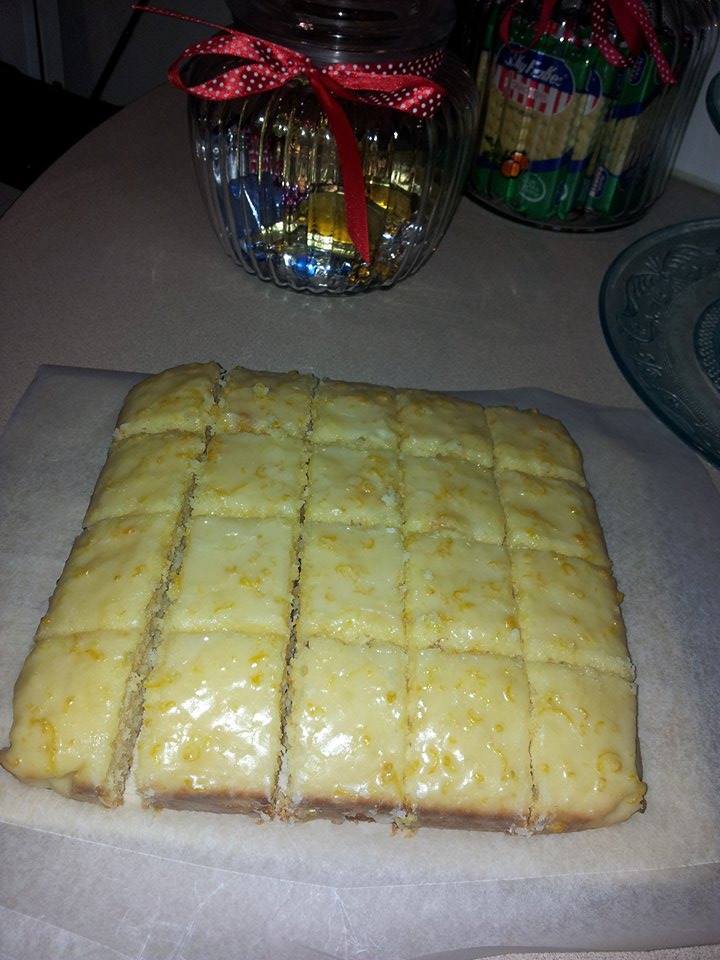
GRACIE MADE MY EASY PIE CRUST “Your Pie Crust Recipe is absolutely wonderful ! Thank you 🙂 Making a Lemon Custard Pie”
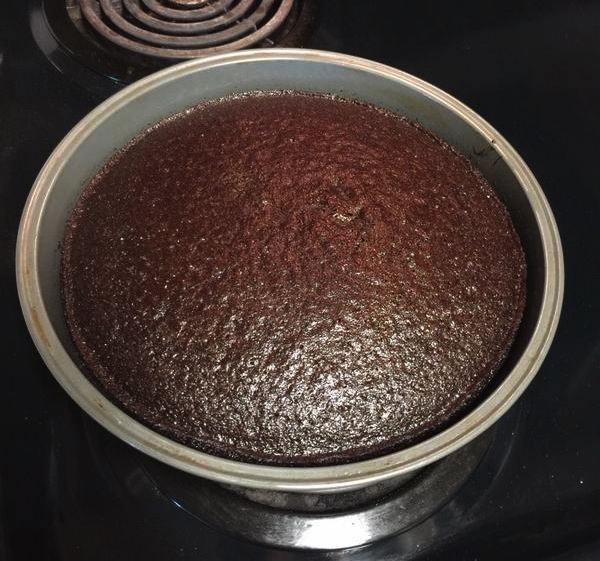
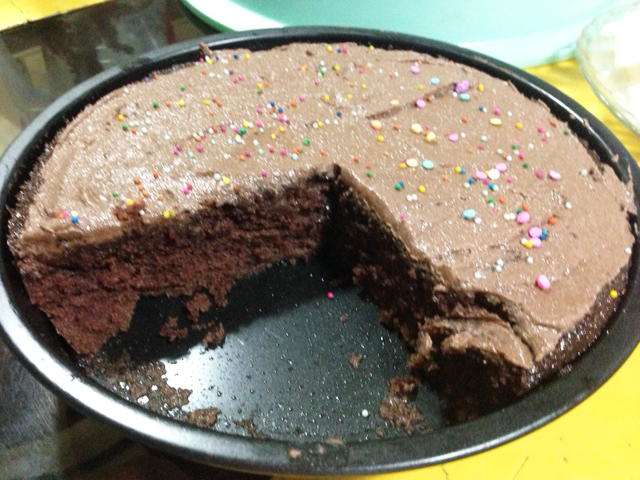
ANITA MADE MY EASY ONE BOWL CHOCOLATE CAKE “Hi Jenny I’m Anita from east Borneo. I made your easy one bowl chocolate cake. I first saw the video and curious about how can the texture of the cake you showed was so amazing with that not fancy ingredients. So I made it, and.. Oh my God.. The cake has gone quickly but until now I’m still wondering how come that was so soft, moist n not crumbly..it is gonna be my fave recipe and I’m gonna make beautiful tart with it.. Cant wait to try all of your recipes collection. Thank you so much, Warm and big hug, Anita”
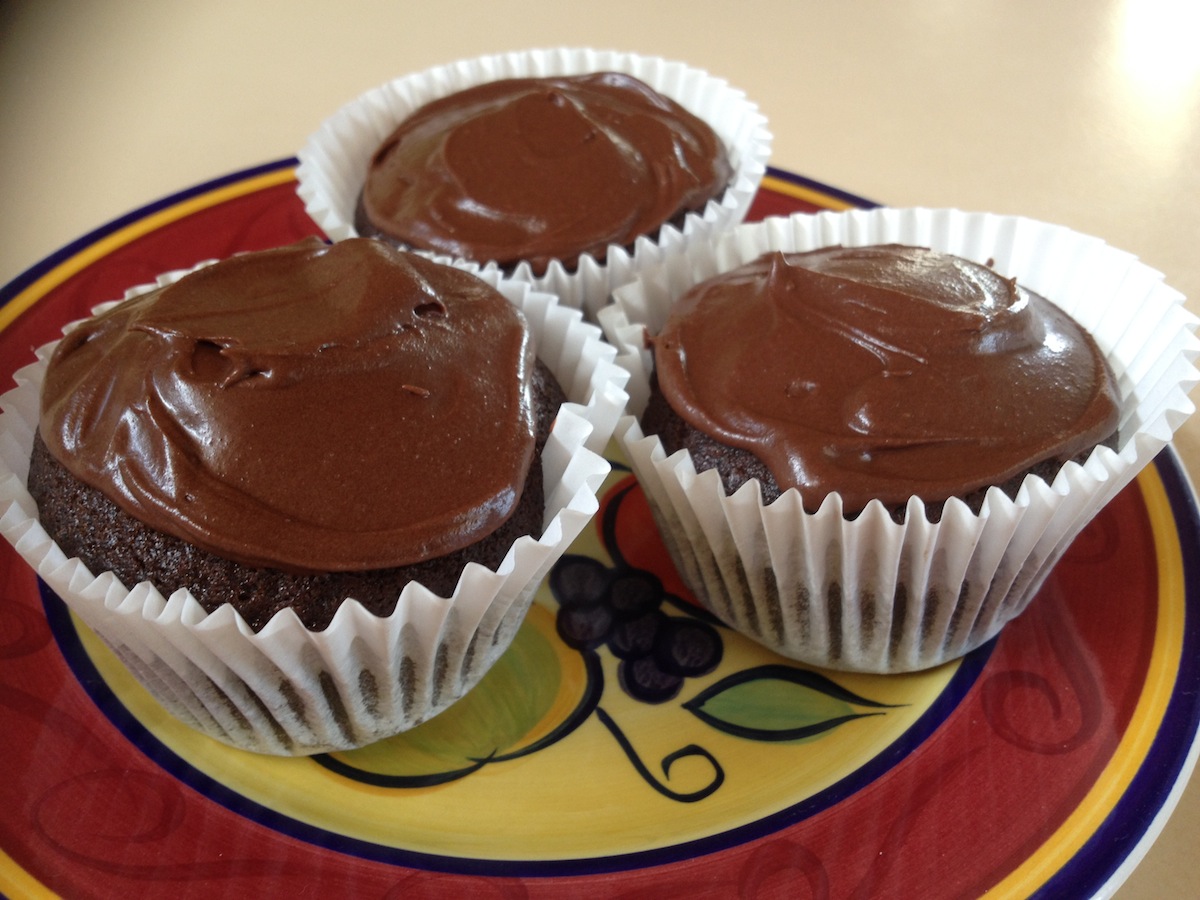
KEVIN MADE MY CHOCOLATE CUPCAKES “Your amazing and tasty chocolate muffin recipe! Couldn’t believe there was no egg! So easy to do! My only complaint was that I only made 11.”
DESARHEA MADE MY CINNAMON ROLLS “Yum!”
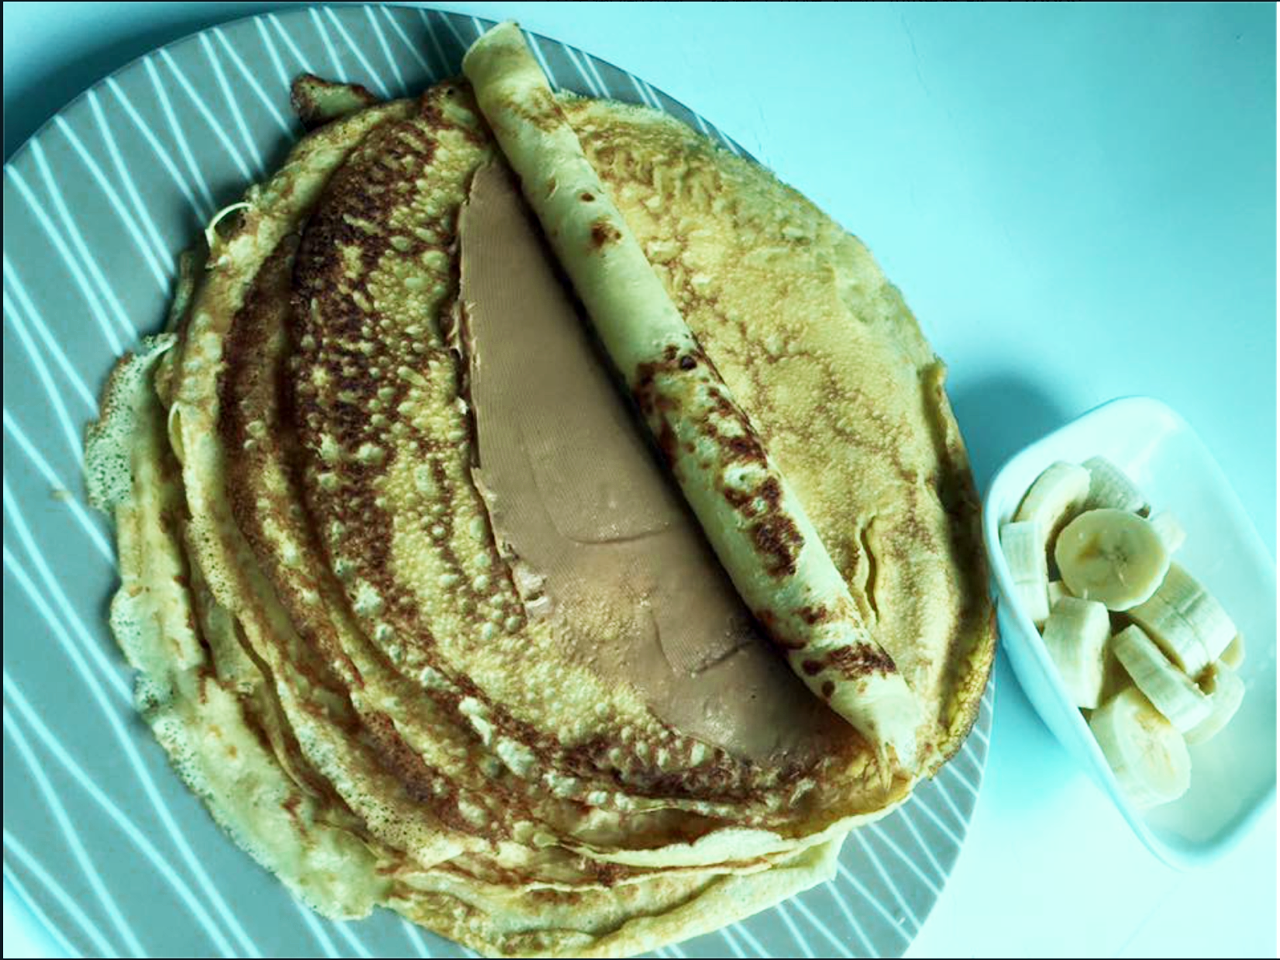
DEBBIE MADE MY CREPES & DUTCH BABY “Dear Jenny, Just found your YouTube channel recently and like you a lot. The Crepes and Dutch Baby were cooked by your recipe. They are so…. Yummy, my families love them so much and I introduced them to my friends and they all like it a lot. Thank you for sharing such good food to us, and you are a very lovely lady! Debbie Chen from Taiwan.”
JEANNE MADE MY PAN PIZZA “Oh My, this is the best pizza ever and so easy. Please see my review under your pan pizza recipe. Just a beautiful pie, half pepperoni and half margherita. Love this recipe and I’m half Polish. We have one rising now. Thank you SO much. Love you.”
ALZIRA MADE MY PIEROGI & FALL-OFF-THE-BONE RIBS “Aí está meus pierogi feitos com dua receita….gostosos e faceis de fazer. Um grande abraço.”
“Oieeee… acabei de fazer sua receita e ficou maravilhosa!!! Obrigado Jenny querida…bjs”
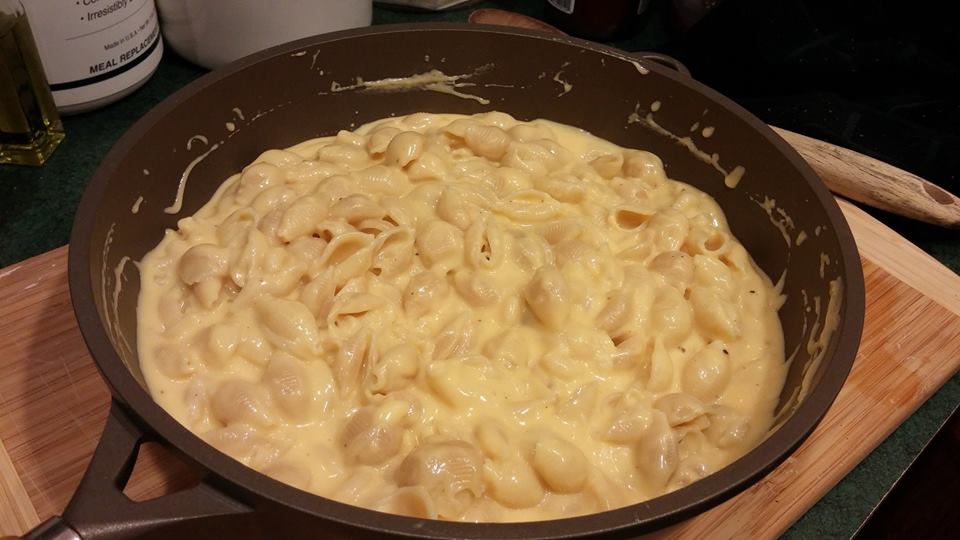
DEBRA MADE MY QUICK MAC & CHEESE “The Mac & Cheese is now a family favorite!”
AAMALIYA MADE MY EASY PAN PIZZA “Hello dear Jenny. You’re an incredible woman. Here are photos of pan pizza by your recipe. Thank you for this.”
FARISHTA MADE MY CINNAMON ROLLS “Hi Jenny! Made your cinnamon rolls rolls today. Best. Recipe. Ever!! I ate 2 in one sitting lol. Kind regards, Farishta”
JAN MADE MY APPLE PIE WITHOUT BUTTER “Hi Jenny, attached is a picture of your wonderful apple pie recipe. It was very easy to make and it tastes great. This is the first pie that I ever made. Thank you Jenny for sharing this fantastic recipe.”
JORGE MADE MY EASY ONE BOWL CHOCOLATE CAKE “The cake was very yummy and went fast! Topped it off with your frosting recipe.”
THE MRS. MADE MY FALL-OFF-THE-BONE RIBS “Ribs right out of the oven. They smell & taste fantastic! Thanks for the recipe Jenny!”
CATHY MADE MY WHOLE WHEAT BREAD “I just made your Whole Wheat Bread. We are having this for dinner tonight with pot roast. I hope it taste as good as yours. 🙂 Thank you so much for sharing your wonderful recipes…… 🙂
WINNIE MADE MY APPLE PIE, DUTCH BABY & CREPES “Hi Jenny, I made your Apple pie, Dutch Baby and Crepes! They were delicious! With love, Winnie”
SHAE MADE MY FALL OFF THE BONE RIBS “They are fantastic!!”
SANDRA MADE MY CINNAMON ROLLS “Hi Jenny this is my second batch of Cinnamon Rolls and have made several loaves of wheat bread too “Thank You” for sharing all your recipes… Sandra Carr”
VANI MADE MY SIMPLE WHOLE WHEAT BREAD “Hi Jenny. I made the whole wheat bread today.. It came out super easy & delicious.. thank you..”
MYLENE MADE MY LEMON BROWNIES “Hi Jenny, When i saw your video for the first time doing this lemon brownies, I told myself…I like you and the way you share your passion for cooking and baking… home cooking/baking at it’s best…simple and easy to follow, anybody can do it even the first timers in the kitchen.
Since i love baking and eating chocolate brownies, i was excited to try your lemon brownies and here it is…brought some at work and shared it with some of my colleagues while we were doing overtime… they simply loved it…I did too…just need to adjust the sugar glaze…too sweet for my liking thanks for sharing and inspiring me to follow my passion to do more home cooking and baking. Warm regards, Mylene M”
RONA MADE MY ONE BOWL CHOCOLATE CAKE & WHOLE WHEAT BREAD “hi ms. jenny! im rona from the philippines! and i tried your easy one bowl chocolate cake and tadaaaah! my baby loves it and she ate 2 slices and i think its gonna be three! thank you for your recipe. and i also tried the to wrap around a wet cloth so it will not rise in the middle. and it worked! my whole wheat bread is on its way! thank you so much.”
KHALILIAH MADE MY APPLE PIE “I attempted to make you apple pie and it was easy and tasty! I added cinnamon to the top. “
ELLIE MADE MY GNOCCHI “Hi Jenny. I Tried your Gnocchi Recipe it was awesome and so easy.”
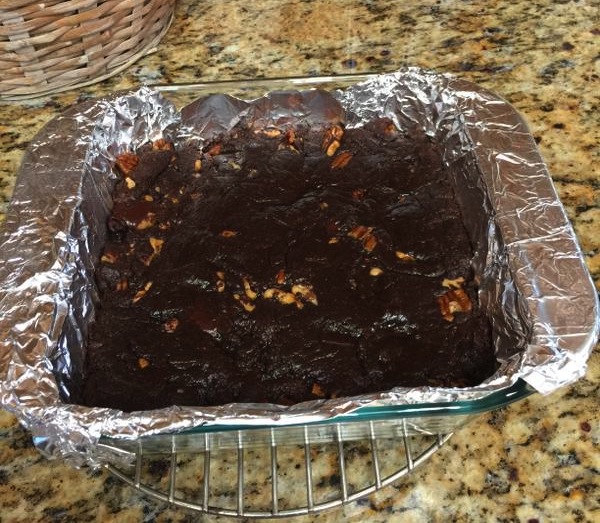
RYAN MADE MY DARK CHOCOLATE FUDGE BROWNIES
DANIELA MADE MY CABBAGE ROLLS “Hi Jenny, thank you for sharing your ( and dad) recipe for stuffed cabbage leaves. Mine are in the oven now 🙂 i had no mushrooms but courgette so i used that and the rice was toasted for a couple of mins with the onion-courgette mix. Greetings from Belgium”
DASOM MADE MY PACZKI “Hello Jenny, I wanted to make some healthy paczki and came across your blog. I have just tried making these and they taste delicious! My mom absolutely loved them as well. I will come back to use your recipes in the future. Thank you so much! Dasom (Korean living in Poland)”
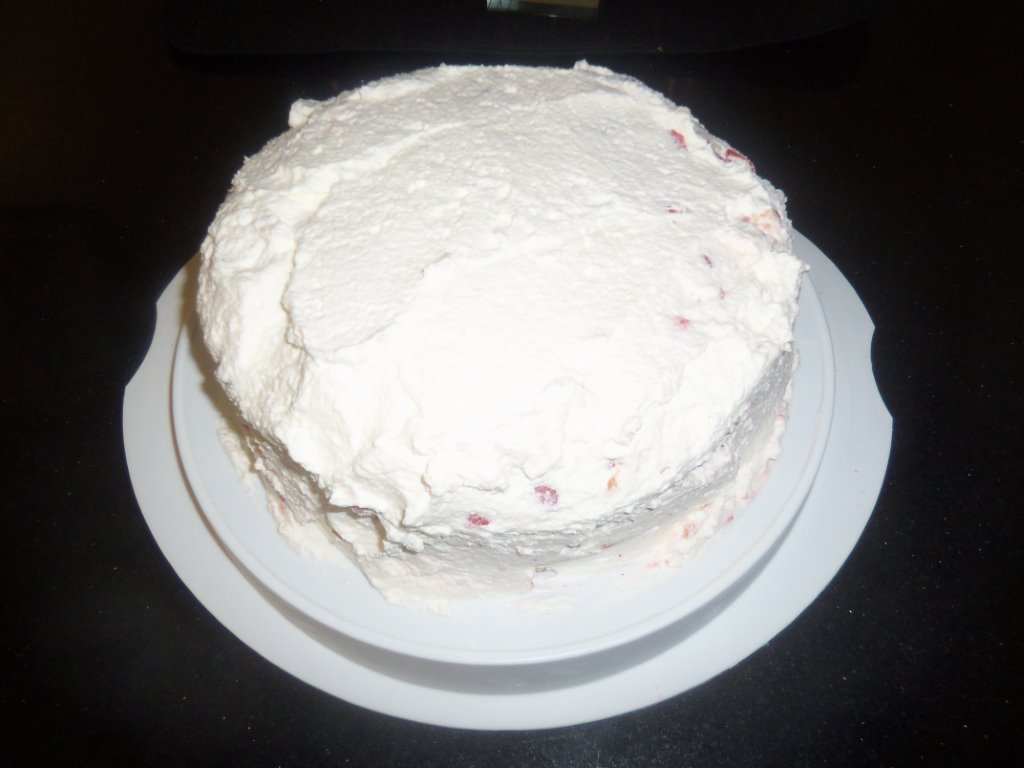
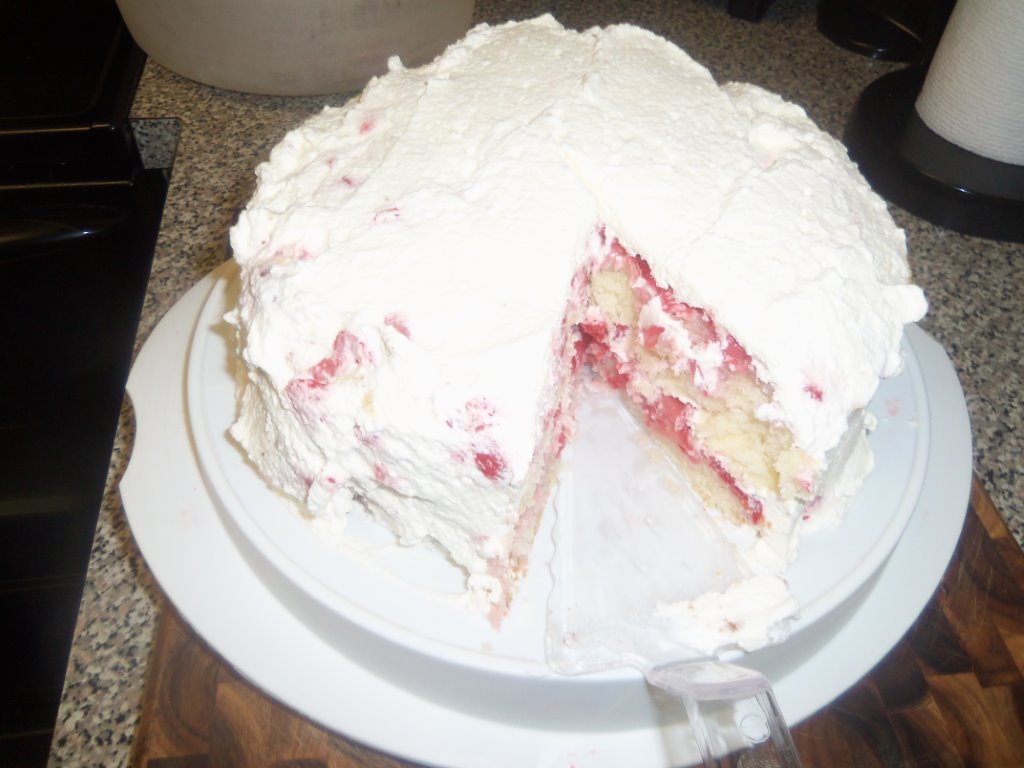
JAN MADE MY STRAWBERRY CAKE “Hi Jenny, I made your 2-layer strawberry cake and it came out wonderfully. I am not a good baker but I really trust your recipes, and it was so easy to make. If I can make it anyone can. Thank you so much for sharing this fantastic recipe. ~ Jan“
Any time I can make a complete meal in thirty minutes that’s a good day. A delicious meat sauce doesn’t have to take all day, or a whole bunch of ingredients. I used to make one that took three hours but not any more. My new recipe uses simple, basic ingredients that everyone can get, or might already have.
All you need is canned tomatoes, lean ground beef, onions, garlic, and tomato paste and you’re on your way. This recipe is so easy, you’ll even have time to make a salad and cook the spaghetti, all in thirty minutes or less.
This is the perfect family supper that will satisfy kids and grownups and if they think you cooked all day to make this meal, how is that a bad thing? Click here for the recipe. – Jenny Jones
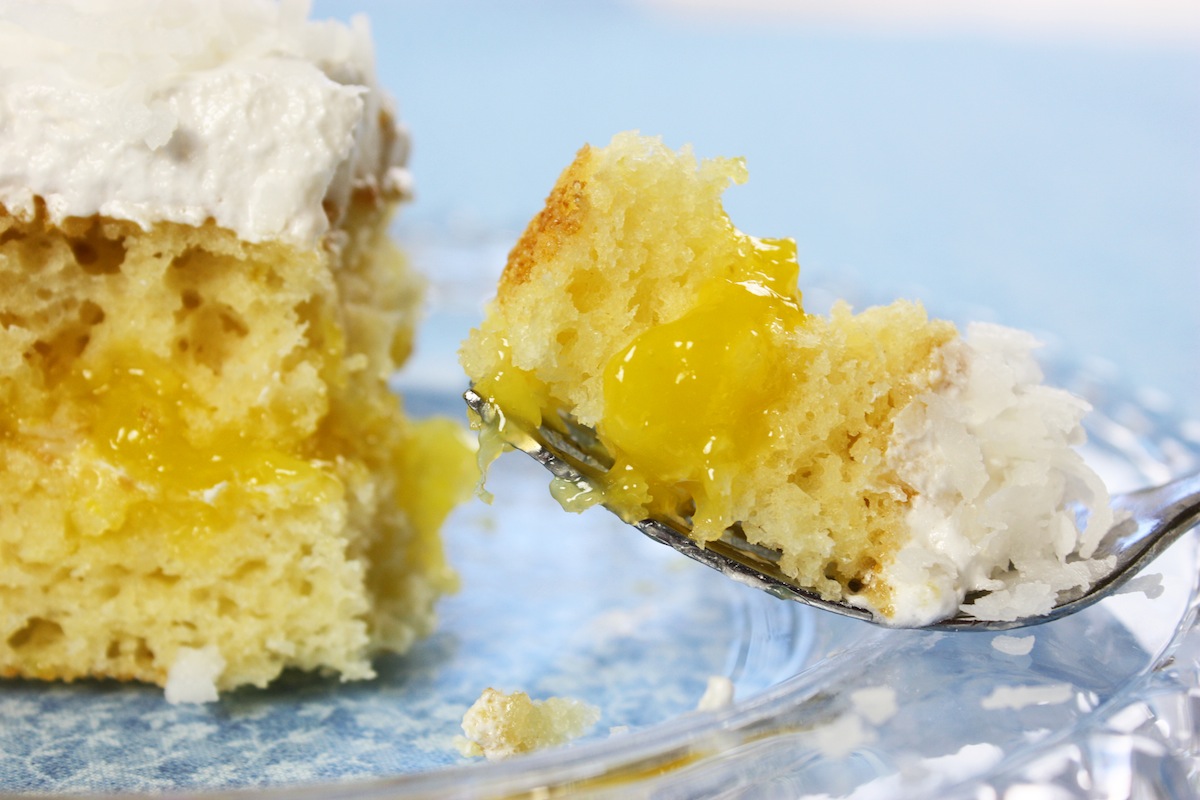
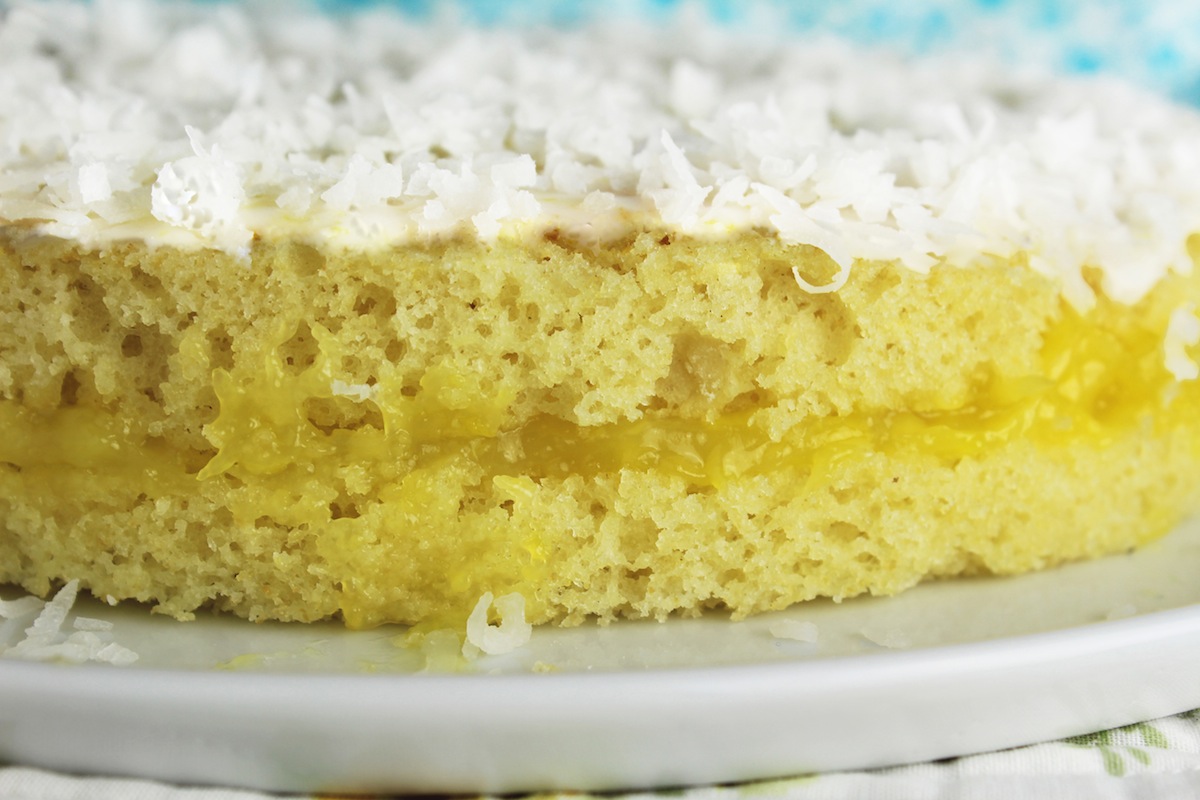
Believe it or not, you can make this amazing cake with no butter at all. Baking without butter has become my specialty. The cake is simple. It’s my easy one-bowl yellow cake but with half the vanilla and with added fresh lemon zest. (To keep the edges of the cake from over-baking, I suggest using a cake strip.) While the cake bakes, you make a super easy lemon curd for the filling. Then you spread the curd on a big dinner plate to cool.
And now the frosting. I make an old-fashioned seven-minute frosting because it has no butter, and because it’s light and fluffy and delicious. But seven minutes is a lie! It actually takes abut nine minutes to make and here’s why. You need to be at the stove with an electric mixer and you beat the frosting in a glass bowl, over a simmering pot of water. It’s basically egg white and sugar and it makes a beautiful, light and airy frosting that tastes like billows of meringue.
The cake is sliced in half to fill with the lemon curd and then the top of the cake goes back on and it’s frosted all over with 7-minute frosting. After that you sprinkle the top with sweetened shredded coconut and press more coconut on to the sides. The just wait for the raves, especially from lemon-lovers.
If you don’t want to make the frosting and want something simpler, you can slice and fill the cake and just spread it with the lemon glaze that I use on my lemon brownies and sprinkle the top with coconut. Here’s how that looks…
Either way you make it, you’ll have a delicious dessert without butter. Click here for the recipe. – Jenny Jones

 Pecan pie doesn’t have to be complicated. Mine is simple and you don’t need any fancy ingredients. And it’s healthier too, with an olive oil crust. I used to make pie crusts the old way with either shortening or butter and ice water but an oil crust is so much easier. It’s quick and you can just pat it into the pan or I roll it between wax paper and then transfer it into the pan. By the way, the pan is never greased when you’re baking pie.


![IMG_0923[1]](https://www.jennycancook.com/wp-content/uploads/2015/09/IMG_09231.jpg)
![IMG_0925[2]](https://www.jennycancook.com/wp-content/uploads/2015/09/IMG_09252.jpg)
![IMG_0926[2]](https://www.jennycancook.com/wp-content/uploads/2015/09/IMG_09262.jpg)

 "Pin It")