Blog

Blog

Jul 2, 2015

Italian Pinwheels

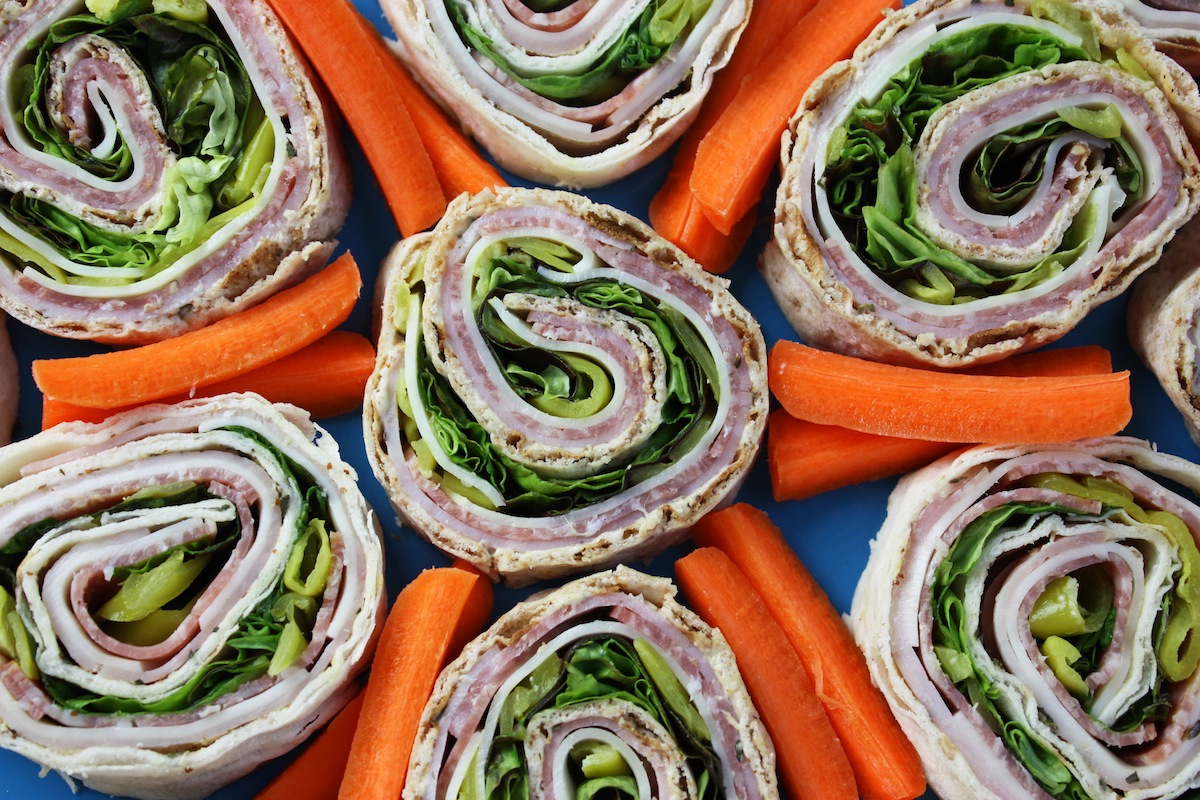
Italian Pinwheel SandwichesBoy, these are good!  They’re easy to make and perfect for a 4th of July party. I’m sharing this idea for the upcoming holiday weekend because I made these Italian sub pinwheels  sandwiches for a party once they were a huge hit. But this was a hard recipe to write up because I know everyone will be using different products, depending where they live and what their stores carry. But I did my best.

About the bread: Lavash is perfect for pinwheels because it’s rectangular and easy to roll to get even sandwiches. I used both whole grain lavash and white lavash in this photo but whole grain is my first choice to make these little gems as healthy as possible. I’ve seen lavash in two sizes, 8 by 10 and 9 by 12. If your store doesn’t sell it you can usually find it in a mediterranean or Armenian grocery store. But you can always use large flour tortillas as well.

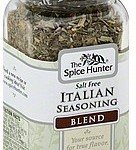
About the filling: My Italian sub pinwheel is made with some traditional sub fillings like ham, salami, and cheese. But you can make this healthier by choosing nitrate-free ham and salami (I use Applegate brand ham) and I use ultra-thin sliced cheese. Mozzarella is my choice but provolone is also good here. Even the meats should be sliced as thinly as possible for easier rolling. My Italian seasoning blend (Spice Hunter brand) is a combination of basil, rosemary, marjoram, thyme, sage, and oregano. If you don’t have a blend, you can use oregano.
00081057014509_full

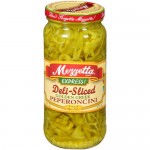
Peperoncini is key to making these taste just like an Italian sub. You can buy them in a jar already sliced.
0007321400160_500X500

Oh, and use lots of lettuce. It looks pretty and it’s a healthy green.

About serving: These sandwiches must be made ahead of time, preferably overnight, but at least three hours in advance to give them a chance to hold together and for the bread to moisten. It’s important to roll them up slowly, as tightly as you can, and wrap each roll (you ARE making more than one, right?) in foil and refrigerate. When it’s time to serve, use a sharp serrated knife to cut a little off the ends and then slice the roll into 3/4-inch sandwiches. Place them on your serving plate and keep them covered with plastic as long as you can because they will dry out if left uncovered. But they don’t usually stay around that long. I always serve them with some vegetables – either carrots sticks, cucumbers, or just a plate of crudite.

Other variations: Oh wow, I have made so many different variations. Here are some ideas:

~Turkey and swiss with mayo, mustard, and baby spinach.
~Roast beef with spicy horseradish mustard and lettuce.
~Ham & cheese with cream cheese spread and lettuce.
~Roasted and cooled veggies (peppers, zucchini, onions) with a hummus spread & baby kale.
~Chicken-pesto: Pesto spread (my spinach pesto recipe) with sliced chicken, mozzarella & baby spinach.
~Spicy: Cream cheese mixed with canned “hot” diced green chiles, sliced chicken breast, & lettuce.
~Leftover roast turkey with leftover fresh cranberries (my recipe) as a spread. (I’m making this after Thanksgiving!)

~There are endless variations: add finely sliced onion, olives, pickles, roasted red peppers, shredded carrots, etc., etc., etc.

Click here for the recipe and have a great 4th of July weekend! – Jenny Jones
Jun 25, 2015

Fast Rice & Beans

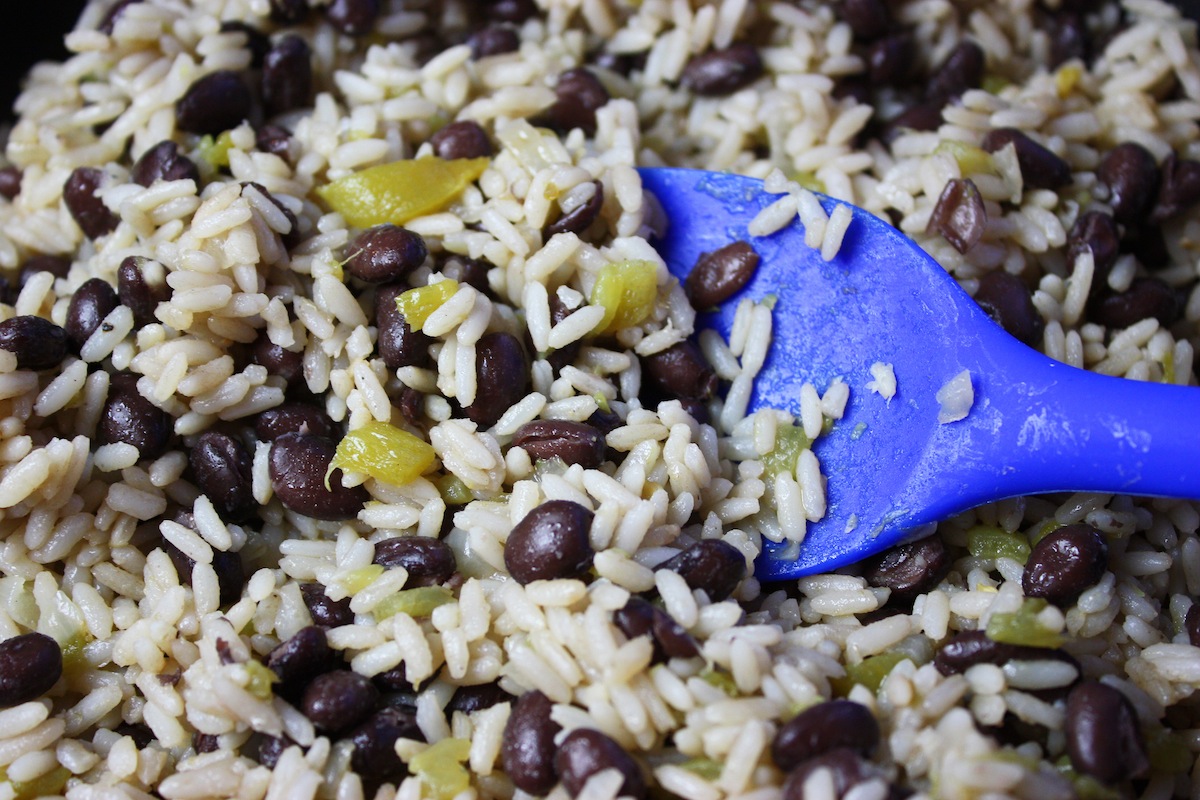
Fast Rice & Beans RecipeThis recipe is so simple I hesitated to post it. It’s not fancy, or exciting, but I find myself making it so often, on those days when it’s suddenly time for dinner and I haven’t shopped for groceries and I’m hungry… I thought someone else has probably been there too.  This simple rice and beans uses canned beans and chiles and long grain rice, all pantry items you can easily keep on hand. And most cooks have onions and garlic in the house –  that’s all you need to make a healthy vegetarian meal.

Last night was just such a night. I was starving and wanted something easy and luckily I had canned beans and chiles… I was home free! I love this easy recipe. I didn’t even have chicken stock so I used plain water  and it was still good. While it was cooking I had plenty of time to make and eat a big salad. By the way, I tried this rice & beans once with the “hot” chiles – OMG!! Too spicy for me!!

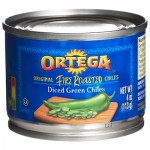
My favorite rice for this is Uncle Ben’s and I like Ortega brand fire roasted chiles. I usually find S&W black beans and I never used to rinse them. The rice got dark brown but I didn’t mind since it didn’t affect the taste but since I was taking a picture, I rinsed them and the dish looks much better.

This dish is not spicy at all. Don’t be scared off by the “fire-roasted” chiles. I use the mild ones and there is no heat at all.

ortegagreenchiles-1

I know this is not a fancy dinner but it’s quick and easy, filled with protein & fiber and it’s economical too. By the way, black beans have the highest antioxidant level of all beans and they also provide the same heart-health benefits as red wine. With black beans you’ll also be getting fiber, calcium, folate, iron, potassium, and protection against cancer, heart disease, and diabetes.

Click here for the recipe. – Jenny Jones

Jun 24, 2015

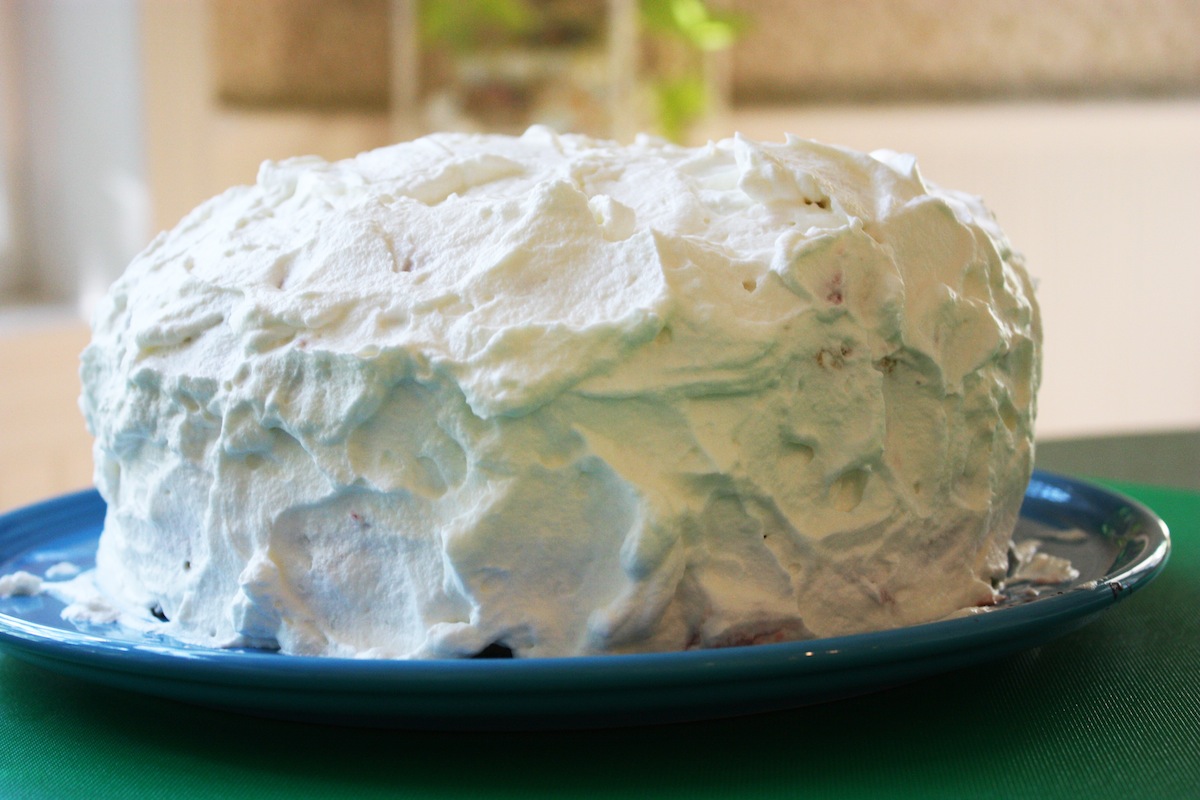
Easy One Bowl Chocolate Cake

I finally made another video! I had to show how easy this cake recipe is and how simple the ingredients are. With no butter or eggs, you likely have everything you need right now to make it. Flour, sugar, and cocoa are the main ingredients with some baking soda, oil, lemon juice, and vanilla. That’s it.

Even if you don’t bake much, it’s hard to mess this up. You don’t need a mixer but I do recommend using Dutch process cocoa (I use it for all my chocolate baking). It’s darker but it’s less bitter than the regular stuff. I find it (Droste brand) at my grocery store and also at World Market. That’s why this cake it so dark and rich looking.

Oh, it’s rich tasting too. You’ll be amazed how moist it is without any butter or eggs. The cake itself is made without butter and you can either frost it with my super-easy one-minute frosting made with a little butter or you can go totally butter free and vegan by just eliminating the butter and turn it into a glaze. That’s why you will find two recipes for this cake. Both recipes use the exact same cake but the “Simple Chocolate Cake Without Butter” is made with a butter-free glaze and the “Easy One Bowl Chocolate Cake” has my frosting made with just 2 tablespoons of butter. Click here for the recipe.  – Jenny Jones

Filed Under: Videos 11 Comments
Jun 17, 2015

Manicotti that melts in your mouth

Homemade Manicotti Using CrepesYou won’t need teeth to eat this soft and tender manicotti made with crepes. And these are whole wheat crepes! I’ve tried stuffing manicotti pasta – you know, the ones that break when you boil them, and slip and slide when you try to stuff them. It’s easier and faster to make homemade crepes and just roll them up with a simple ricotta cheese filling.

This recipe uses two of my other recipes: Crepes and Quick & Easy Spaghetti Sauce. I make the crepes with whole wheat pastry flour. You can use all-purpose flour but trust me, they are beautifully soft and tender made with w.w.p. flour. The best part is that you can make the crepes and sauce a day or two in advance and when it’s time to make dinner you only have to put the easy filling together, roll up the crepes, and bake. You’ll have just enough time to make a salad and some steamed broccoli on the side.

The stuffing is a simple combination of part skim ricotta and mozzarella cheeses with parmesan, parsley, and an egg yolk. You can cover them all over with sauce or sometimes I leave the sides bare and put sauce down the center. I’m a big fan of my homemade spaghetti sauce but you certainly can use a bottled sauce if you like.

When stuffing and rolling the manicotti, you can tuck in the ends to seal in the filling but I like to leave the ends open and let a little cheese show itself. Plus it’s less work just to roll them up, no tucking. Remember it’s important to have vegetables at every meal so while this bakes for 30 minutes, be sure to take time to make a salad and a cooked vegetable on the side.

Click here for the recipe. – Jenny Jones

Jun 5, 2015

Spanakopita made easier & healthier

 Greek Spinach PieI love Greek spinach pie so much I had to come up with an easier way to make it – and I have. The old way meant washing spinach about five times to get the sand out, cooking the spinach, draining the spinach, etc., etc., and then brushing the phyllo with oil and having it stick to the brush and break into pieces. And cutting it in the pan was never easy.

But oh… I have a much easier way to make this incredibly delicious Greek treat. Here’s what you won’t have to do:

  • No washing of spinach.
  • No cooking of spinach.
  • No draining of spinach.
  • No struggling to cut it in the pan after it’s cooked.

With the traditional method, a pastry brush is used to grease each layer of phyllo but using an oil mister makes the job easier. A mister is easier, faster, and it also keeps the delicate phyllo sheets from breaking. (my mister is made by Prepara) And using parchment paper means you just lift the whole thing out onto a cutting board for easy slicing.

My recipe uses pre-washed packaged baby spinach and I use it fresh, without pre-cooking because it cooks quickly inside the pie. Most spinach pies have a dense spinach filling from either pre-cooking or even worse using frozen spinach. Using fresh baby spinach is less work and it makes a less dense filling with a delicious light texture.

You must plan ahead if you’re going to make this recipe because the phyllo comes frozen and you need to thaw it overnight in the fridge and then bring it to room temperature before using. I forgot to thaw it once and just placed it on the counter top for a few hours and it did thaw, but it kept breaking into pieces.

The reason I make Greek spanakopita is because once I tasted my own with the fresh filling and the flaky layers of phyllo, I can never buy it anywhere again. Nothing comes close. If you like Greek food, you must try this recipe. I won’t say it’s easy but it’s definitely easier than most and the pie is so incredibly light, I’ve been known to eat four as a snack. Yes… four. Click here for the recipe. – Jenny Jones

May 27, 2015

Dark Chocolate Almond Clusters

Homemade Chocolate Almond ClustersGoodbye Snickers. Goodbye Mr. Goodbar. There’s a healthier way to get your chocolate-crunchy-nutty fix and you can make it yourself in fifteen minutes. With only TWO ingredients! It’s really easy, and they’re really good. I’m basically melting a good quality dark chocolate bar and dropping in some toasted almonds. My favorite chocolate bars for this recipe are Ghirardelli Semi-Sweet, which comes in a 4-ounce bar and Scharffen Berger 62%, which is 3 ounces.  World Market also makes a good 72% 3-ounce bar. I do this with a double-boiler method but who has a double boiler these days? Not me.

So I put a glass pyrex bowl on top of a small saucepan with about an inch of water and that’s my double boiler. It’s important that the  bottom of the bowl does not touch the water and that you do not use a rapid boil. Just bring the water to a boil and then to a low simmer to melt the chocolate. I break the chocolate bar (3 ounces) into chunks, into the bowl, and let it melt, stirring occasionally. While it’s melting, I set out fifteen little one-inch candy paper cups. They’re like cupcake liners but smaller.

When the chocolate is melted, turn off the burner and start dropping in the nuts. Stir them around until they’re coated and lift them out in clusters, using 2 teaspoons, and drop them into the cups. At the end, whatever chocolate is left can be taken up with a little spatula and dropped onto some of the clusters. You may have to re-warm the chocolate at the end. I have made these clusters without the paper cups and just dropped them onto wax paper to cool and it works, but they will spread. The cups make a nicer presentation too.

I strongly urge you to toast the nuts and not to use plain raw almonds. Toasting nuts greatly enhances their flavor and aroma and you can do that in advance. I just toast all the nuts I use at one time and keep them refrigerated for my baking. I do a sheet of walnuts, then pecans, and then almonds and they are always available without having to wait for them to cool. I just did some over the weekend.

Almonds1200_3138To toast nuts place them on an ungreased baking sheet into a 350° F preheated oven for 7 to 10 minutes. It’s good to stir and turn them over about half way through. If you do a whole bag of almonds and have them on hand, you’ll be glad you did because you will make these chocolate clusters again, especially when you see how easy this is. The whole process takes about 15 minutes. And I’d like to see you eat just one.  Click here for the recipe. – Jenny Jones

May 21, 2015

Easy Greek Spinach Rice

Greek Spinach Rice RecipeI admit I’m not a fan of cooked spinach when it sits alone in a big glob, but when it’s cooked in with rice and some onions, garlic, and dill, Greek style… I love it. With baby spinach available pre-washed and ready to go, this is a quick and healthy side dish. It’s what I usually have with my lemon chicken cutlets – they sound kind of Greek too.

This recipe is also in my cookbook but I’ve simplified the process a little to encourage everyone to try it. Spinach is loaded with antioxidants and nutrients and when it’s cooked, those benefits are even greater with a long list of vitamins, protein, iron, calcium, folate, and it has more potassium than bananas. Eating spinach will benefit your eyes, skin, and hair, support bone health, help protect against cancer & asthma, and it’s even good for your brain. This is a true superfood!

And this is an easy recipe. Everything cooks in one pot while you prepare the rest of your meal. I highly recommend the lemon chicken cutlets because they only take 20 minutes, the same time it takes the rice to cook. Oh, and the quick & easy broiled salmon – that goes great with Greek spinach rice too. Click here for the recipe. – Jenny Jones

May 14, 2015

Easy Lemon Chicken Cutlets

Lemon Chicken Curtlets Recipe

These easy patties are one of my go-to meals because they can be ready in less than 20 minutes and they always satisfy. Here’s how I do it. First, I pound the chicken between plastic and most of the time I use a plastic produce bag. Definitely use plastic because it’s less cleanup and you won’t get chicken splatter all over the place.

Then I lay out a long sheet of wax paper with a bowl in the middle. The flour goes on one side and the bread crumbs on the other (I use my homemade whole wheat crumbs). I use a fork to stir the salt & pepper into the flour. I zest the lemon and chop the parsley, adding them to the crumbs. Then I juice the zested lemon and add the 2 tsp. of juice to the egg.

Now my assembly line starts. I dip the chicken in the flour, the egg, and the crumbs. What I find is that the parsley seems to mostly disappear from the crumbs before I’m done so I keep a little extra parsley on the side and stir it into the crumbs later when needed.

It doesn’t take much oil to make these cutlets nice and crispy and I only add a little at a time when turning the cutlets over. I have a really big fry pan I got at Target (10 inches across!) but I still have to work in batches. If you crowd the chicken in the pan it won’t brown as well and they won’t be as crispy.

This recipe is quick so I always start my side dish first and that’s usually my spaghetti with chard or rice with kale. But last night I made Greek spinach rice and it went great with the chicken cutlets. I will post that recipe soon. Breaded chicken cutlets are one of those flexible recipes you can make your own. Do you like rosemary? Add some dried rosemary to the crumbs. No lemons? Just leave them out.  Like things spicy? Add some cayenne to the flour and serve with hot sauce instead of lemon. Using this basic formula you can add any dried spices you like to either the flour or crumbs. But I hope you’ll try it this way because it will probably become your family favorite too. Click here for the recipe. – Jenny Jones

May 10, 2015

The Best Flour Tortillas

Homemade TortillasThis is my Sunday routine… having some green tea and making tortillas. Ever since I started making my own homemade tortillas, I have never bought them at the store. They are just so much better, especially when you eat them fresh right out of the pan. Wow! I always enjoy making them for someone who has never had one that’s homemade and watching their expression when they take the first bite. I always tell them, “This is what tortillas are supposed to taste like.” Then they ask for the recipe.

Once they’re made, I store (what’s left) in an air-tight zip top bag, refrigerated. There’s so much you can do with tortillas. Roll them up with scrambled eggs for breakfast (that’s happening right now), make quesadillas, or tortilla pie, or any rolled up sandwich. Or just slap some butter on them and enjoy. So that’s what I made today. …just sharing… – Jenny Jones

Click here for the recipe.

May 8, 2015

Fiber – how to get more.

Homemade Bran Muffins Recipe

On the menu this morning – bran muffins. And I’ll tell you why you should try this easy recipe. We all need fiber. You could try one of those cereals with tons of fiber — you know, the ones that taste like particle board chips. Or you can make your own delicious bran muffins, which by the way, are very portable for breakfast on the go.

Fiber is associated with a lower risk of heart disease, stroke, hypertension, diabetes, obesity, and gastrointestinal diseases. Fiber also promotes regularity and can prevent constipation and hemorrhoids. By the way, when you increase your fiber you also need to increase your water intake. So I had one and a half muffins for breakfast with a big cup of green tea and some peaches. And that’s what I cooked today (so far). …just sharing… – Jenny Jones

Click here for the recipe.